
How to Edit and Clean Up Product Images in LoomaDesign
A usable product photo rarely needs every editing tool. One image may need a small object removed. Another needs more resolution. A supplier photo may need a cleaner white background, while a designer needs the same product as a transparent PNG.
The safest product image editing workflow assigns one job to each step. Keep an untouched source, change the smallest necessary area, check the product, and move to the next operation only after the result passes.
Quick answer
Use AI Product Image Editor when one selected area needs to change. Use Image Enhancer when the composition is usable but the file is too small or soft. Use Product Retouching for a cleaner listing-ready product image. Use Free Background Remover when the next design needs a transparent PNG.
Stop when the source does not show the fact that the output must preserve. An enhancer cannot recover exact label text that was never legible, and a local editor cannot prove an unseen side of the product. A better reference photo is the correct next step in those cases.
Choose the operation by the defect
Starting from the tool menu encourages unnecessary generation. Start from the visible problem instead.
| Visible problem | Best first operation | What must remain unchanged |
|---|---|---|
| One badge, prop, label area, or distraction needs revision | AI Product Image Editor | everything outside the selected area |
| The source is correctly framed but too small or slightly soft | Image Enhancer | composition, text layout, material, controls, silhouette |
| The whole product needs cleaner lighting, edges, and presentation | Product Retouching | SKU color, shape, label, ports, texture, included parts |
| A designer needs the product on another background | Free Background Remover | narrow parts, cables, soft edges, holes, transparent material |
| A critical detail is missing or unreadable | new reference or reshoot | do not ask the model to guess |
This boundary also prevents keyword and workflow confusion. Editing, enhancement, retouching, and background removal solve related tasks, but they do not produce the same file.
Use the source image as the product reference
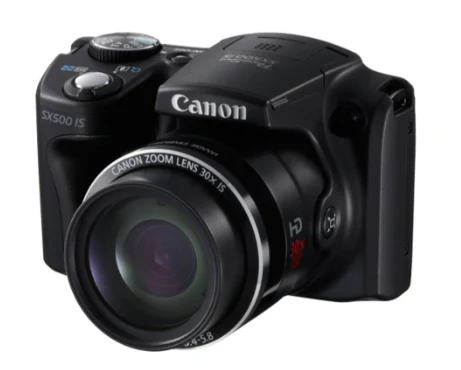
Keep the untouched Canon SX500 IS source beside every output. Use it to verify the SX500 IS model text, built-in lens, silver lens ring, lens lettering, top dial, shutter controls, grip, body seams, black finish, and overall proportions.
The planned edit is limited to the front Canon wordmark. The model name, lens markings, controls, finish, and physical structure remain reference points throughout the review.
Save the following before the first generation:
- untouched source file;
- one close reference for the highest-risk detail;
- approved logo and exact brand spelling;
- verified color and material;
- real controls, ports, accessories, and pack quantity;
- intended image slot and export format.
A polished output can still fail if it changes one of those facts.
Make the smallest local edit
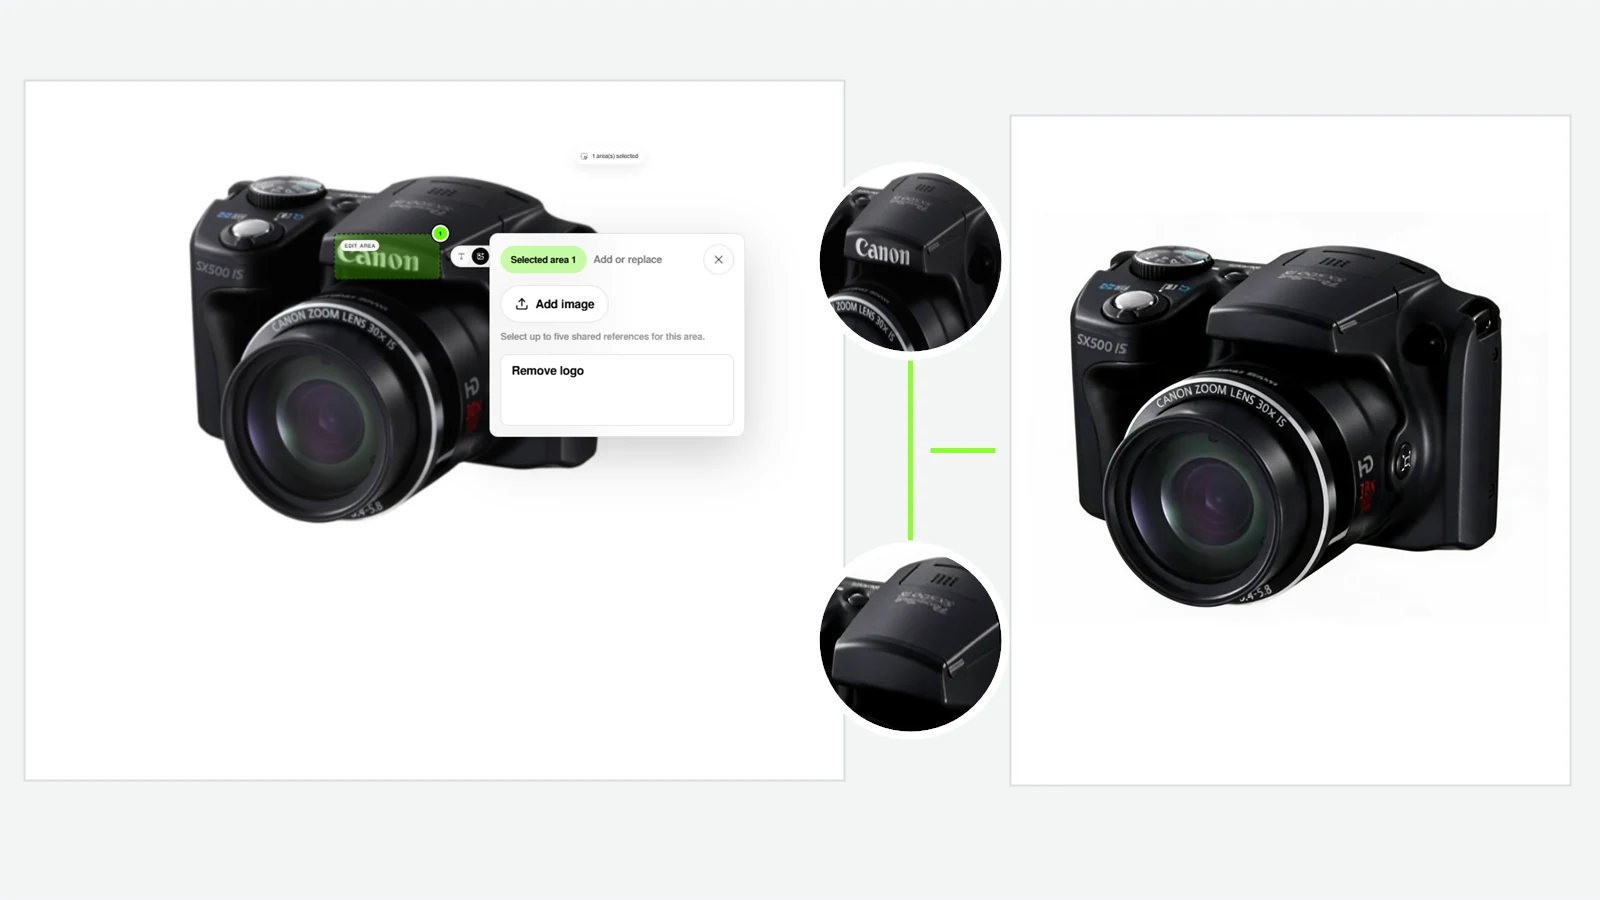
The AI Product Image Editor example removes the front Canon wordmark from one selected area of the camera. The mask covers that wordmark without including the model text, lens ring, top controls, grip, or background.
A broad mask gives the model more pixels to redraw. Keep the selection close to the required correction and describe one change. Removing one front wordmark does not make the product fully unbranded: Canon wording remains on the lens ring, so the result must not be described as a white-label camera.
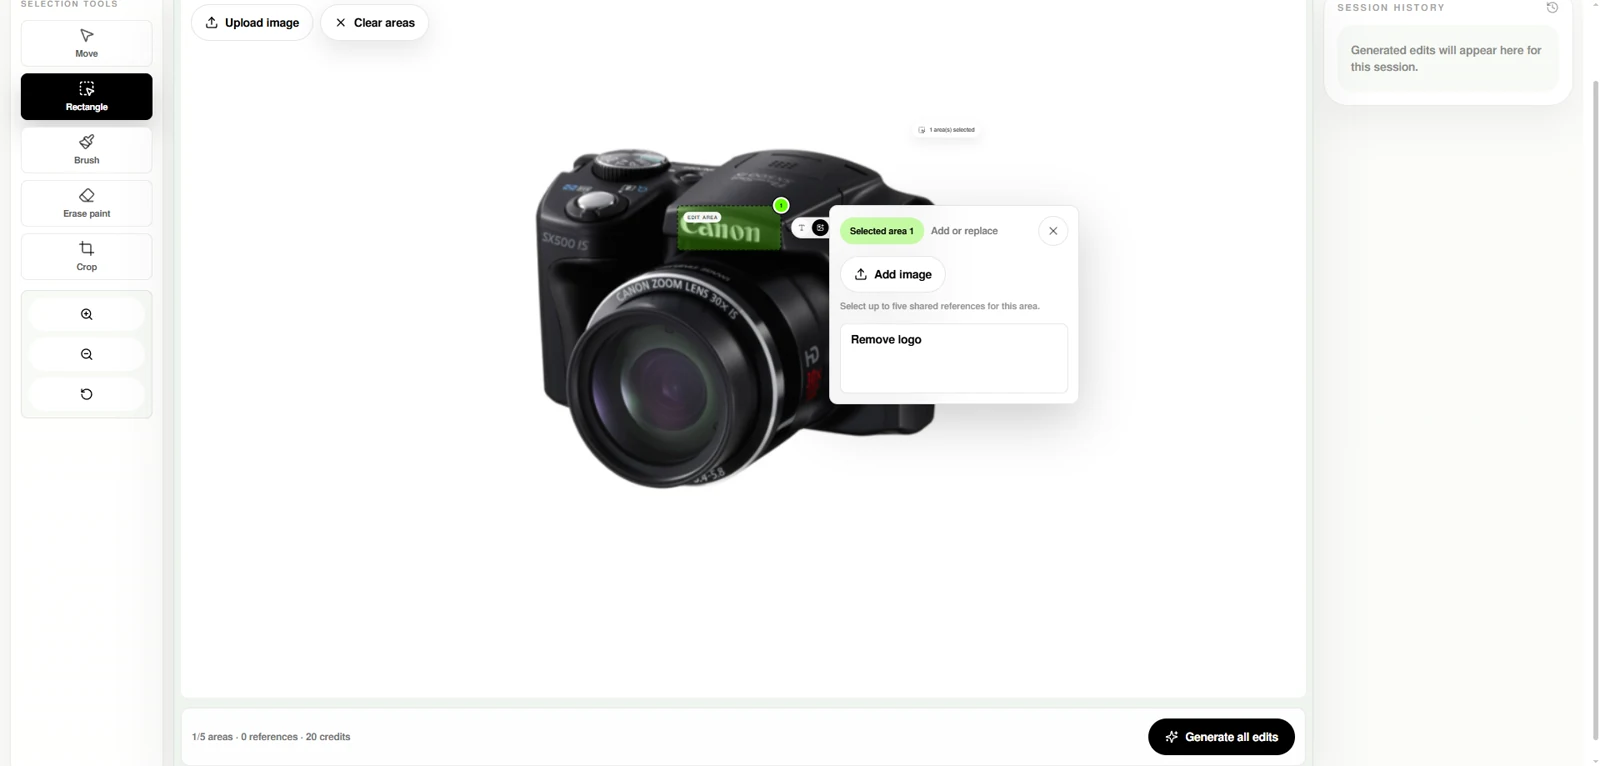
Inspect the filled camera surface first, then scan the entire image. Look for changed model text, lens lettering, controls, edges, seams, reflections, or accidental marks. Apply the result only after both checks pass.
Enhance only information that already exists
Image Enhancer fits a correctly framed source that needs more usable pixels. It can improve delivery resolution and make existing edges easier to inspect. It cannot establish product facts that the source failed to capture.
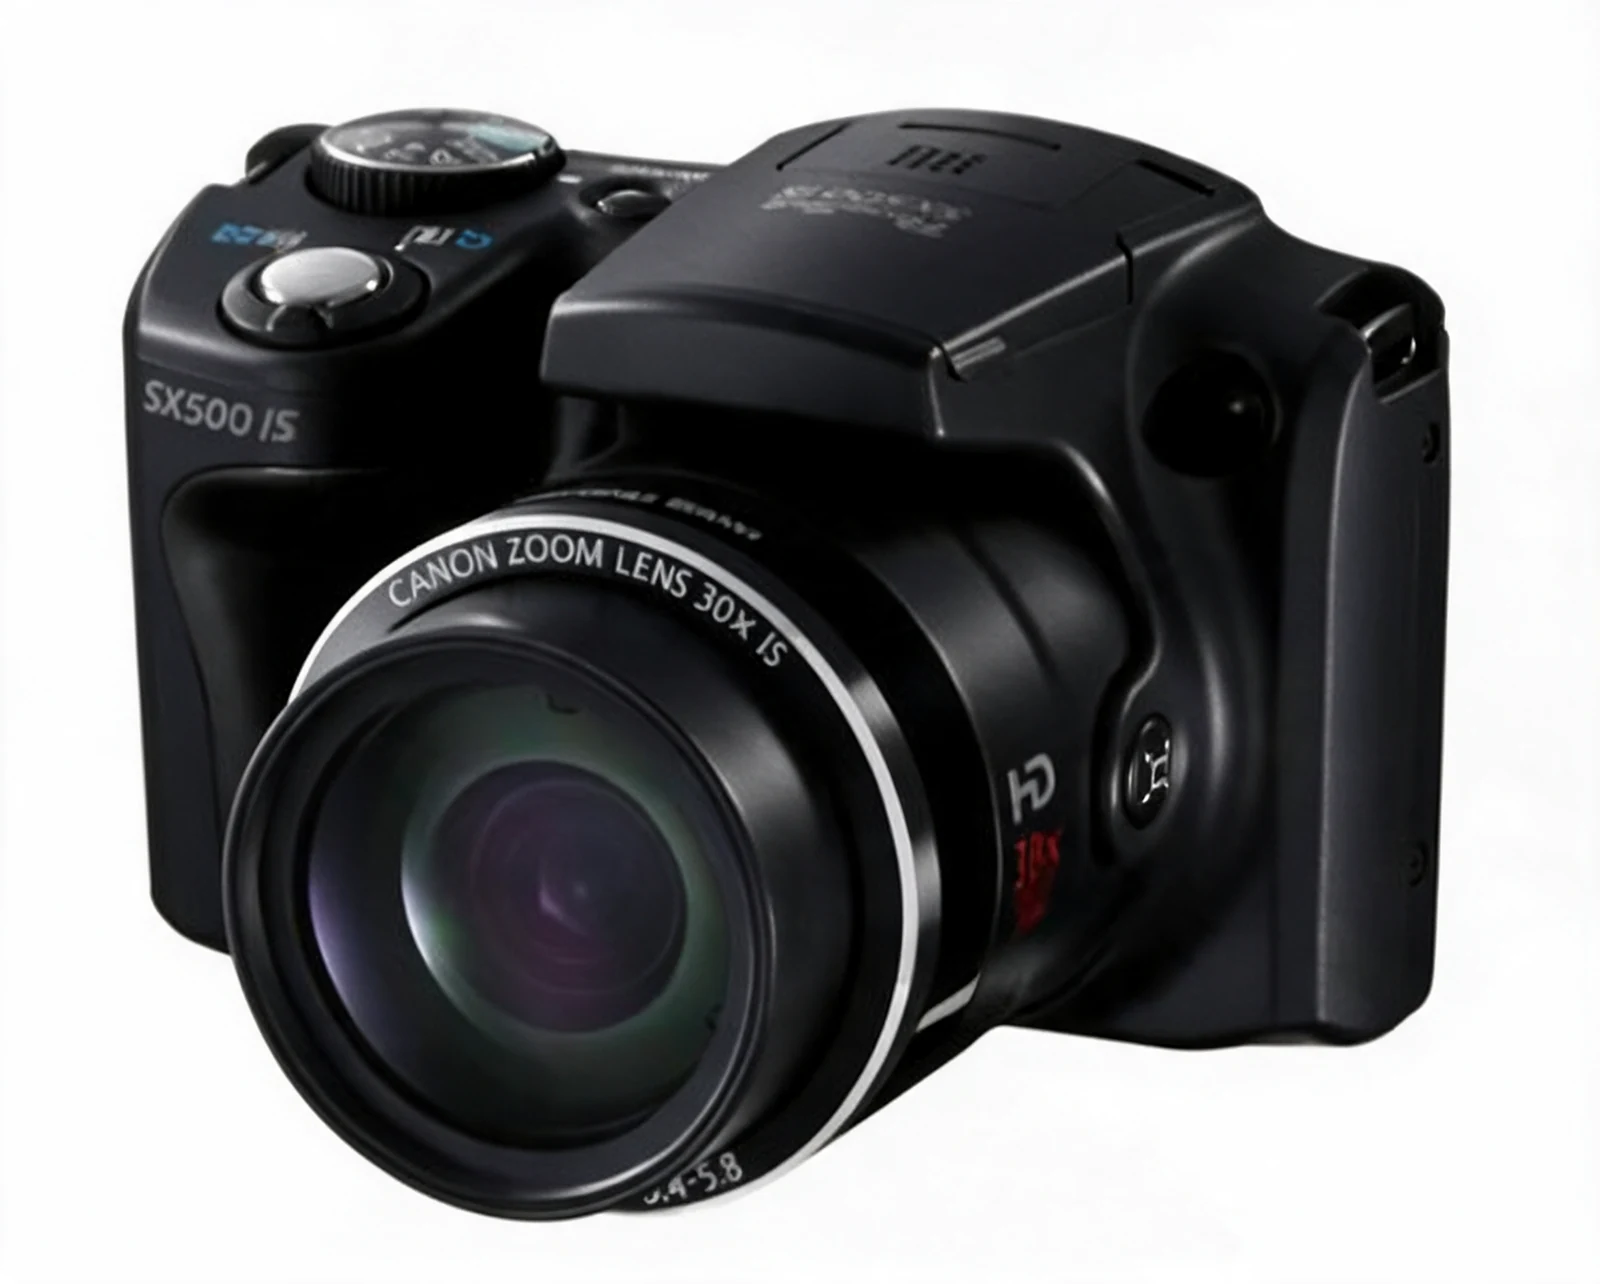
The camera source is small enough to expose this limit. The downloaded Image Enhancer result changes lettering and small body details, so it fails the product-accuracy check and should not be used as an ecommerce output.
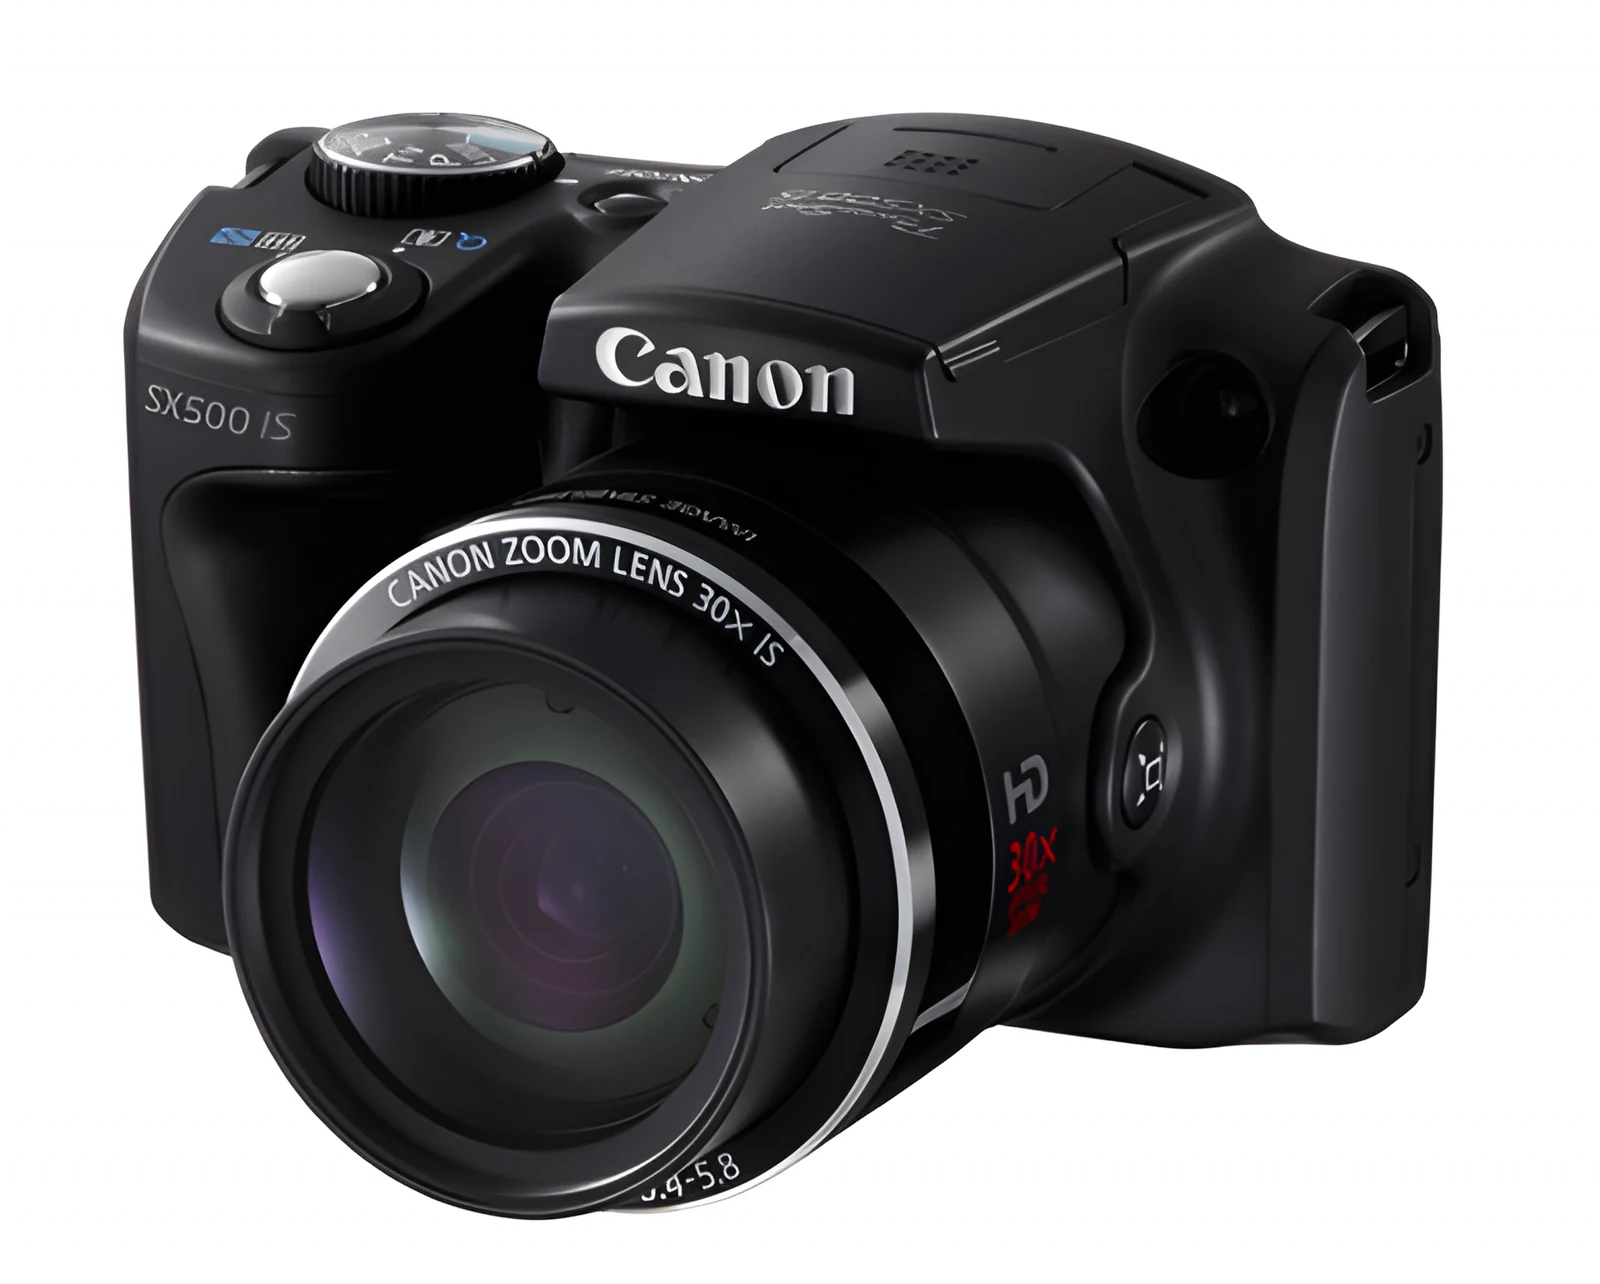
At 100 percent, check:
SX500 ISmodel text and lens-ring lettering;- top dial and shutter controls;
- control count and position;
- grip texture and body seams;
- lens edge and silver ring;
- highlights on the black body.
Reject invented sharpness. A clean-looking line that does not match the reference is still an error.
The separate upscale versus enhance guide explains how to identify a pixel-dimension problem before enhancement. In a cleanup workflow, enhancement belongs after local corrections and before the final export review.
Retouch the approved source for listing use
Product Retouching handles the whole product presentation, but this camera source already has a clean white background. Running another whole-image generation only to demonstrate the tool would add SKU risk without solving a visible problem, so this case deliberately skips that operation.
The enlarged white-background image is an Image Enhancer output, not a Product Retouching result. Its white background does not override the changed lettering. Use Product Retouching when lighting, background, edges, or overall presentation genuinely need work, and start from the accepted local edit or best untouched source.
Review color beside the original rather than from memory. Metallic and reflective products often gain attractive highlights that shift the perceived finish. Check whether the product still represents what a buyer receives.
Create a transparent master without damaging the edge
Free Background Remover creates the reusable cutout. Download PNG when the next layout needs real transparency. A white JPG and a transparent PNG may look similar on a white page, but only the PNG can move cleanly onto another background.
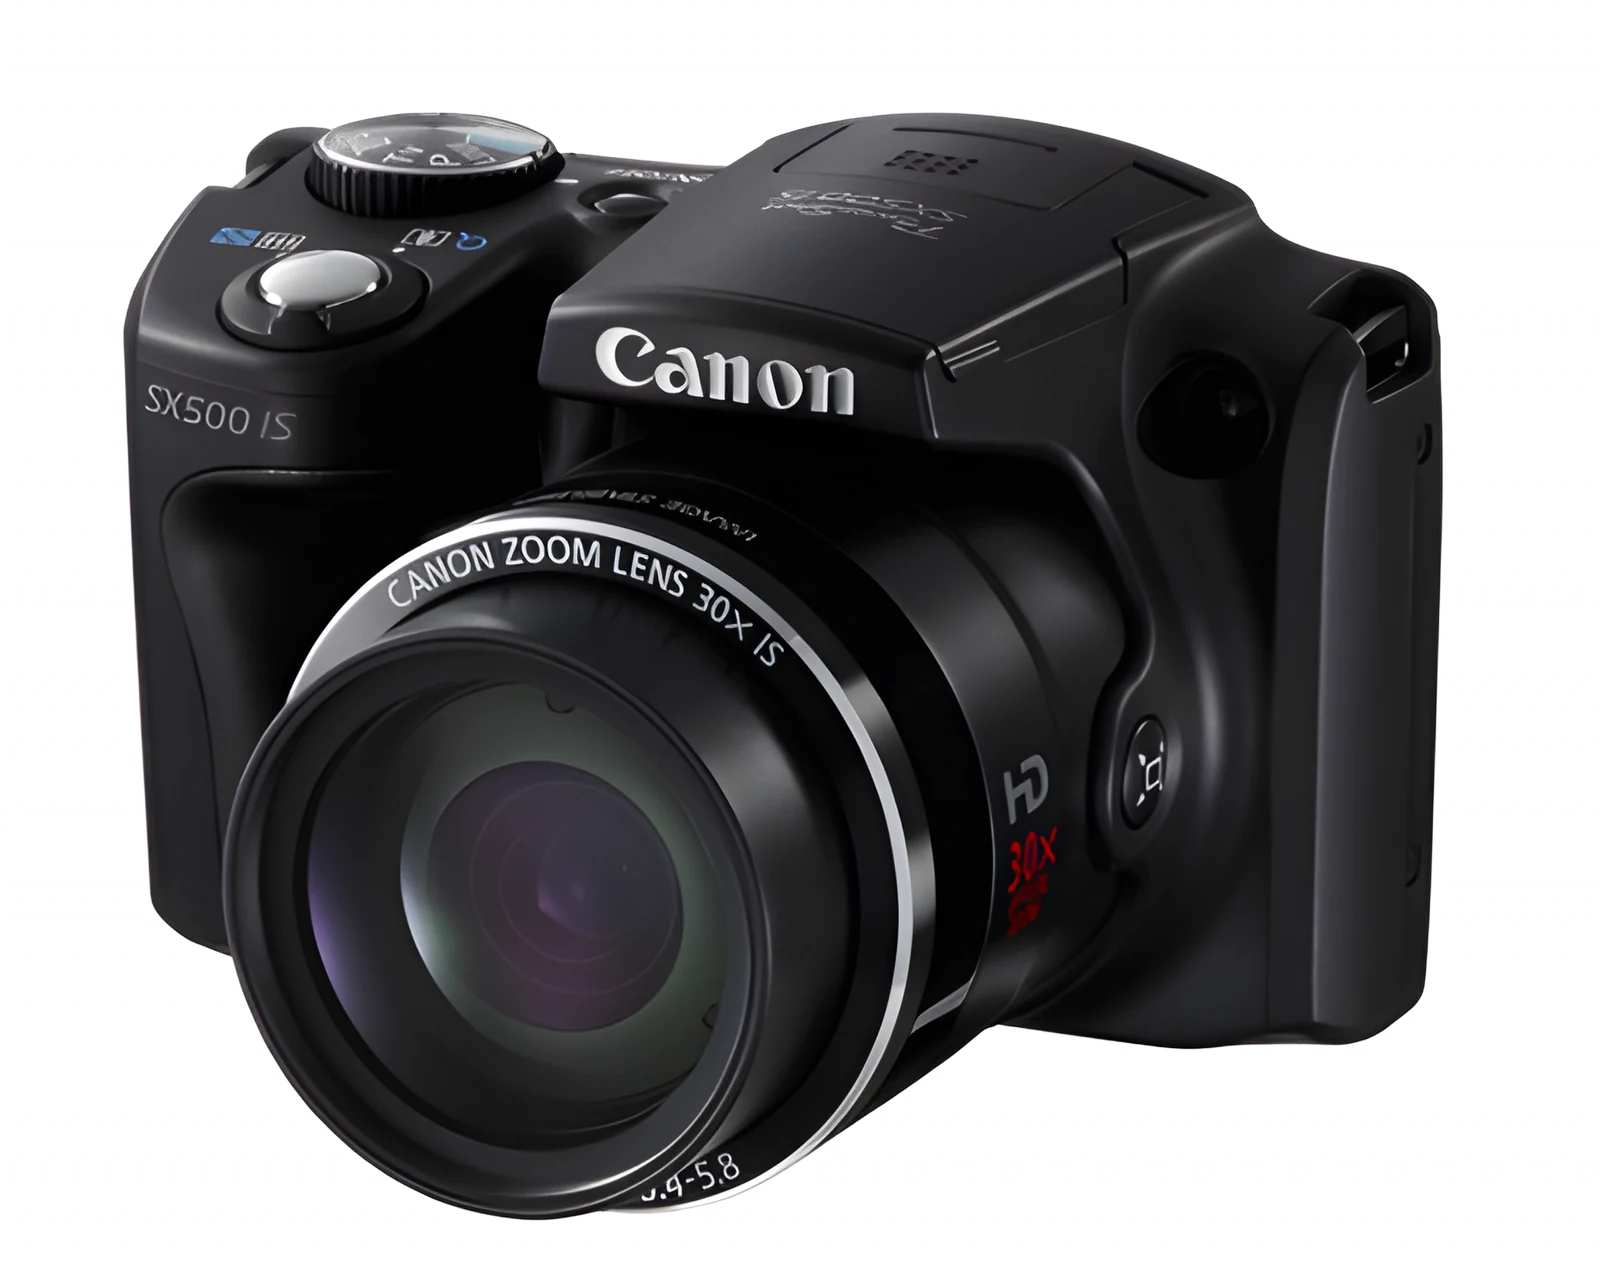
The supplied PNG has a real transparent channel, but it was created from the rejected enlarged image. The cutout can have clean edges and still preserve incorrect lettering. This is why a failed file must not become the input for the next operation.
Place the file on three temporary backgrounds. White reveals dark fringes, gray shows missing semi-transparent pixels, and a dark background exposes pale halos. Inspect the circular lens edge, right grip, top dial, body gaps, soft shadows, and reflective boundaries.
Do not remove a natural contact shadow by default. Keep it when it helps the product sit convincingly on the final background. Remove it when the design system supplies a consistent shadow later.
Export for the destination
One universal download creates avoidable rework. Keep an approved master and export for the real slot.
| Destination | File to prepare | Last review |
|---|---|---|
| Marketplace or PDP main image | high-resolution JPG or PNG on the required background | fill, edge, color, label, platform rule |
| A+ module, listing graphic, ad, or banner | transparent PNG or retouched master | alpha edge, scale, room for copy |
| Archive for later editing | original source plus accepted full-resolution outputs | clear version names and no screenshots |
| Small source reused in a larger layout | enhanced file | 100 percent detail check |
Use descriptive filenames that identify the SKU, view, operation, and version. Keep the untouched original. Screenshots belong in documentation; original downloads belong in production.
When another generation is the wrong choice
Request a better source when the label is unreadable, an unseen surface must appear, the color tolerance is strict, or the operator cannot compare a reflective material. Photograph the item again when the image must prove physical fit, exact scale, safety, or material behavior.
Repeated generations do not add missing evidence. They produce more interpretations of the same incomplete input.
Product image cleanup checklist
Before publishing, compare the result with the approved source and confirm:
- same SKU, shape, color, material, and proportions;
- exact brand spelling, logo shape, and printed text;
- correct controls, ports, vents, seams, cables, and included parts;
- no clipped fine edge, halo, or missing transparent area;
- no invented texture or artificial detail from enhancement;
- correct dimensions, ratio, background, and file format;
- readable result at the intended desktop and mobile size;
- original downloaded output used instead of a browser screenshot.
If the reviewer cannot verify one item, return to the operation that introduced the uncertainty. Do not pass an unresolved output into another generation step.
Common questions
Should background removal happen before retouching?
Use the order that protects the source. For a rough supplier photo, retouching can produce a cleaner product master before the final cutout. If the product is already clean and only needs isolation, remove the background directly.
Can Image Enhancer fix unreadable packaging text?
No reliable workflow can reconstruct exact text that the source does not show. Supply a close packaging reference or make a new photograph.
When should I use Product Image Editor instead of Product Retouching?
Use the editor for one selected correction. Use retouching when the whole product image needs cleaner ecommerce presentation.
Should I export JPG or PNG?
Use PNG for transparency and for workflows that need a reusable cutout. Use JPG when the final image has a fixed background and smaller delivery size matters. Follow the destination's requirements.
Can the same cleaned image feed other LoomaDesign tools?
Yes. An approved retouched or transparent master can support listing graphics, A+ modules, scenes, and model images. Recheck the product after every later generation.
Sources and product references
The LoomaDesign pages below document the current public purpose of each product-image tool. The camera observations come from the untouched source, selected-area removal, rejected enhancement, and exported files shown above.
The Adobe help page supports the transparent-background export terminology. It does not provide or validate any claim about the demonstration SKU.