
How to Use LoomaDesign: A Complete Product Image Workflow
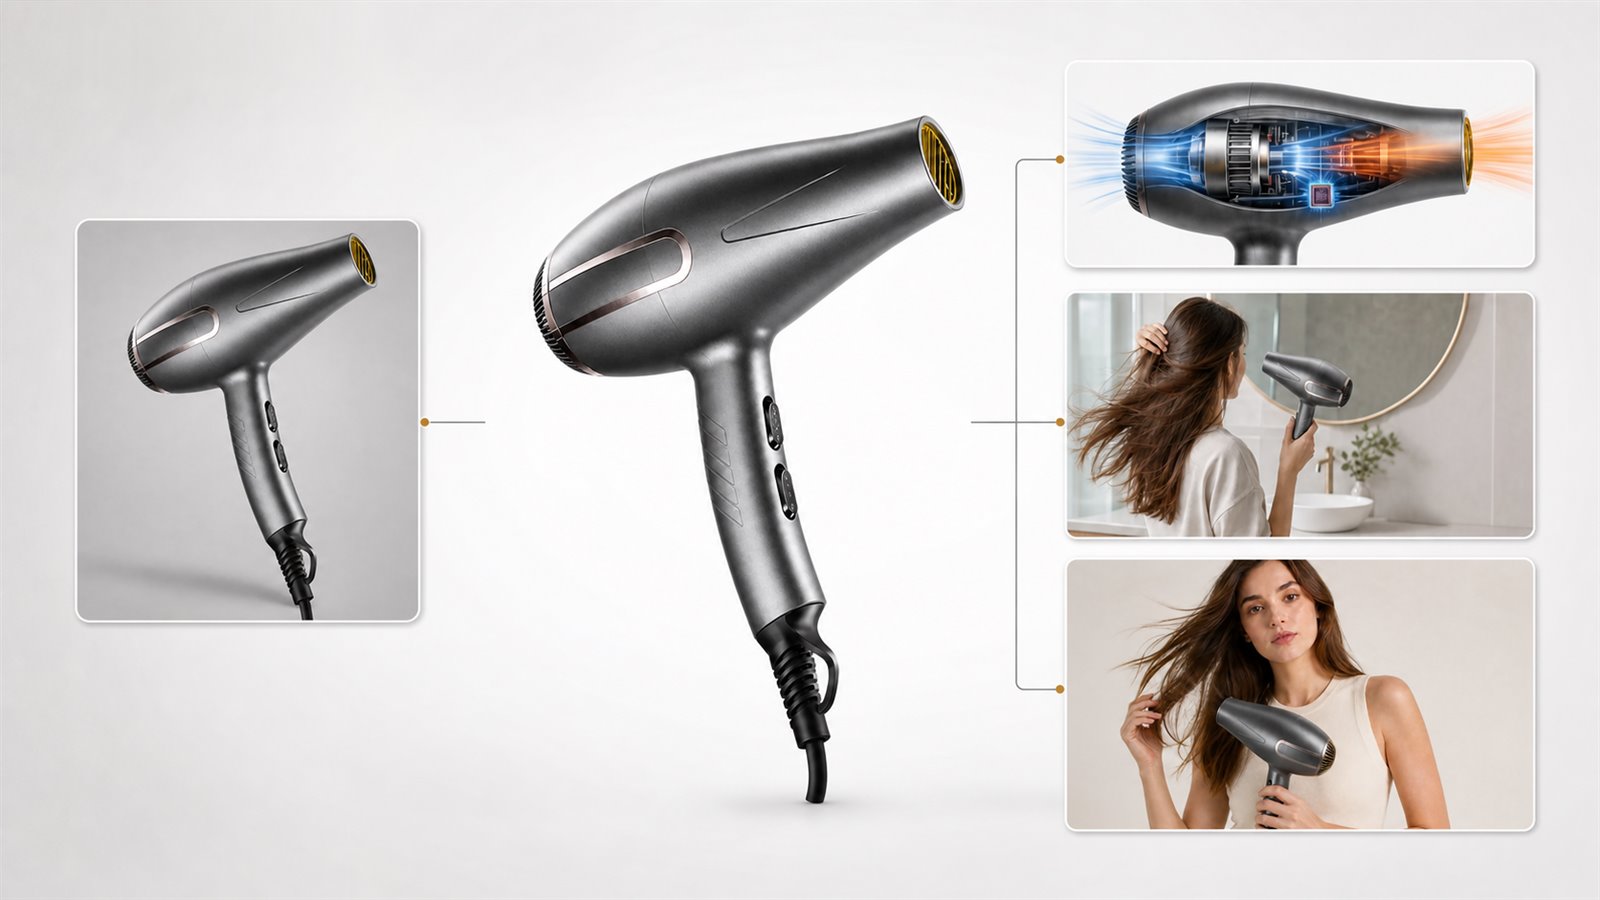
LoomaDesign groups several ecommerce image jobs in one workspace. It can clean a source photo, remove a background, edit one selected area, produce listing graphics and A+ content, place a product in a lifestyle scene, create model imagery, or apply an item with Virtual Try-On. The useful starting point is the image job, followed by the tool.
This guide follows one hair dryer through the workflow. The source photo becomes a logo-edited product image, a white-background asset, a listing graphic, an A+ page, a lifestyle scene, and an on-model visual. Separate apparel examples cover Virtual Try-On because a hair dryer cannot demonstrate fit, drape, footwear contact, or accessory placement.
Quick answer
Start with one accurate product photo and a close detail reference. Record the real product name, specifications, included parts, colors, and visible features. Choose the LoomaDesign tool that matches the next image slot, generate one result, and compare that result with the approved source before producing the rest of the set.
Use cleanup tools before creative tools when the source image is weak. Use Additional Image or A+ Content Image after the seller confirms the product facts. Add a lifestyle scene or model when the image answers a buyer question. Every downloaded result still needs a SKU, copy, and export check.
Choose the tool by the image job
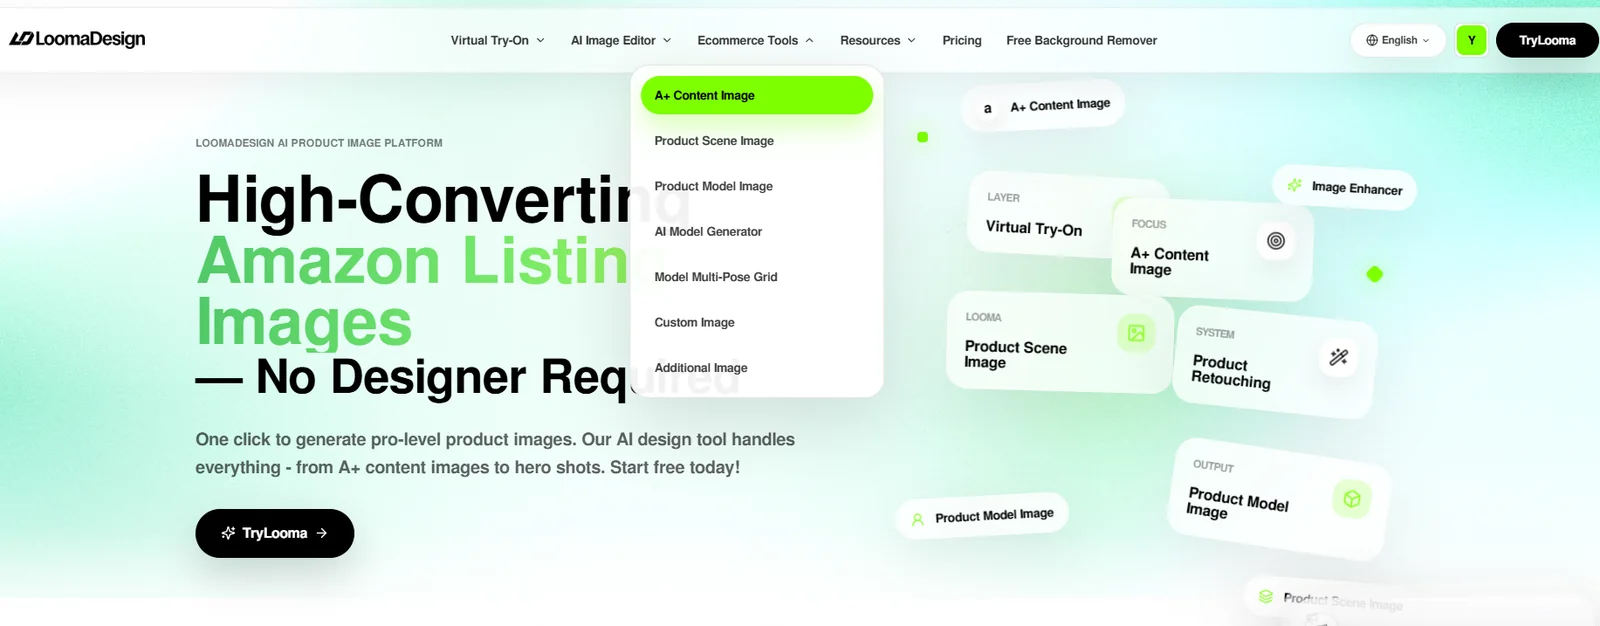
The header Tools menu opens the main workflows. The table below covers the full decision, including tools that would make a navigation screenshot too dense to read on mobile.
| Image job | LoomaDesign tool | Best use | Main review risk |
|---|---|---|---|
| Change one local area | AI Product Image Editor | Add, remove, or replace a selected element | Nearby product details or text change |
| Create a clean white-background image | Product Retouching | Refine edges, surfaces, lighting, and presentation | Shape, finish, buttons, or ports drift |
| Remove the background | Free Background Remover | Export a transparent PNG for another workflow | Cutout edge and lost fine parts |
| Improve a soft source | Image Enhancer | Produce a cleaner, larger delivery from a usable image | The model invents detail that the source never captured |
| Create one gallery support graphic | Additional Image | Explain one verified feature or specification | Invented numbers, claims, icons, or labels |
| Build a campaign banner | Custom Image | Combine a product, copy direction, and banner format | Brand names and microcopy drift |
| Build a connected A+ page | A+ Content Image | Turn approved facts into several related modules | Unsupported accessories and unreadable text |
| Place a product in context | Product Scene Image | Show use, setting, scale, storage, or mood | The scene changes product scale or hides the product |
| Create an on-model product visual | Product Model Image | Show a product with a model reference and requirement | Product contact, anatomy, or identity drift |
| Create a reusable model base | AI Model Generator | Produce a commercial model before product placement | The character does not match the target market or brief |
| Expand one model into pose options | Model Multi-Pose Grid | Review nine poses with a consistent model and outfit | Identity and garment details vary between cells |
| Apply a garment or accessory | Virtual Try-On | Clothing, shoes, jewelry, wigs, and sunglasses | Fit, contact, scale, reflections, and face identity |
No tool can verify a fact that the seller did not supply. The generation controls presentation; the product record controls truth.
Prepare the product record before generating
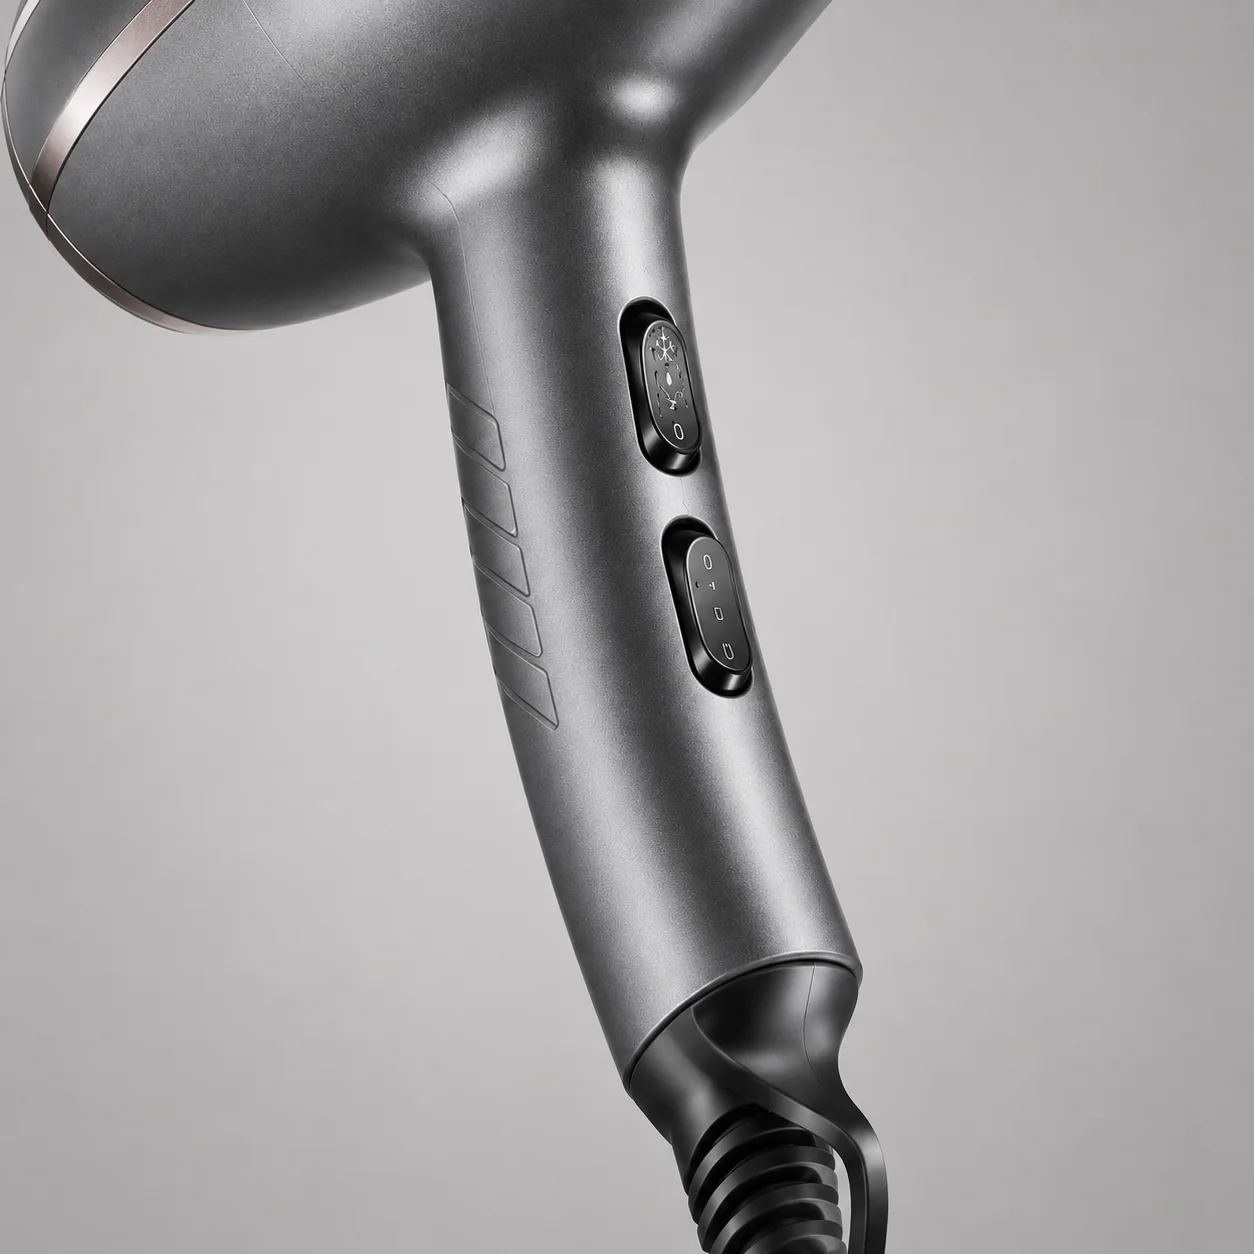
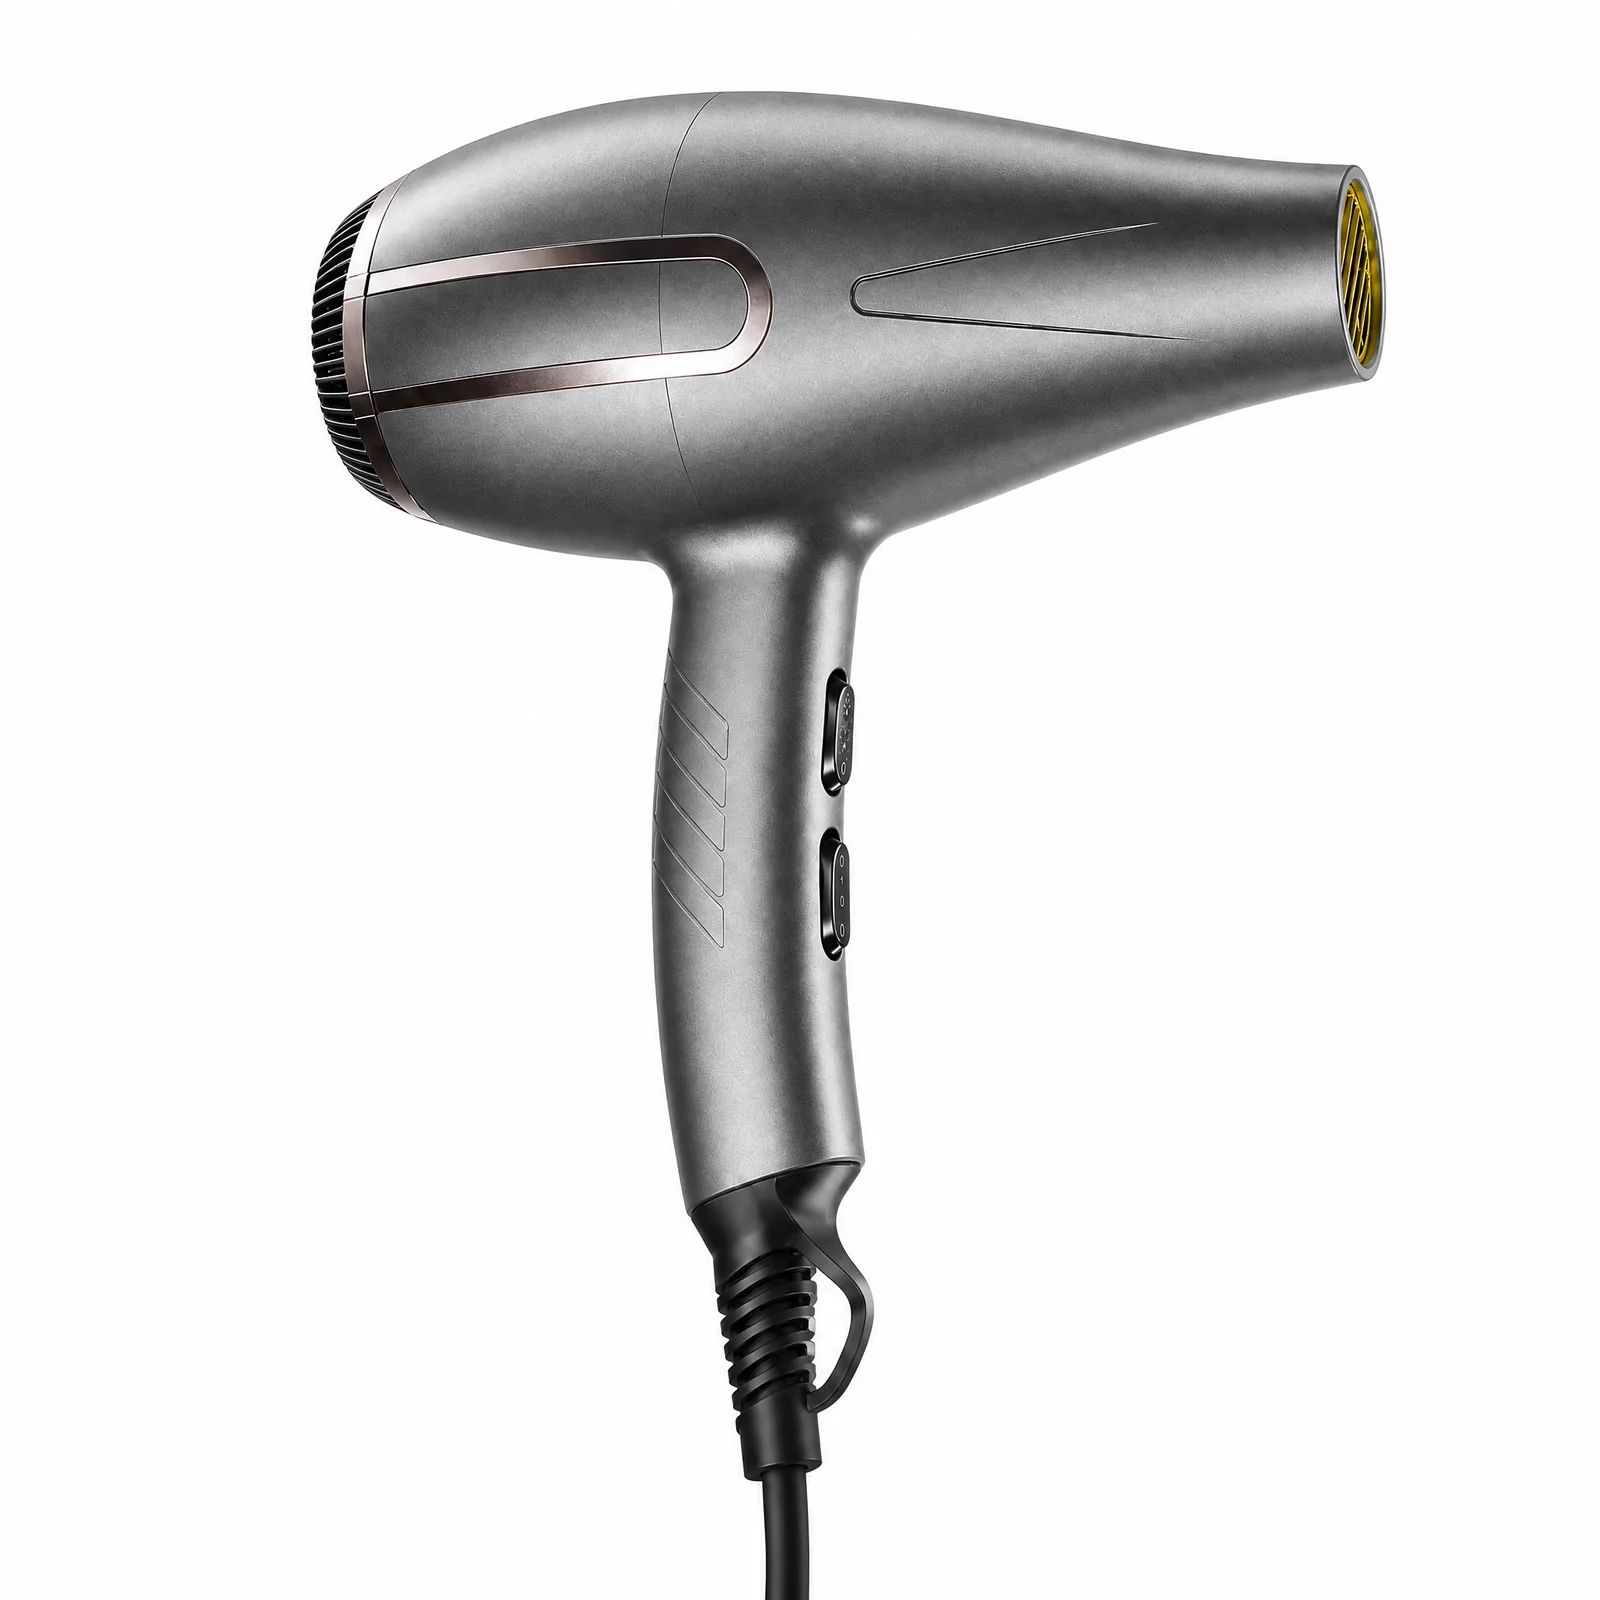
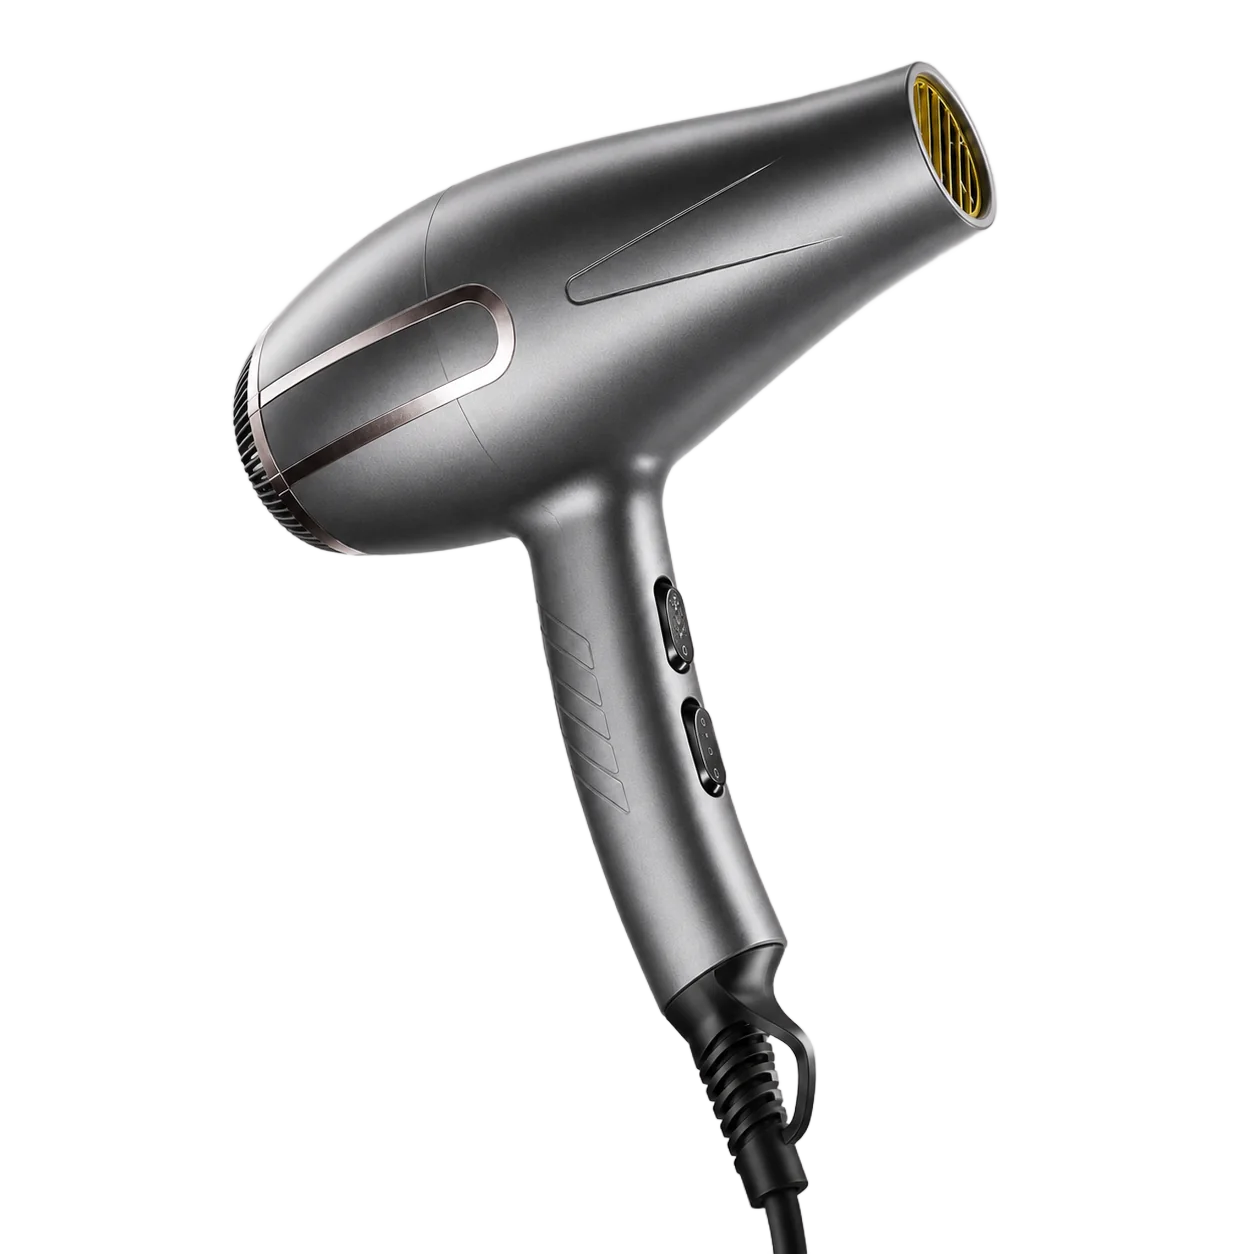
The example in this guide starts with a square hair dryer source image and a separate close-up of its controls and handle. The second image matters because the buttons, grip texture, metallic finish, rear vent, gold outlet grille, and cord connection can change during generation even when the overall silhouette still looks correct.
Keep these inputs beside the project:
- one clear front or three-quarter product photo;
- one close reference for the highest-risk detail;
- the exact brand spelling and approved logo file;
- verified specifications and selling points;
- a list of included accessories;
- real dimensions, pack quantity, and color name;
- the destination, image slot, aspect ratio, and language.
The source does not need studio polish. It needs enough evidence to reject a polished but inaccurate result.
Work inside one tool at a time
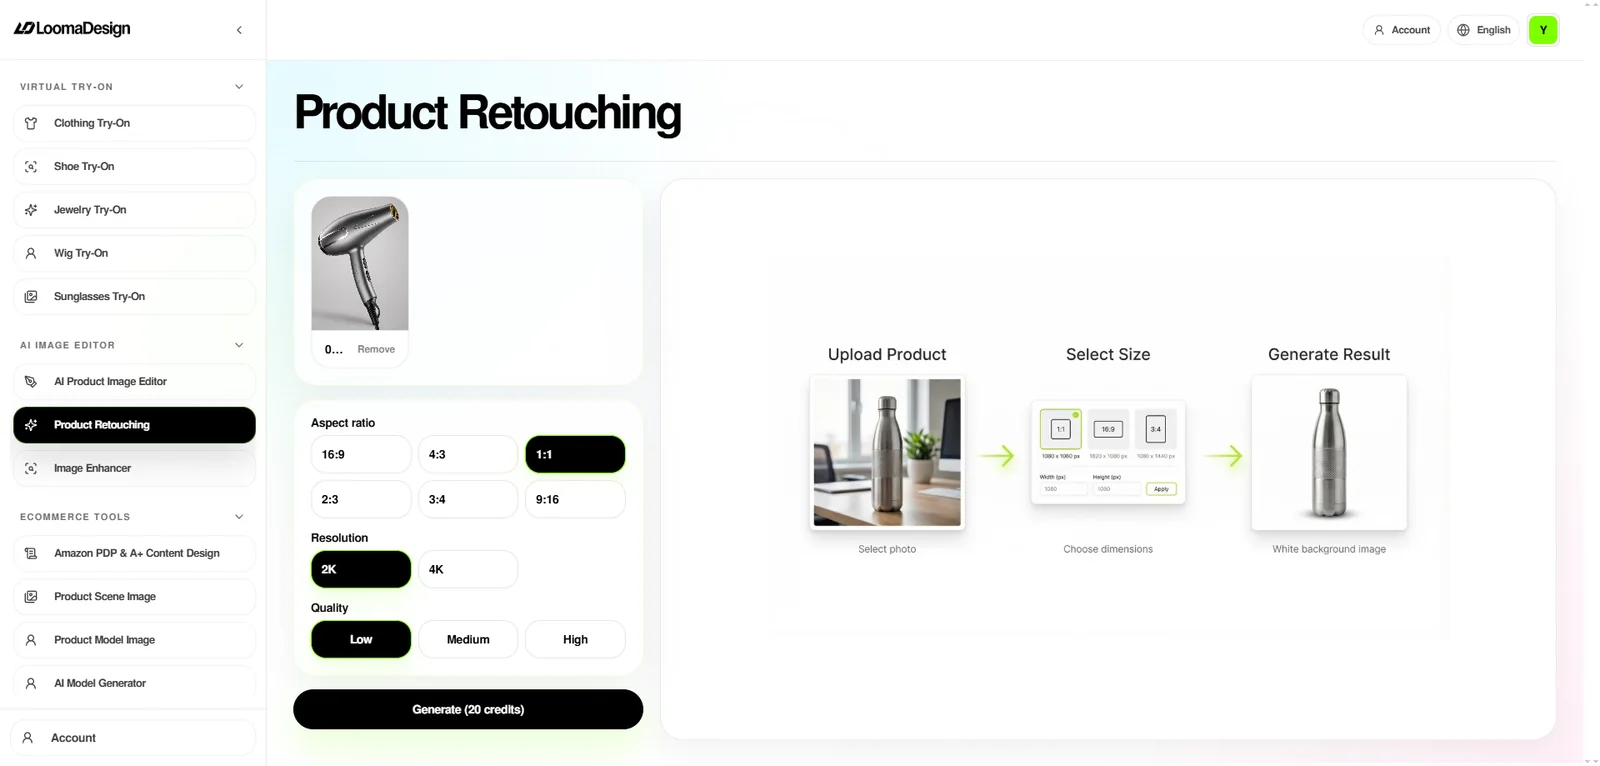
The signed-in tools share a practical pattern. Upload the required source, set the output ratio and quality, add product facts or creative direction, generate one test, inspect it, and download the accepted file. A failed test should change the prompt, reference, or tool choice before more credits are spent.
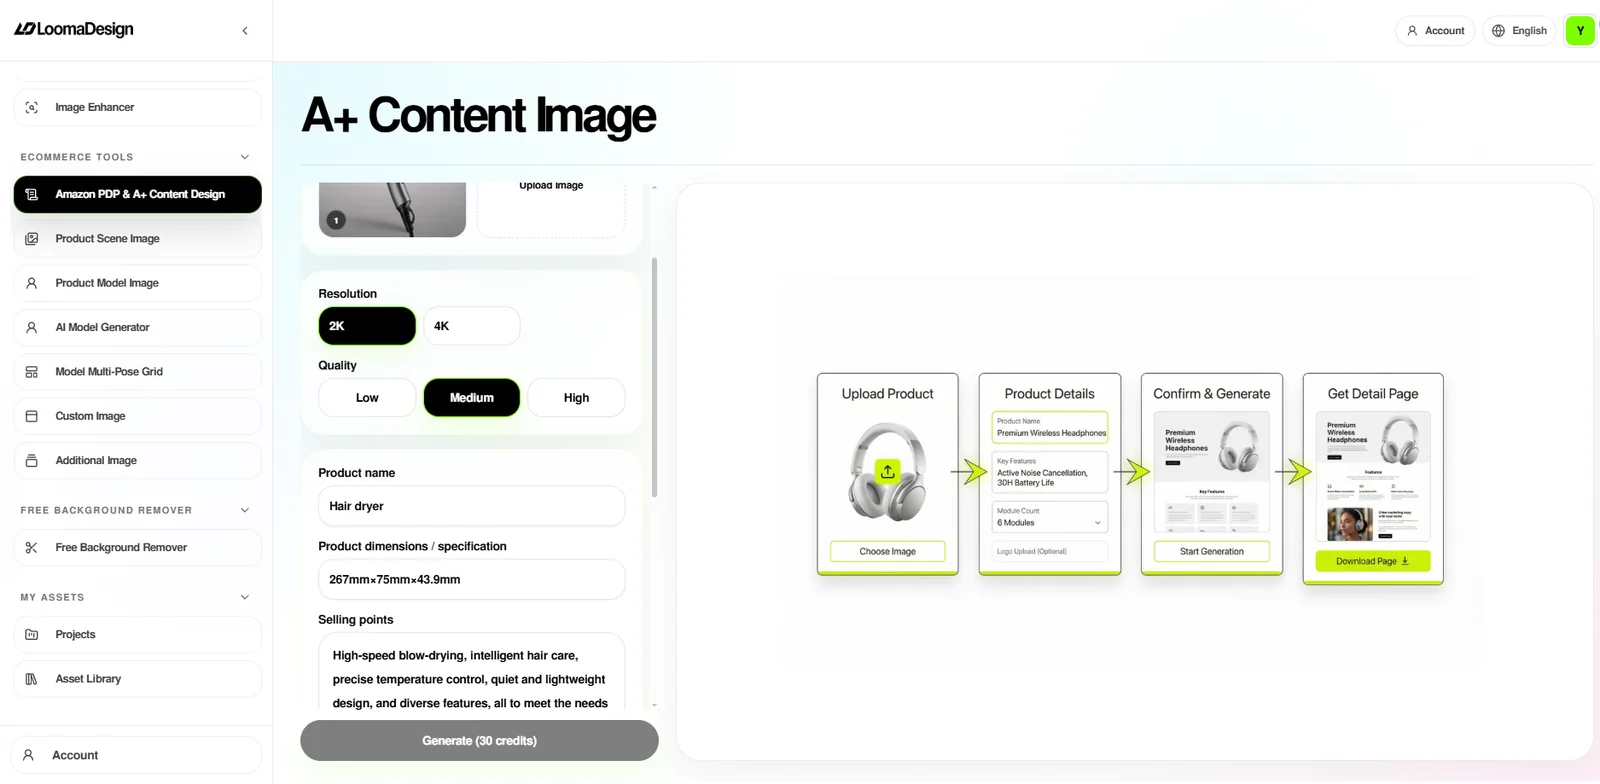
The Product Retouching screen shows that shared structure: tool navigation on the left, source and settings in the working column, a clear Generate action, and a result area for the completed job. The other tools add fields for selling points, scenes, models, modules, or item type, but the review loop remains the same.
Edit a selected area without losing the product
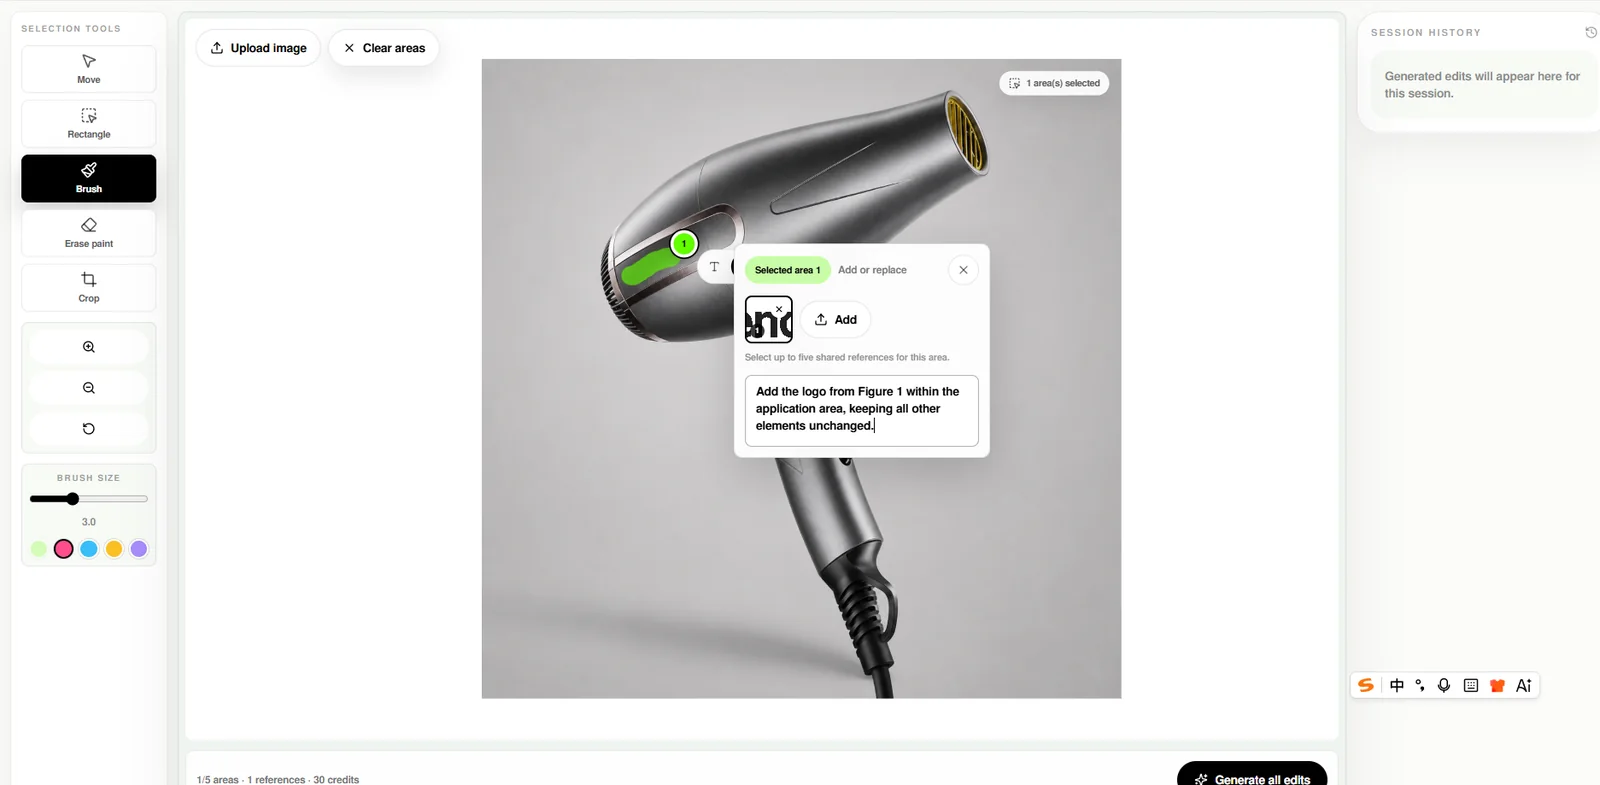
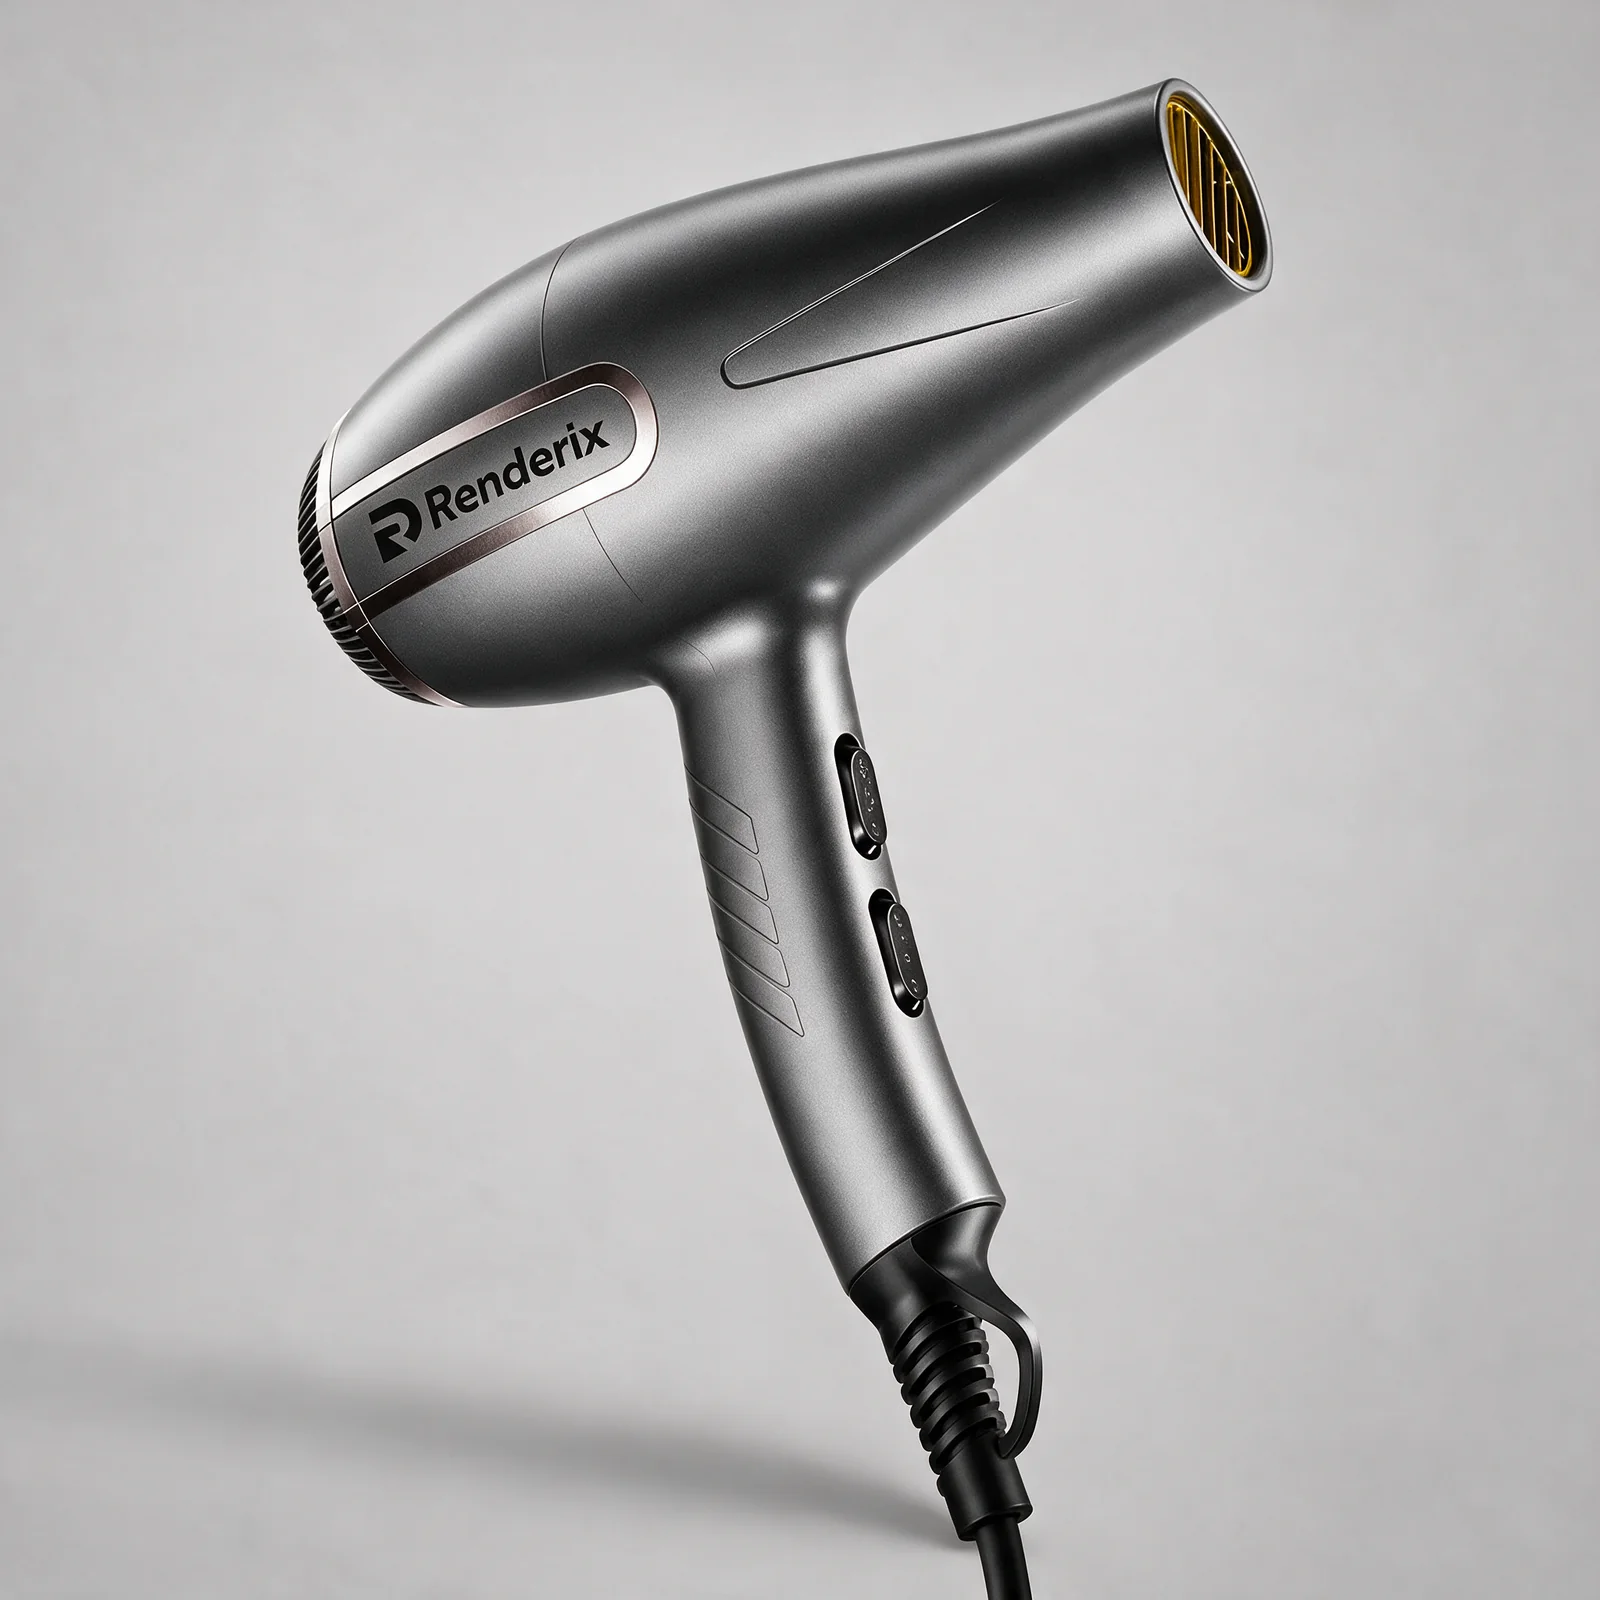
The Product Image Editor example selects a small area on the hair dryer body and places a supplied logo inside that selection. The instruction keeps the rest of the image unchanged. The generated result adds the Renderix mark while preserving the dryer body, controls, vent, cord, and background.
Selection size affects the risk. A loose mask gives the model permission to redraw more of the product. A tight mask works better for a label, logo, local cleanup, or one prop. The result still needs a side-by-side check because a clean edge can hide a changed letter, button, or seam.
Create listing graphics and A+ content from verified facts
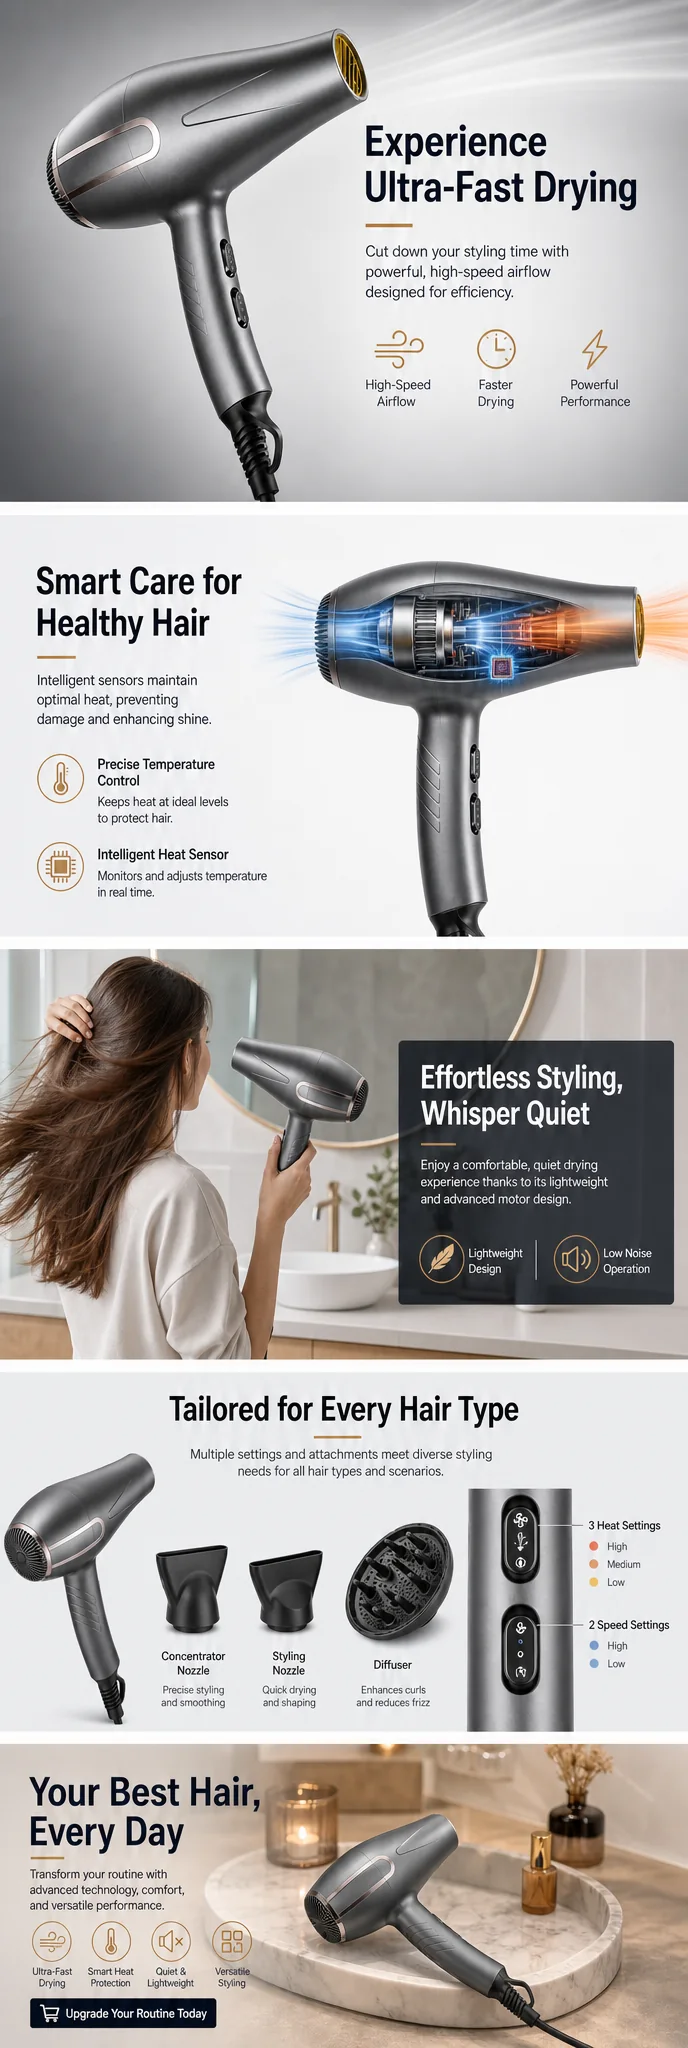
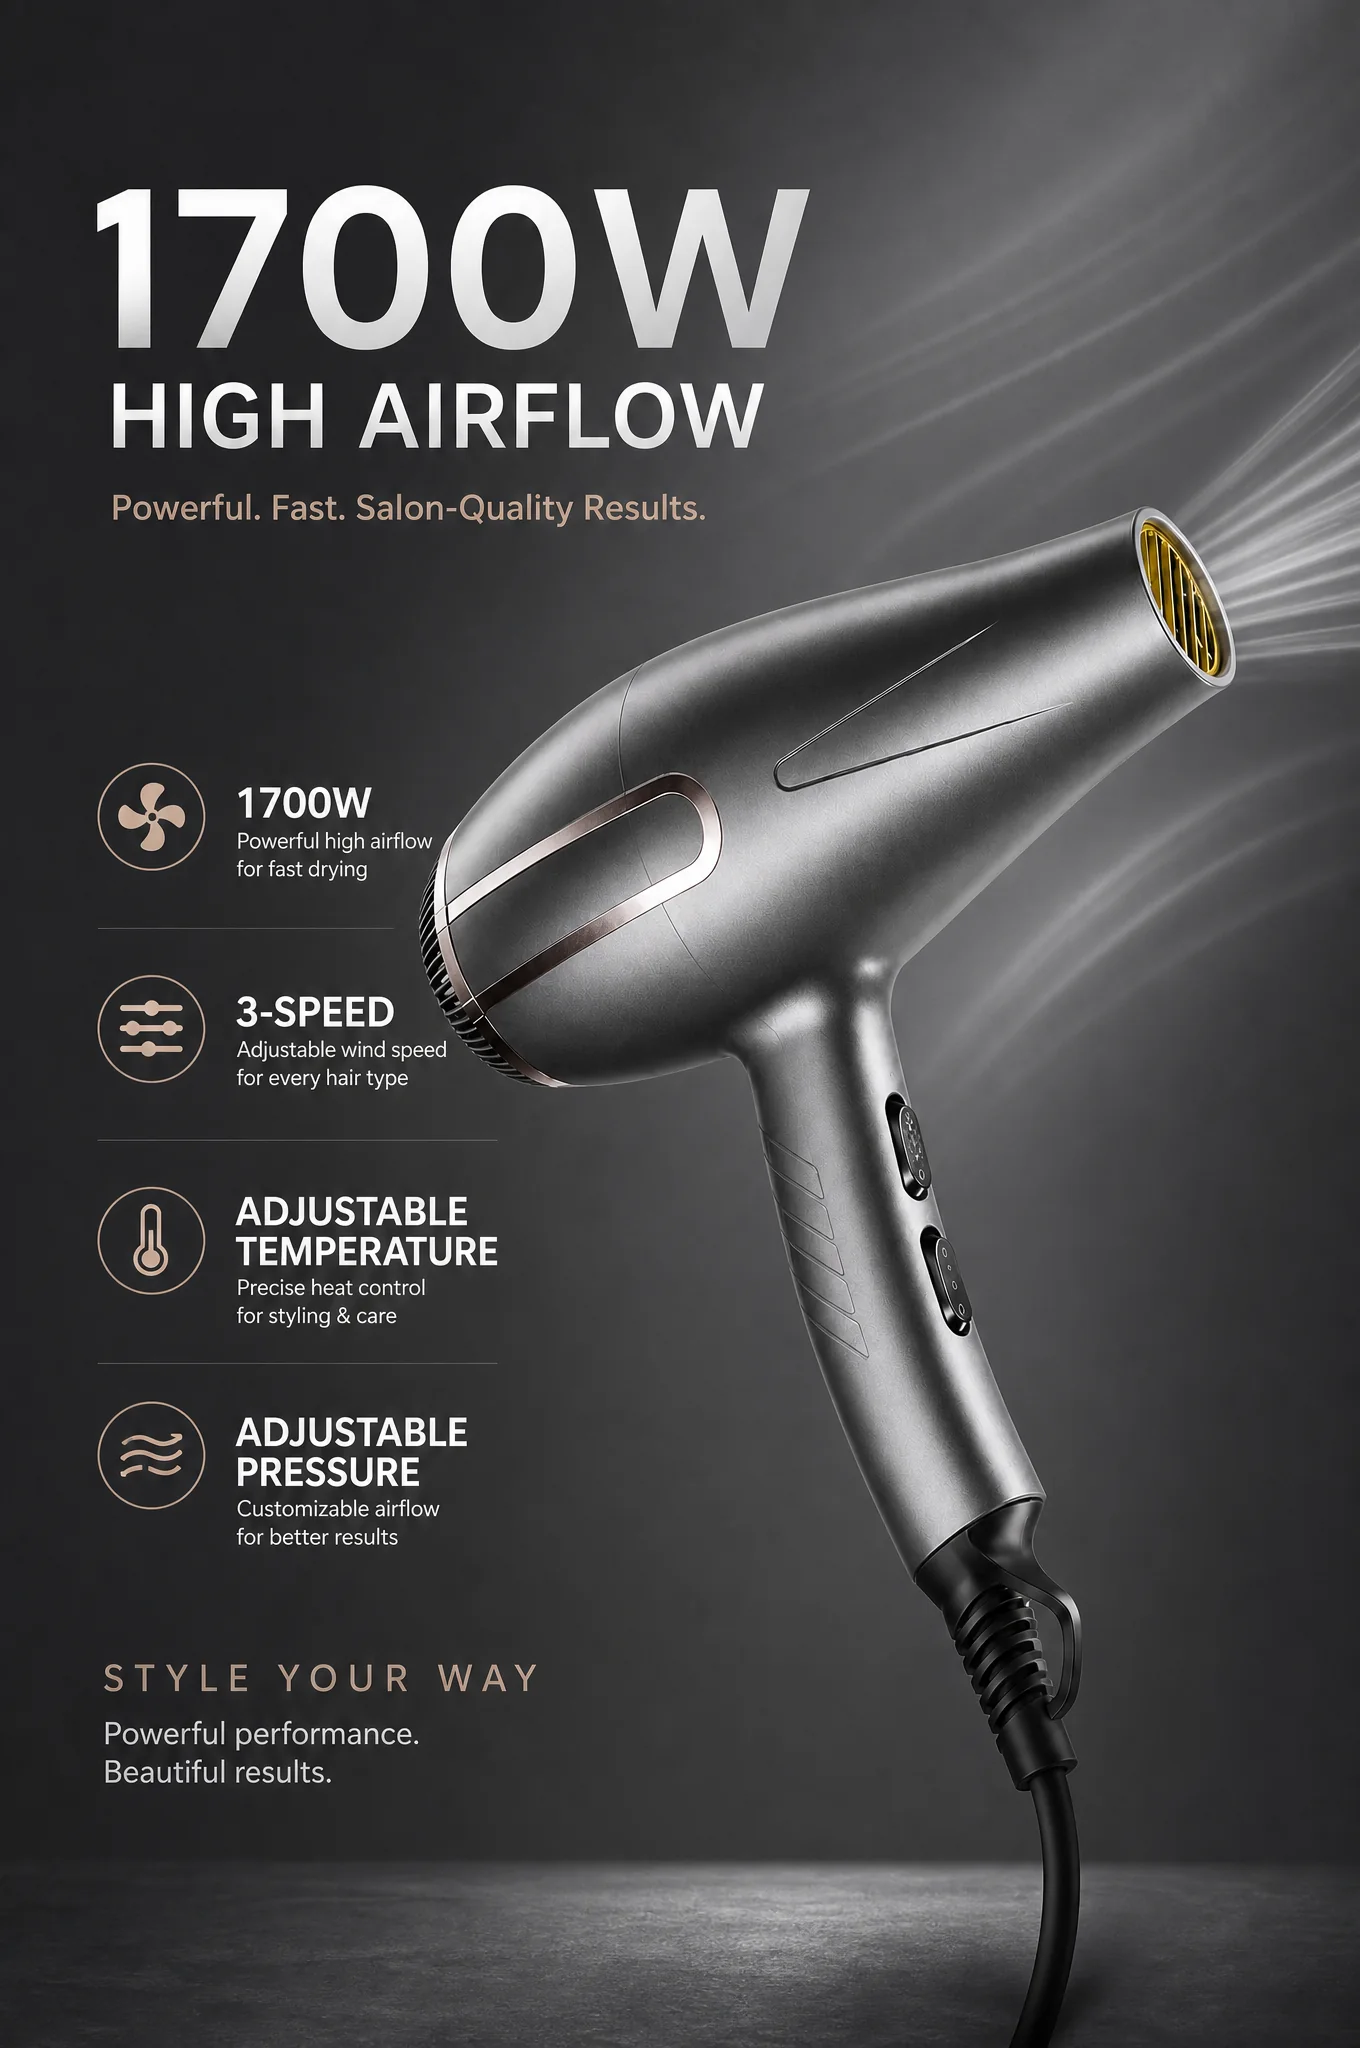
The same hair dryer has confirmed accessories and specifications, including 1700W power, three speed settings, adjustable temperature, and adjustable pressure. Additional Image turns those facts into one support graphic. A+ Content Image distributes the wider story across connected modules with product views, feature explanations, an in-use image, and included attachments.
Enter product facts in short, checkable statements. One module should do one job. Product identification, airflow controls, hair-care features, included parts, and use context can each take a separate panel. Long paragraphs and repeated claims make the final page harder to scan and harder to verify.
Generated A+ text needs a mobile check. The full 688 x 2048 image shows the module sequence, while individual module crops will let readers inspect the copy and product detail without shrinking the entire page into an unreadable strip.
The public Amazon A+ Content workflow explains that use case before a seller enters the full tool.
Clean the source before creative production
Product Retouching, Free Background Remover, and Image Enhancer solve three different problems. Retouching produces a cleaner marketplace-ready rendering. Background removal creates a transparent asset. Enhancement raises usable resolution while trying to preserve the existing composition.
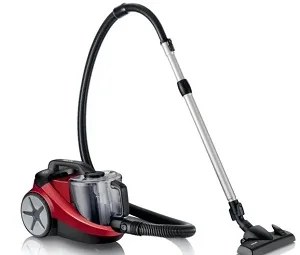
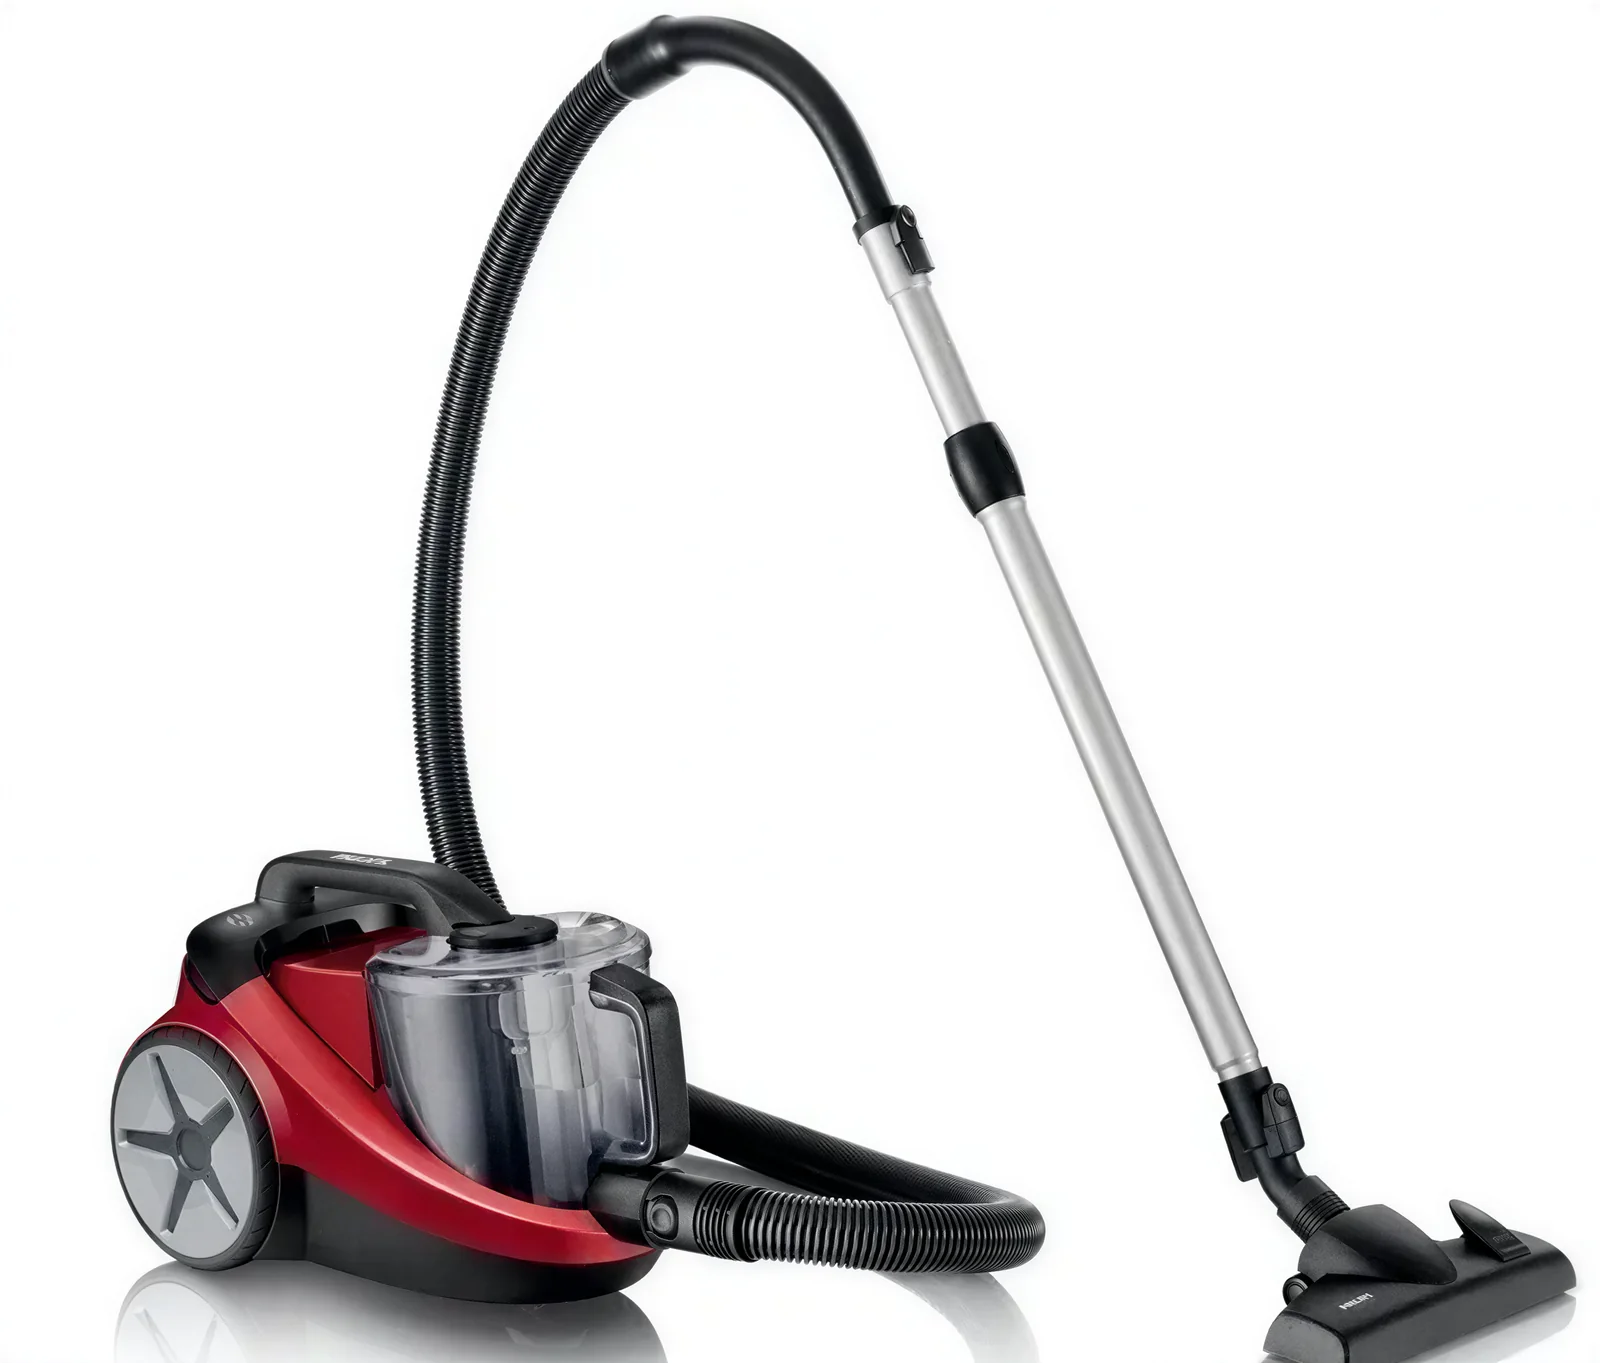
The retouched hair dryer output keeps the metallic shell, rose-gold trim, gold outlet grille, handle controls, and cord on a white background. The transparent PNG carries the same product into layouts that need their own background. A separate vacuum cleaner example isolates the enhancement task: the 300 x 255 input is soft, while the 3064 x 2610 output is large enough for edge and detail inspection.
Enhancement cannot recover a label that never appeared in the source. Check the upgraded file at 100 percent. Inspect text, logos, vents, reflective edges, cables, stitching, and transparent materials.
Free Background Remover is available as a separate public tool for the transparent-PNG step.
Add context with scenes and models
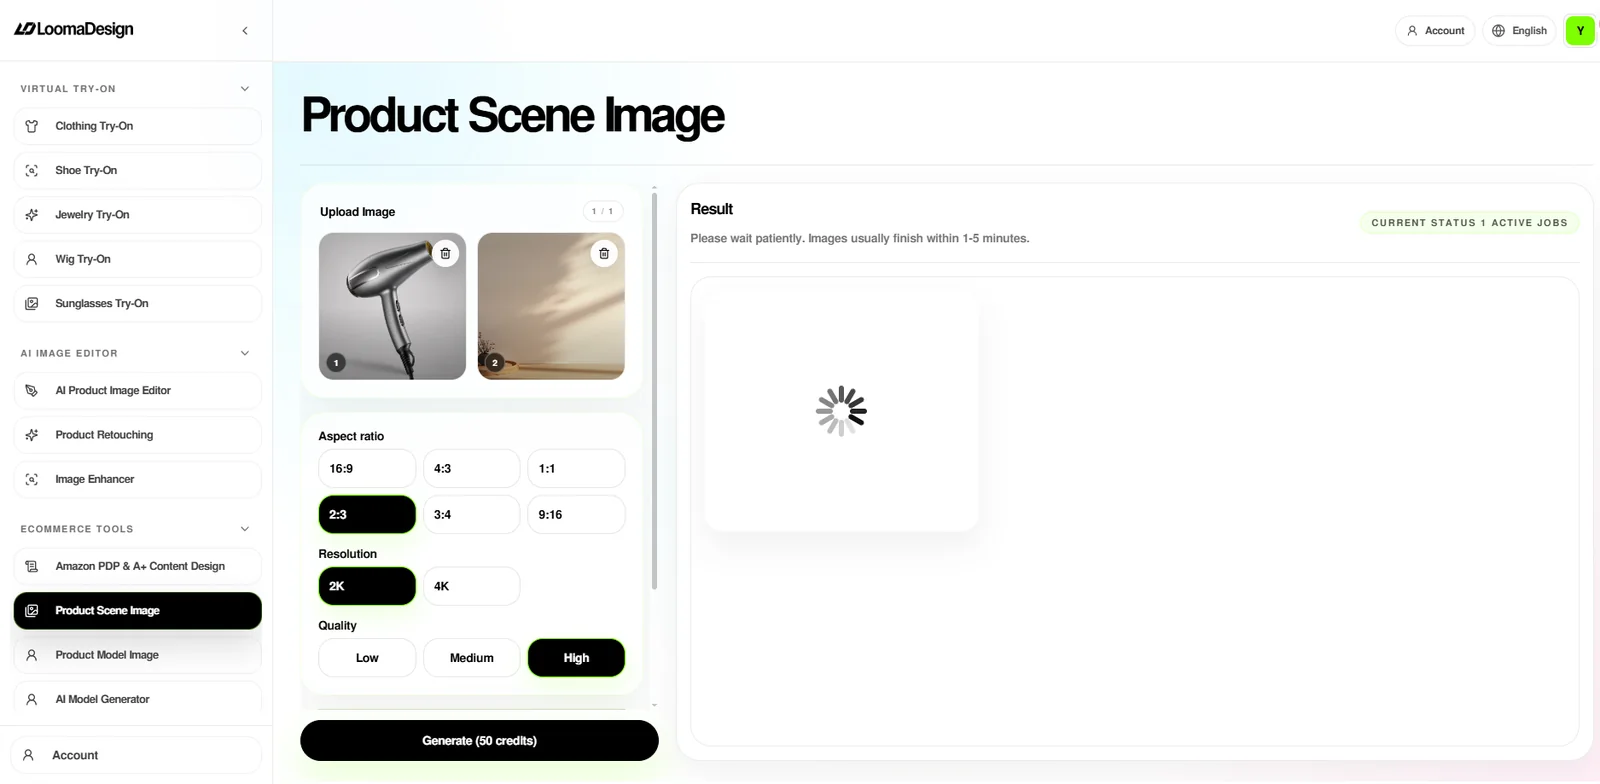
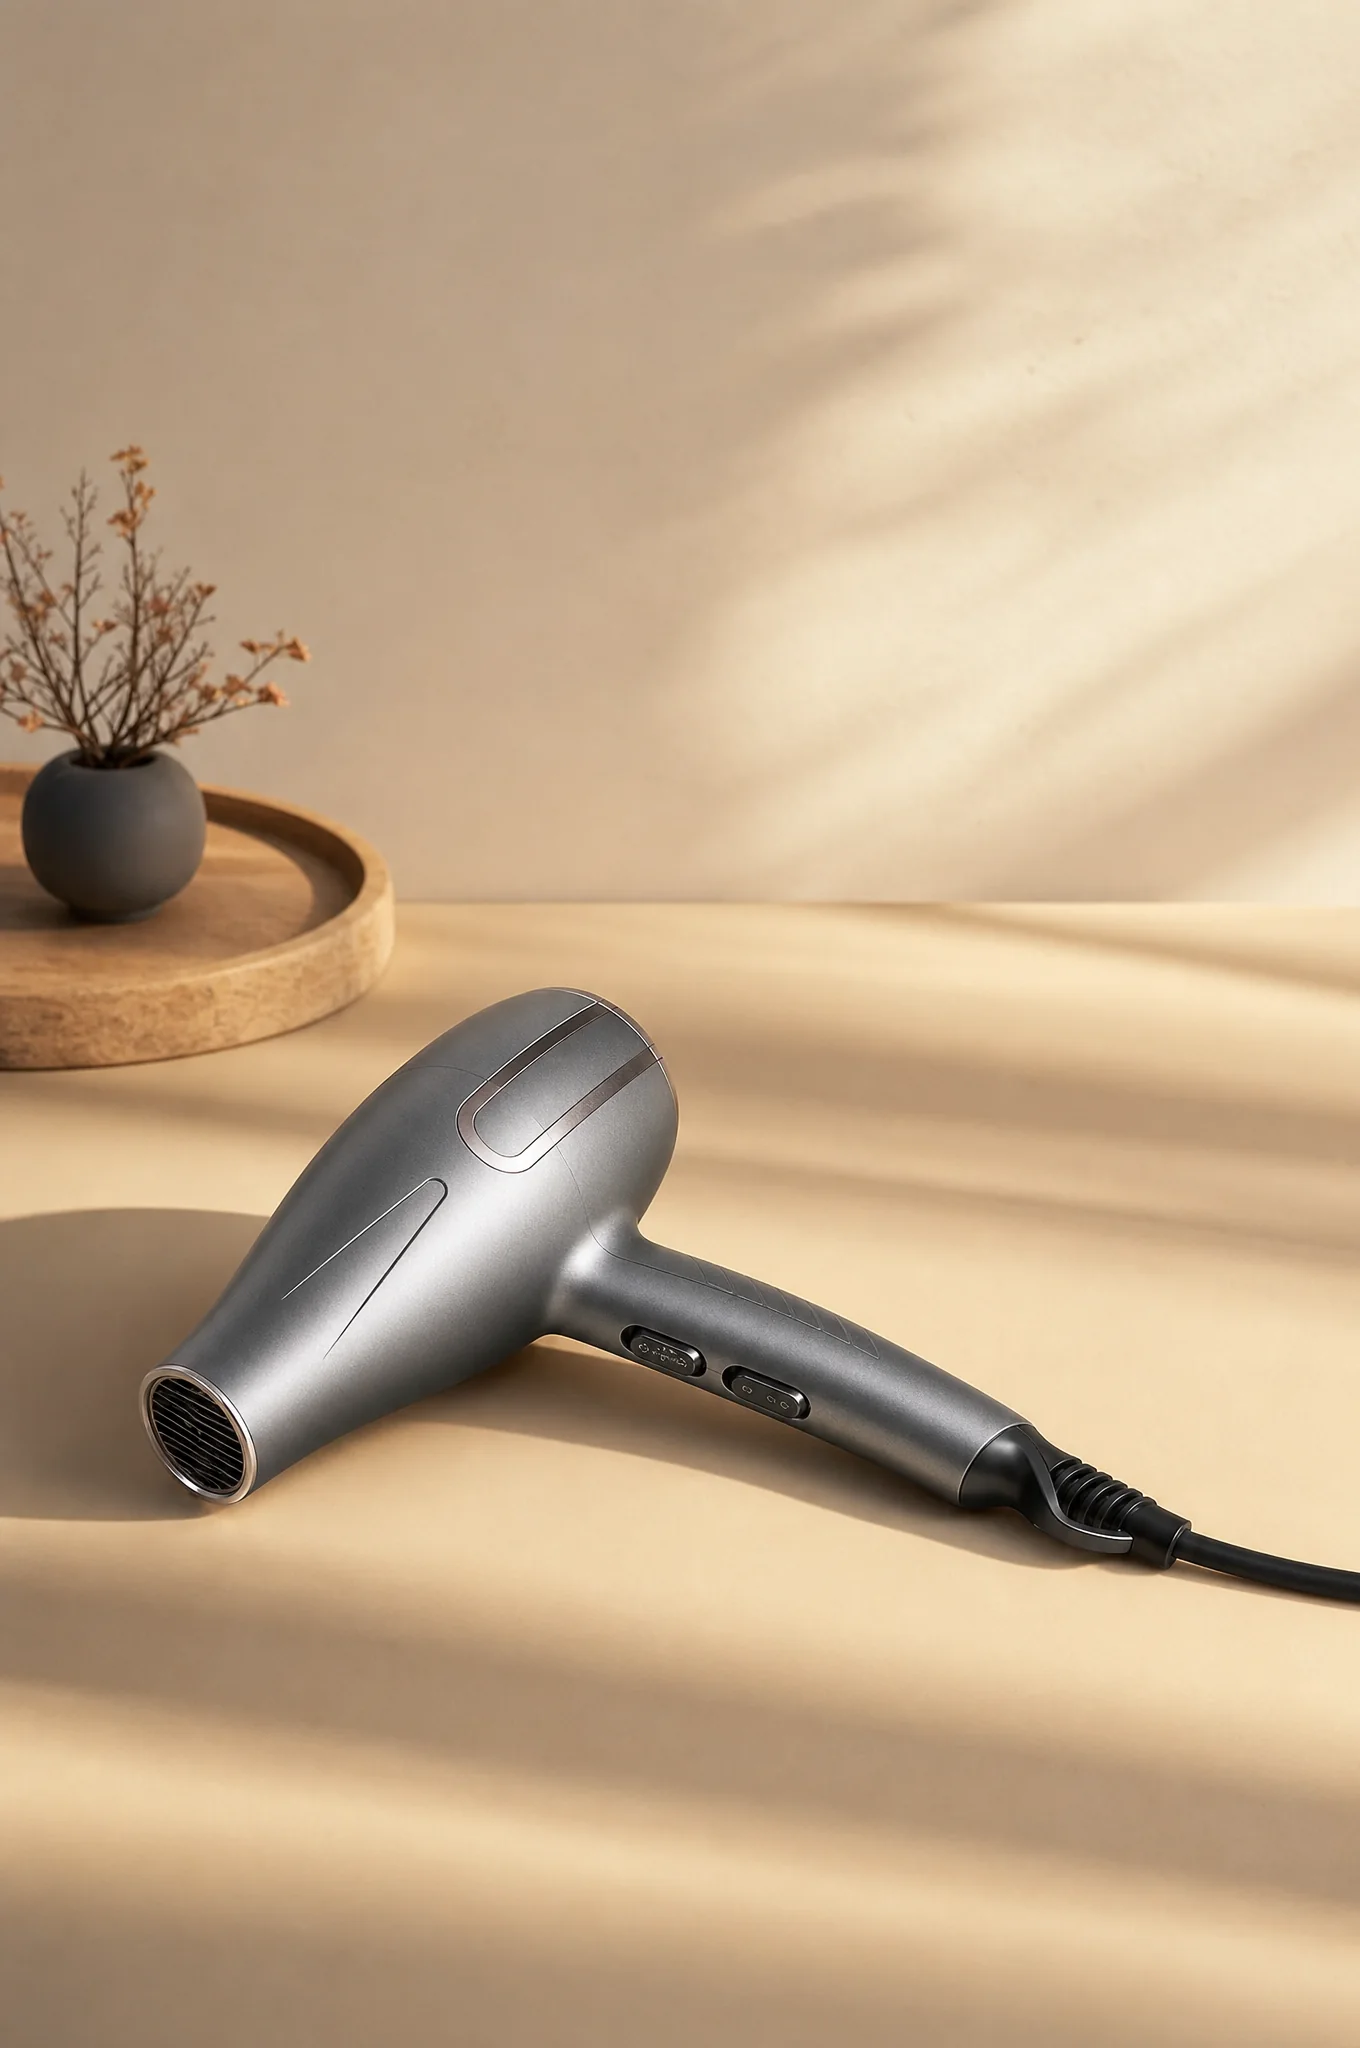
Product Scene Image places the dryer in a warm interior setting. The result helps with mood and use context, but it is not suitable for a marketplace main image. Compare the product's scale, controls, outlet grille, and cord with the source before accepting the scene.
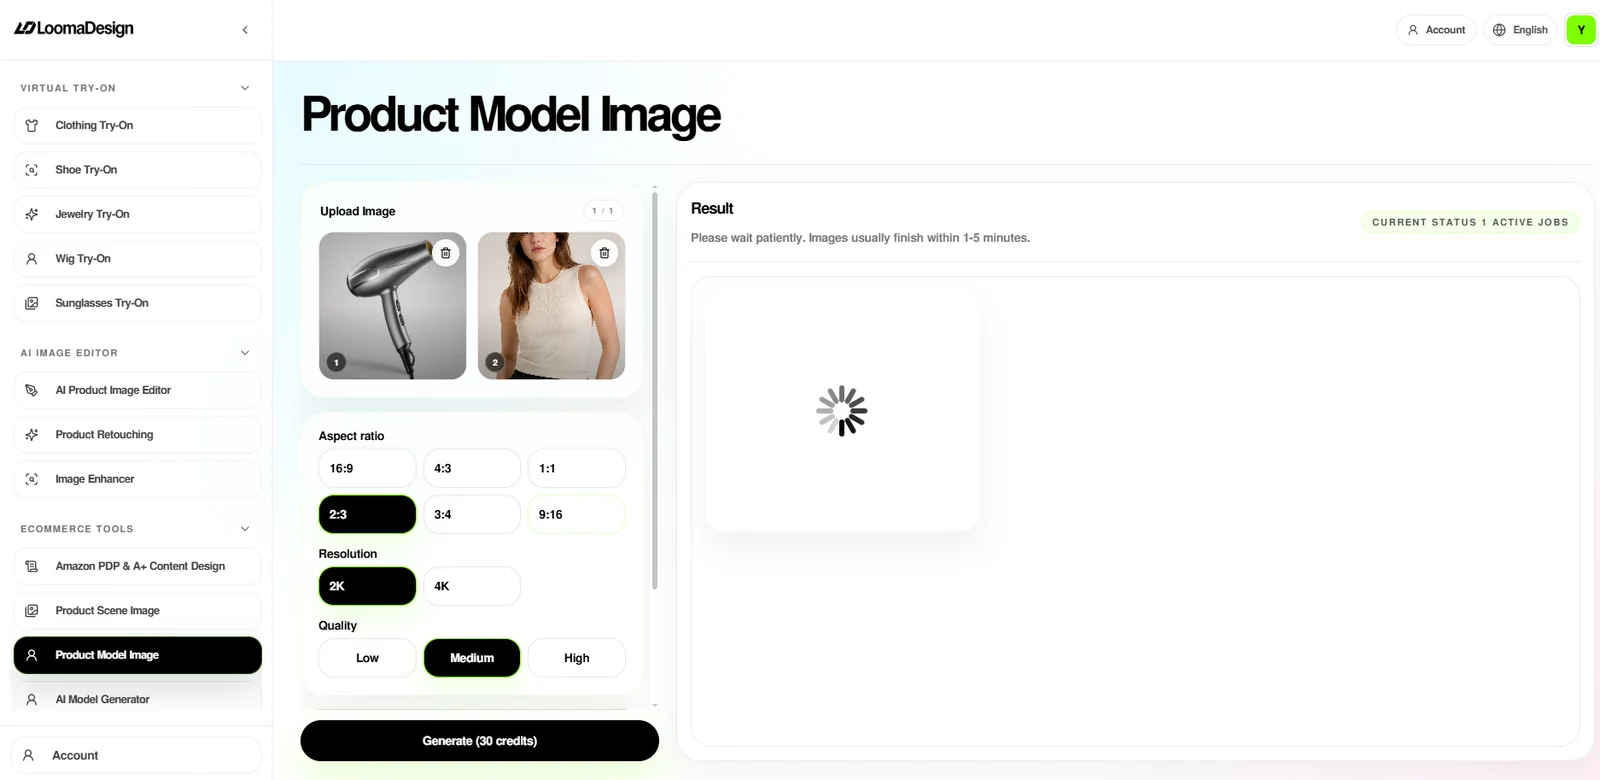
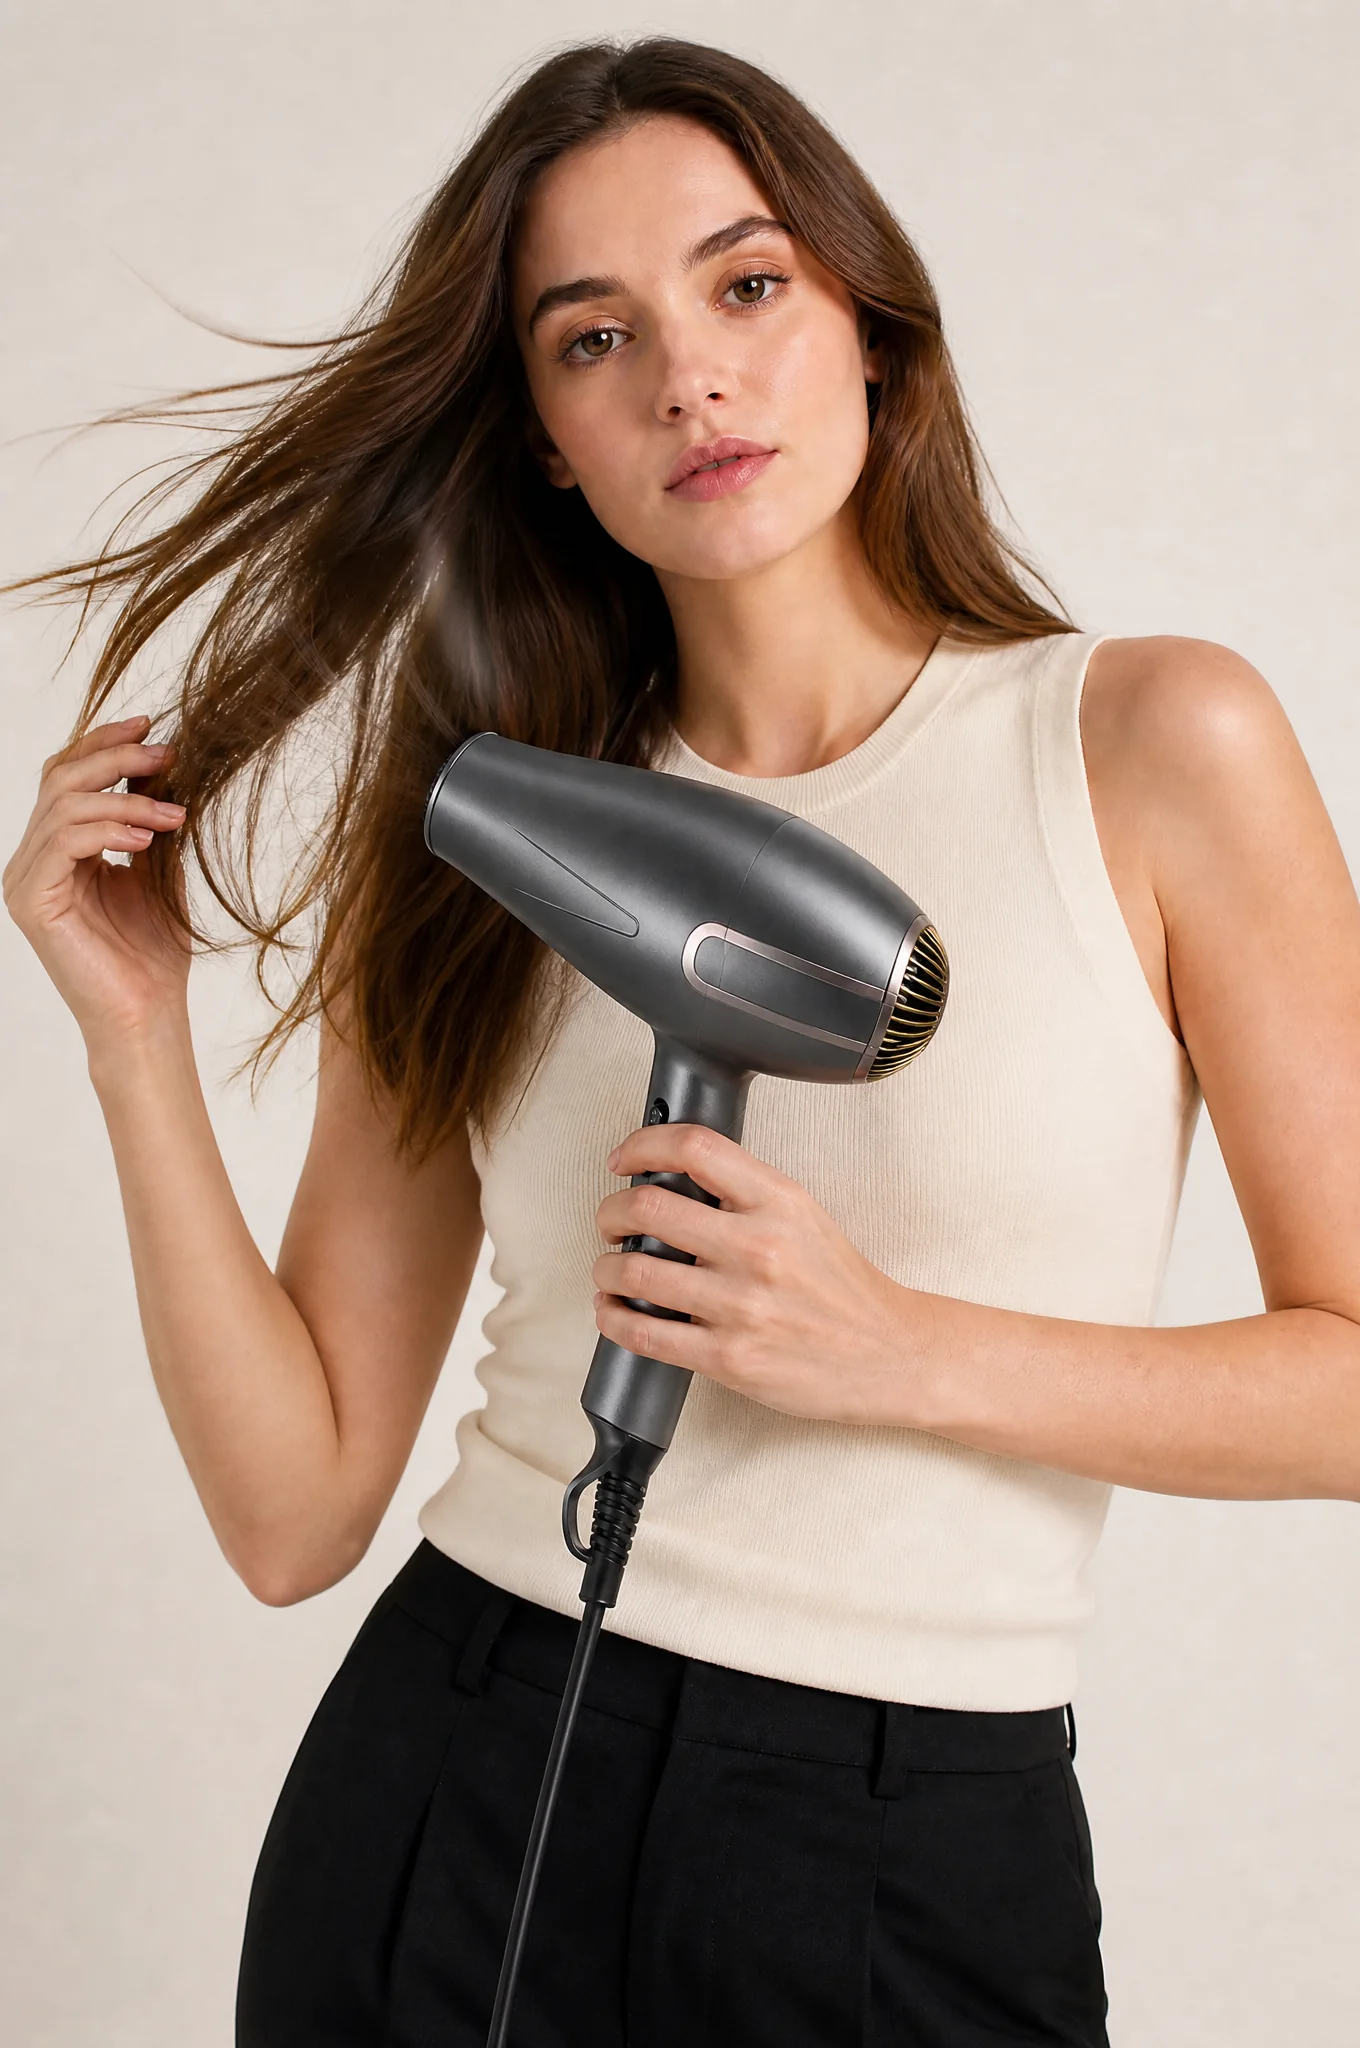
Product Model Image uses a model reference and a product reference to create an in-use visual. In the example, the dryer remains large enough to identify while the model supplies human context. Hands, hair, product contact, cord direction, and product scale deserve a closer check than the background.
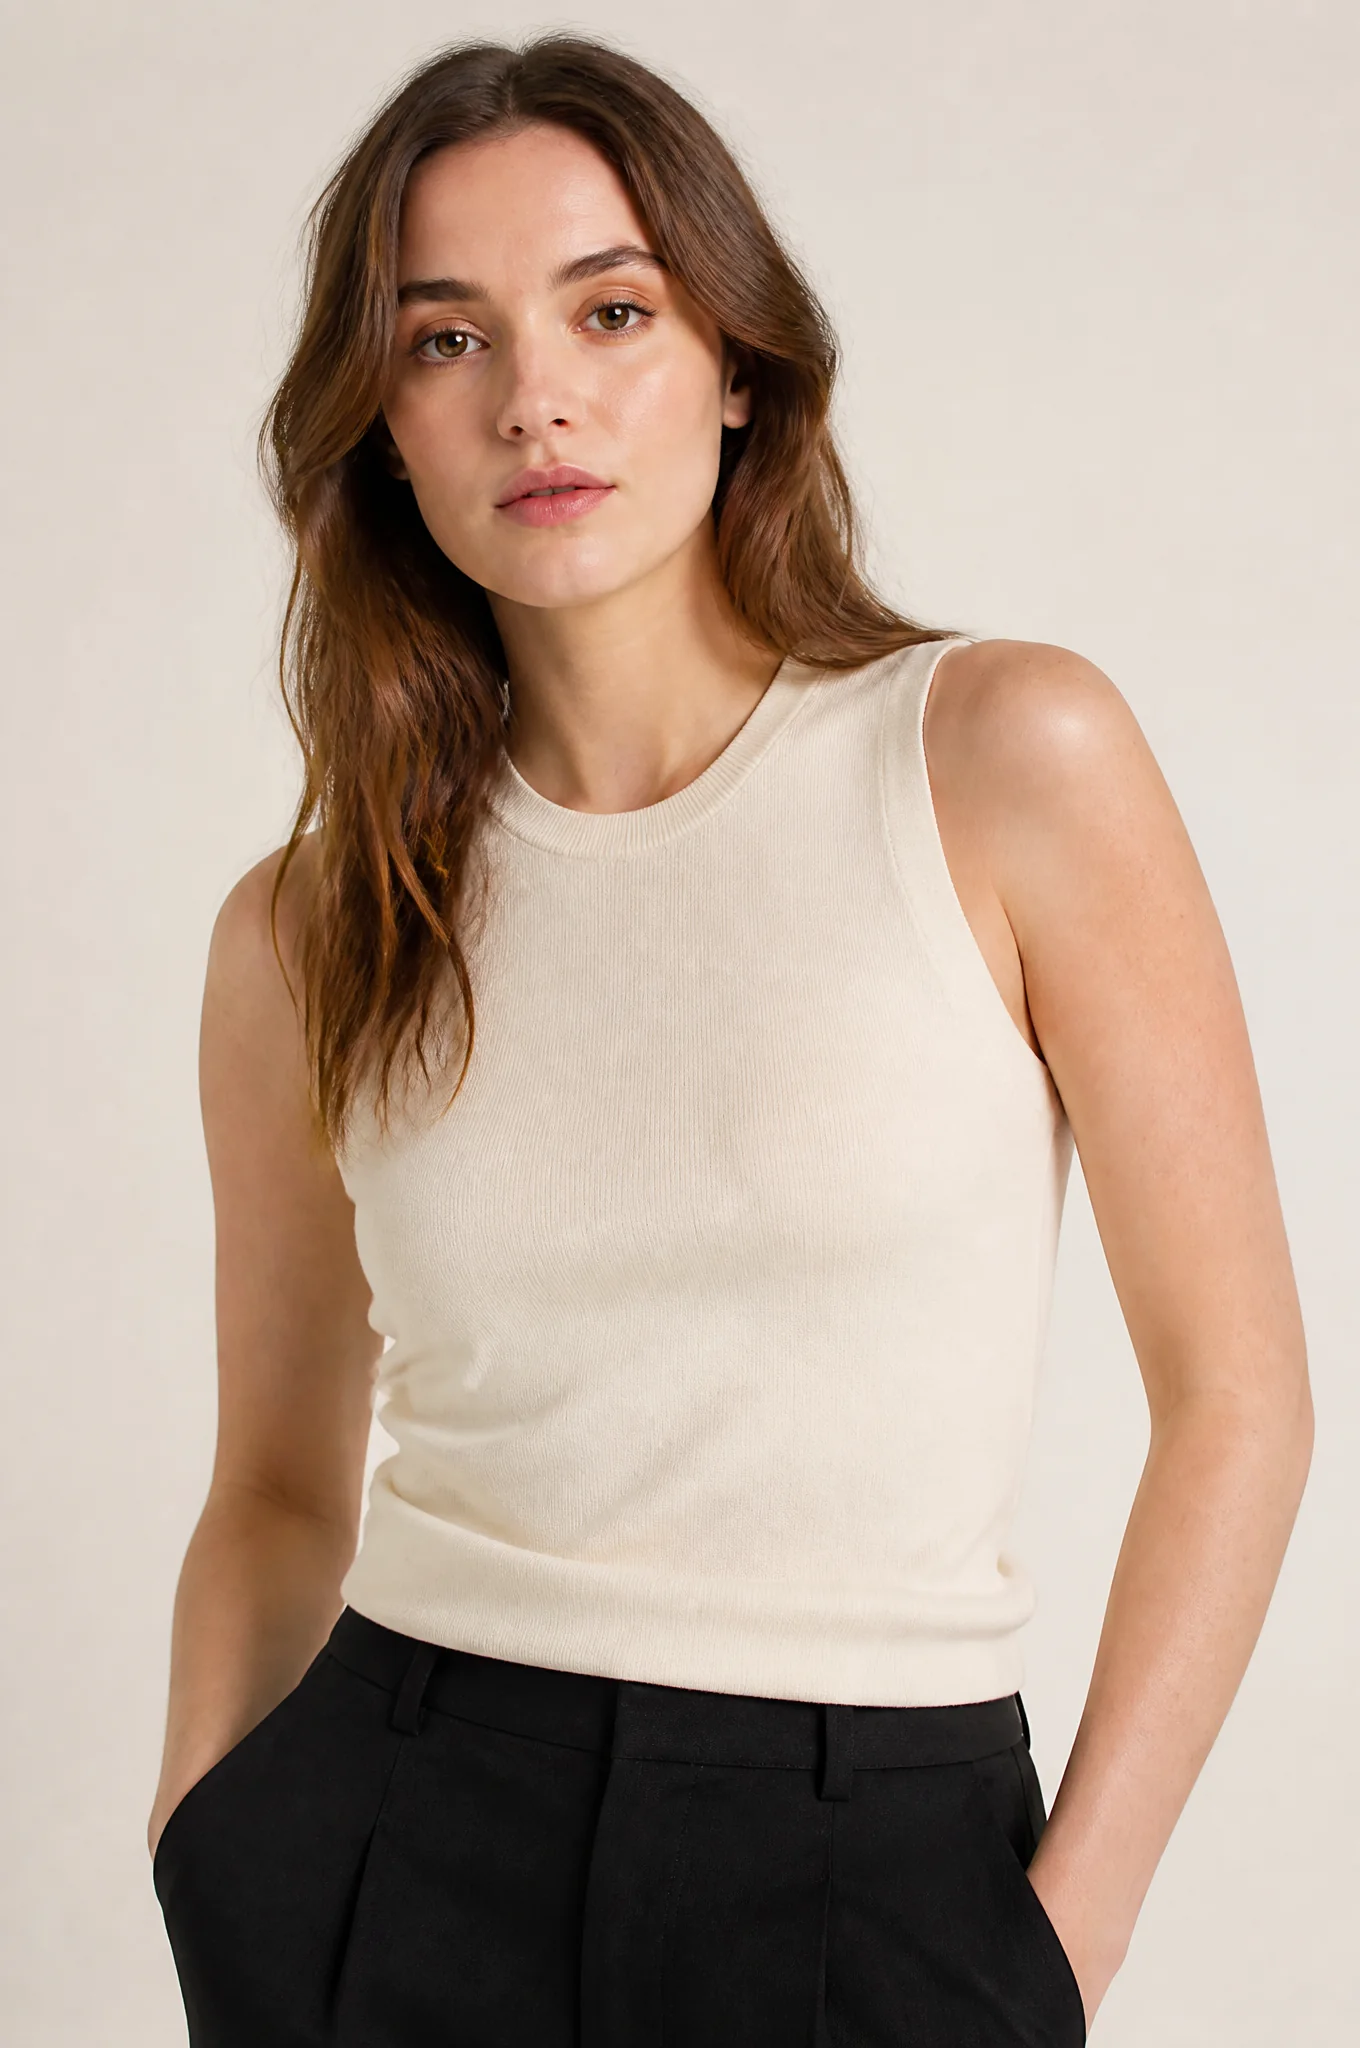
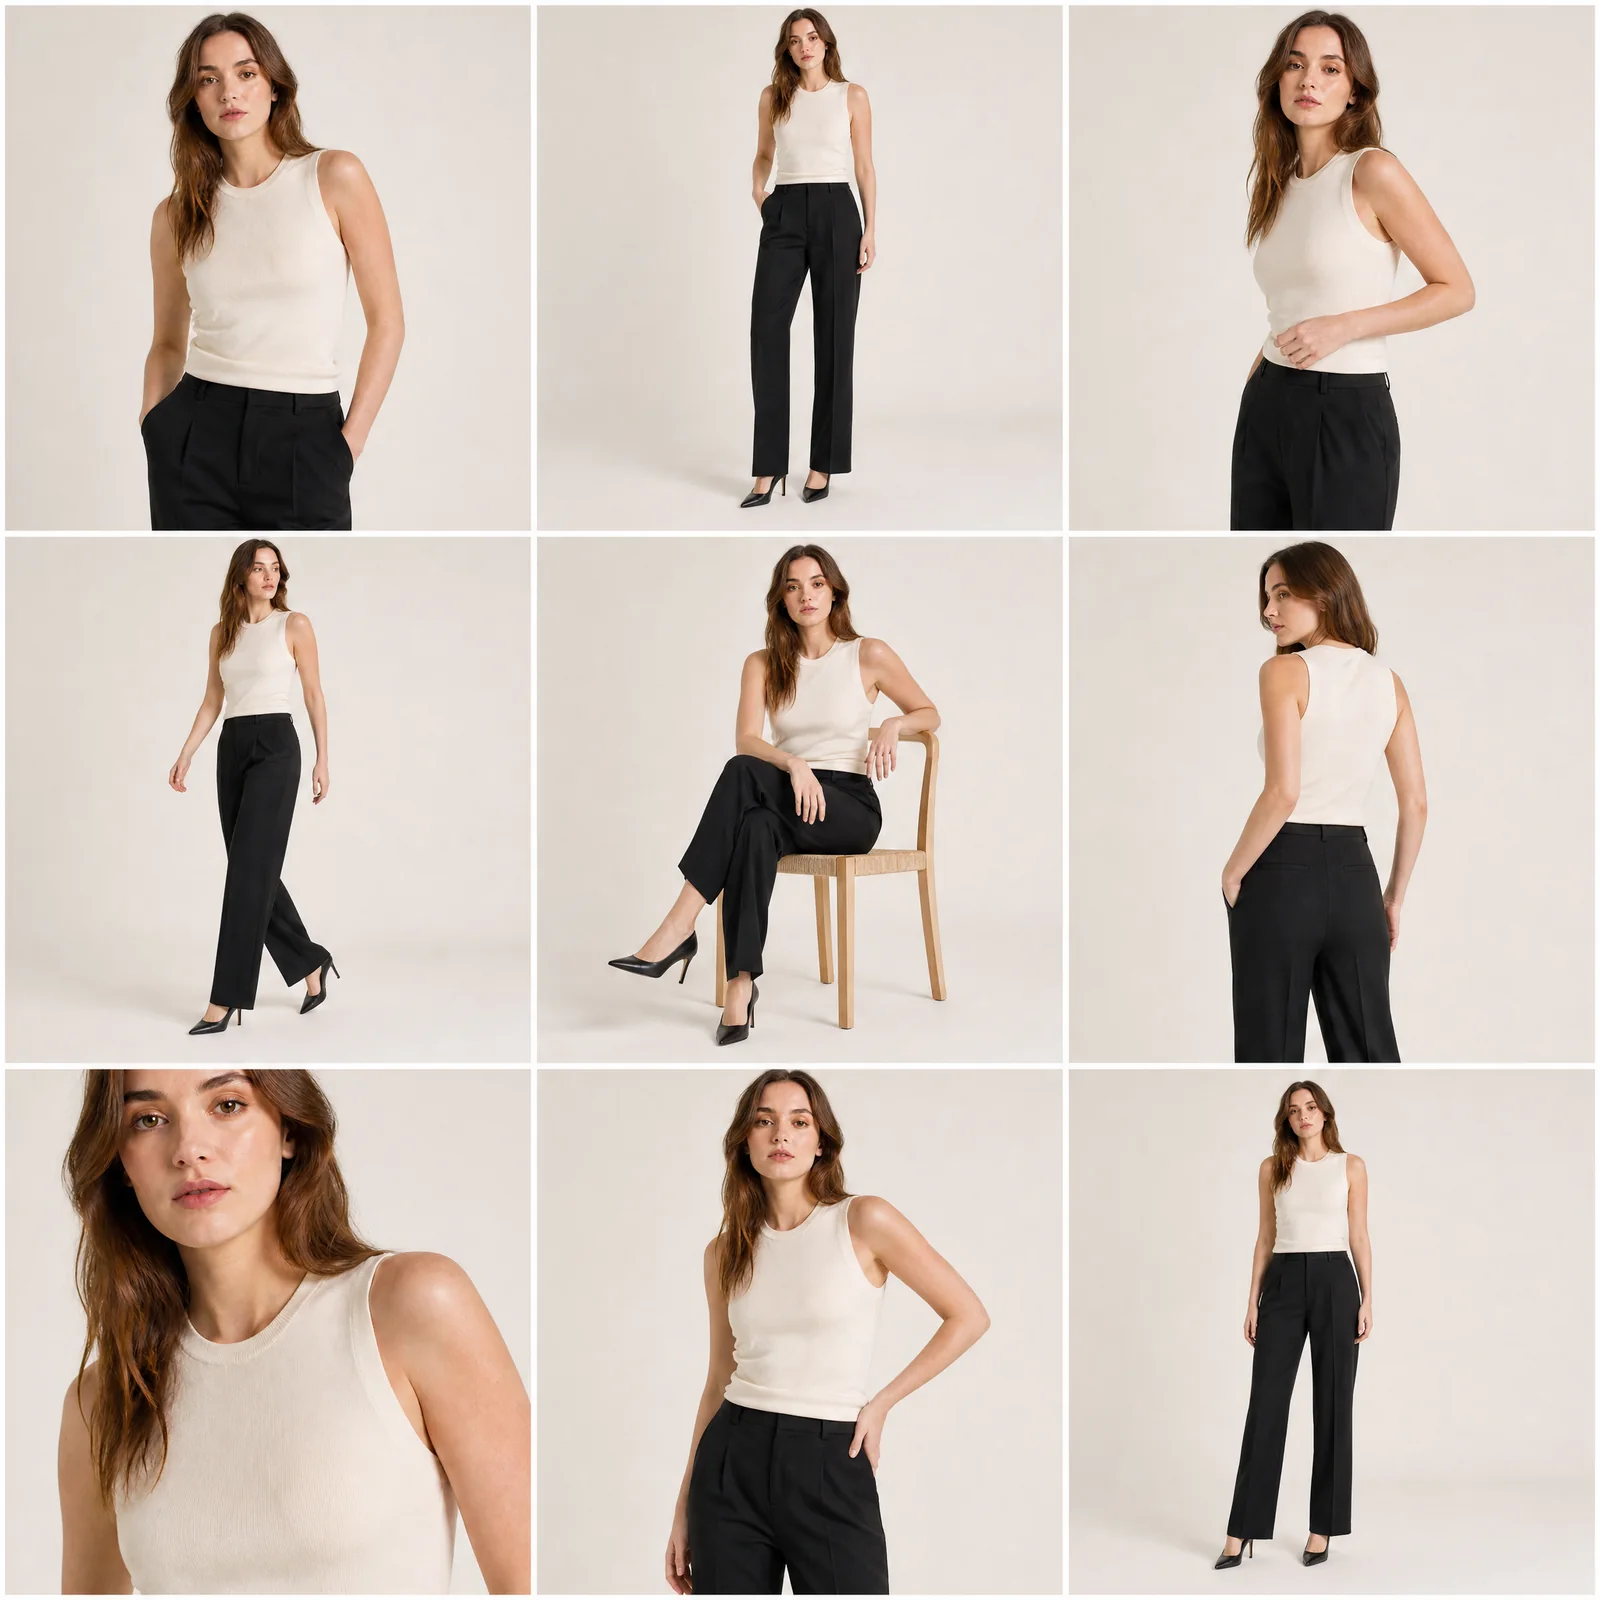
AI Model Generator and Model Multi-Pose Grid solve an earlier part of model production. The first creates a model base. The second tests nine poses while preserving identity and clothing. Treat the grid as a review sheet. Each cell must pass before it becomes a standalone asset.
Use the correct Virtual Try-On category
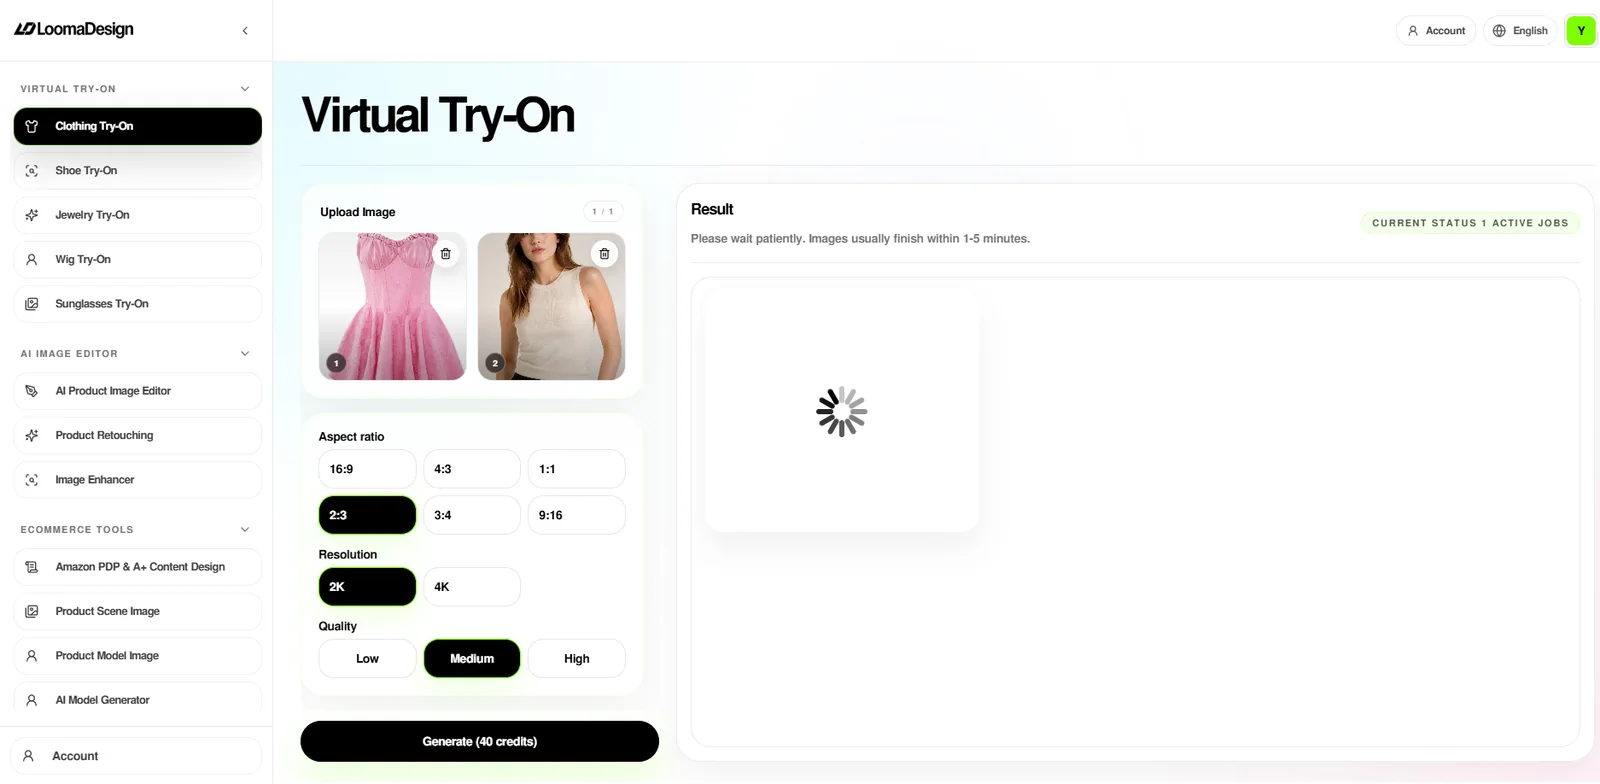
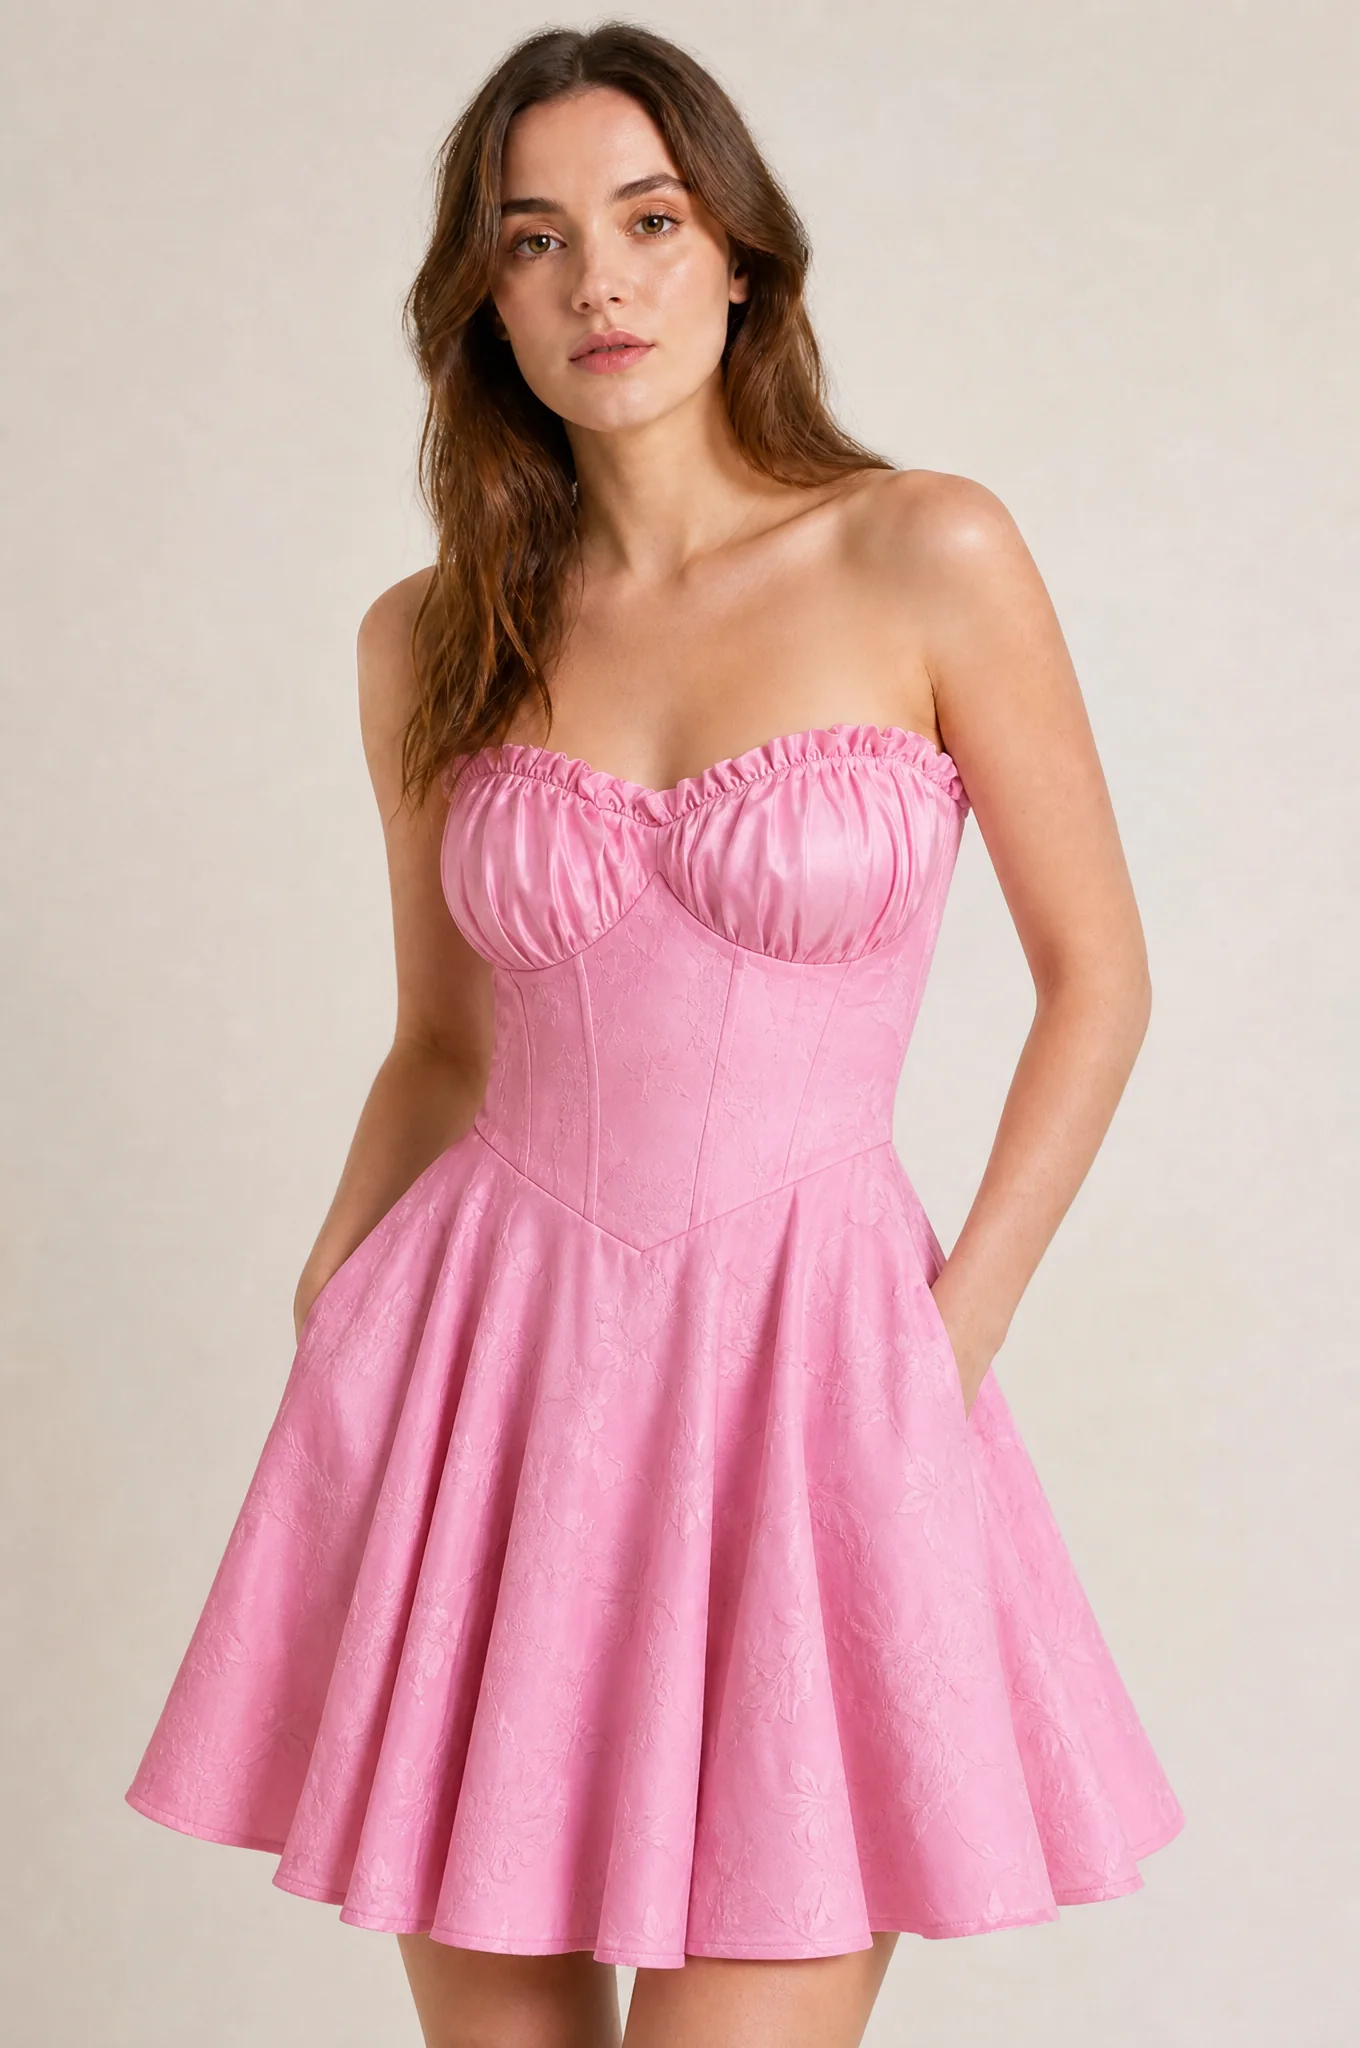
Virtual Try-On uses a target model and an item reference. Clothing needs convincing fabric, seams, drape, and body contact. Shoes depend on foot position, perspective, sole contact, and shadows. Jewelry needs the right scale, attachment point, and reflection. Wigs depend on the hairline and face identity. Sunglasses depend on lens perspective, bridge position, temples, and reflections.
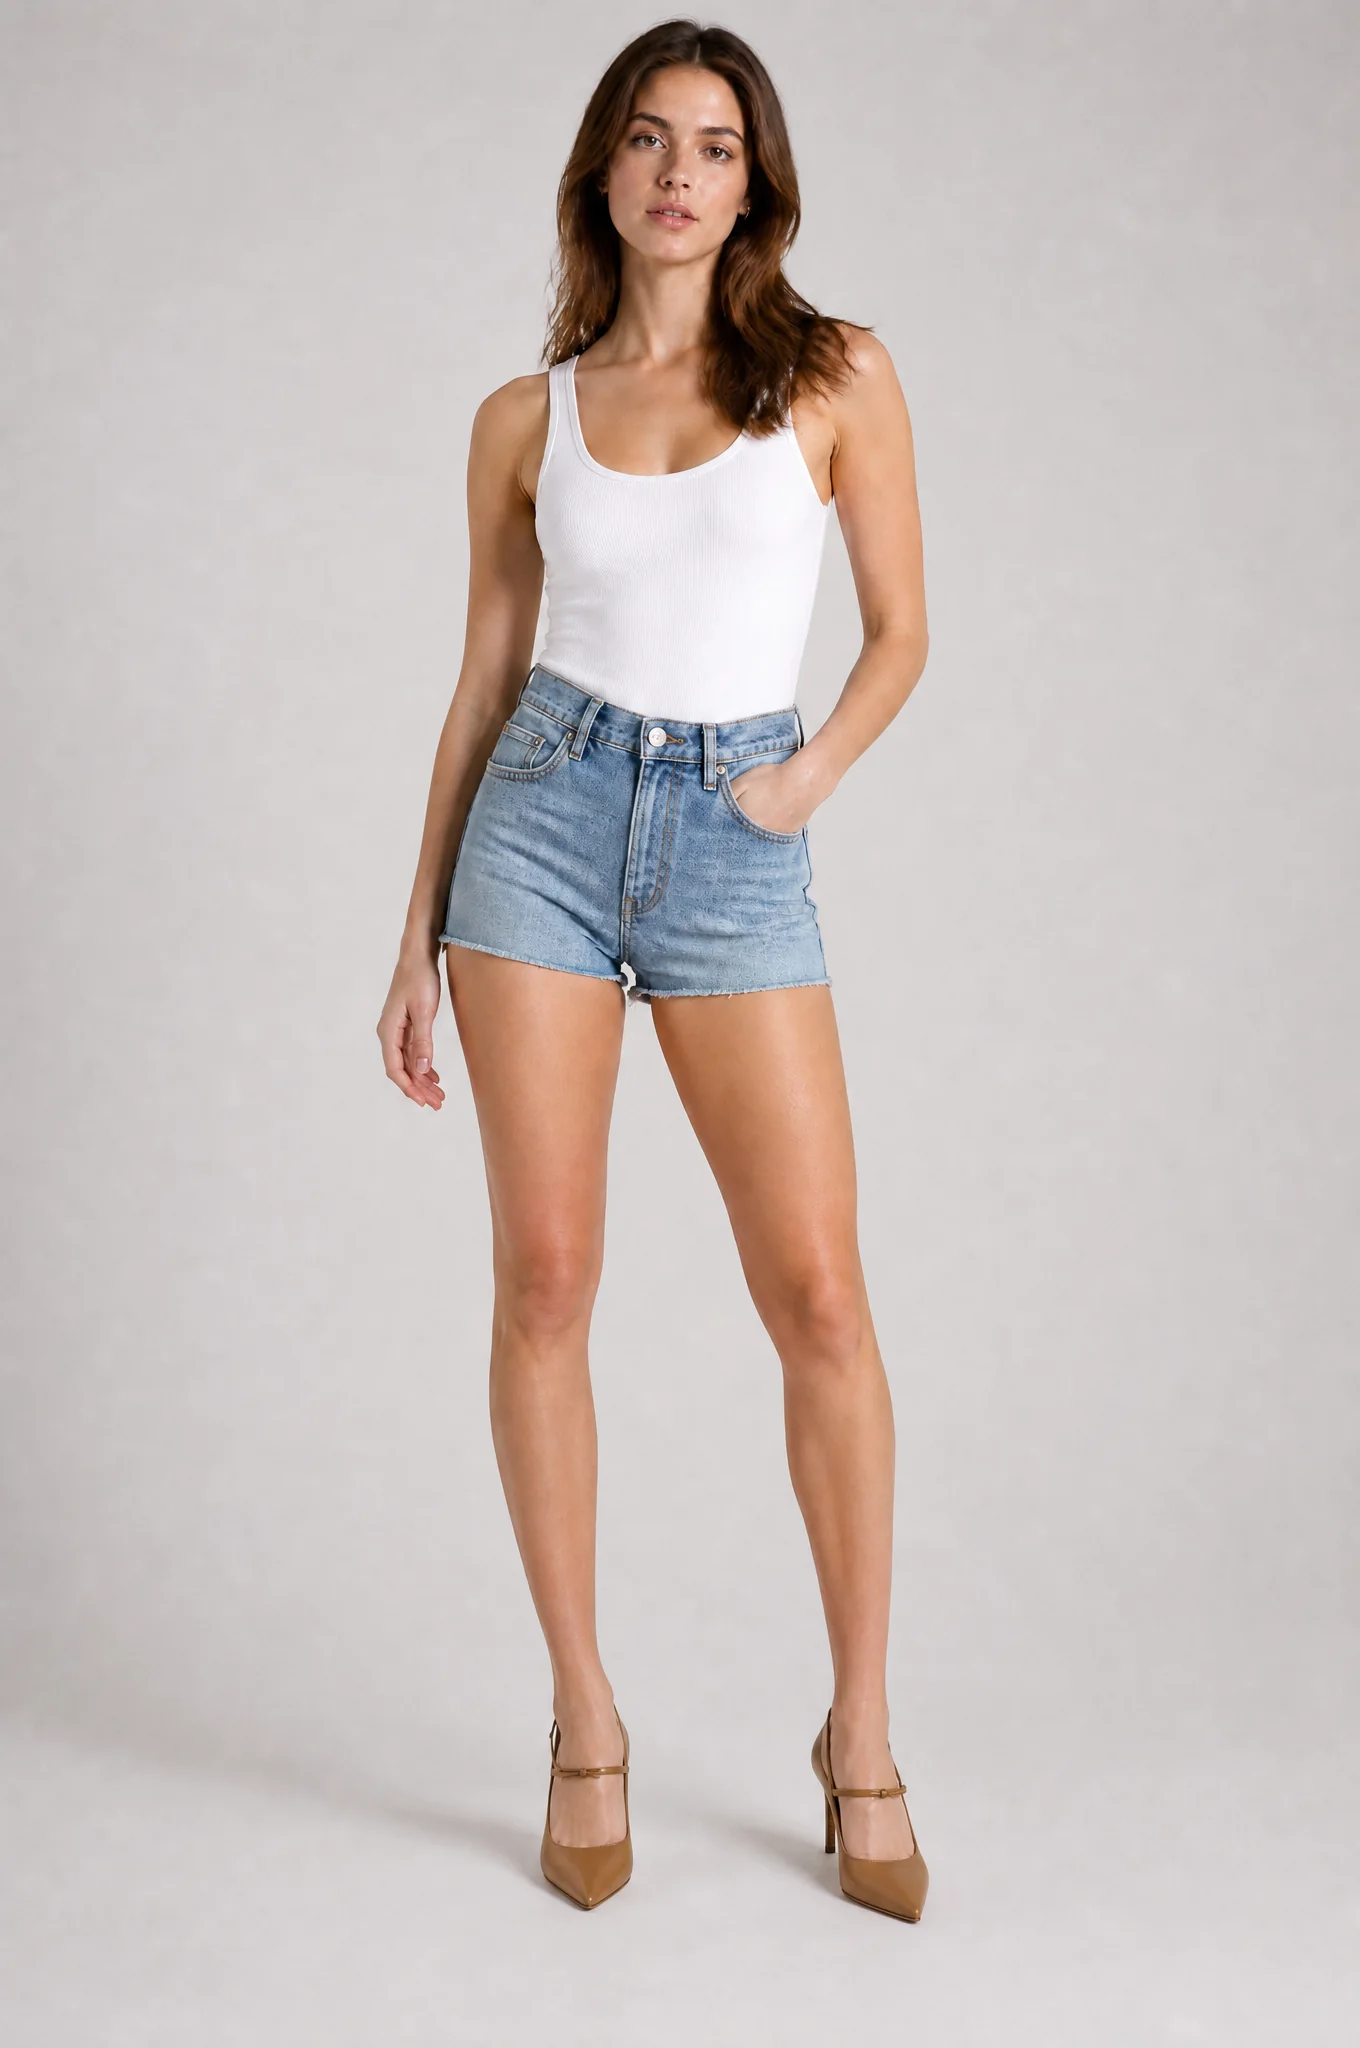
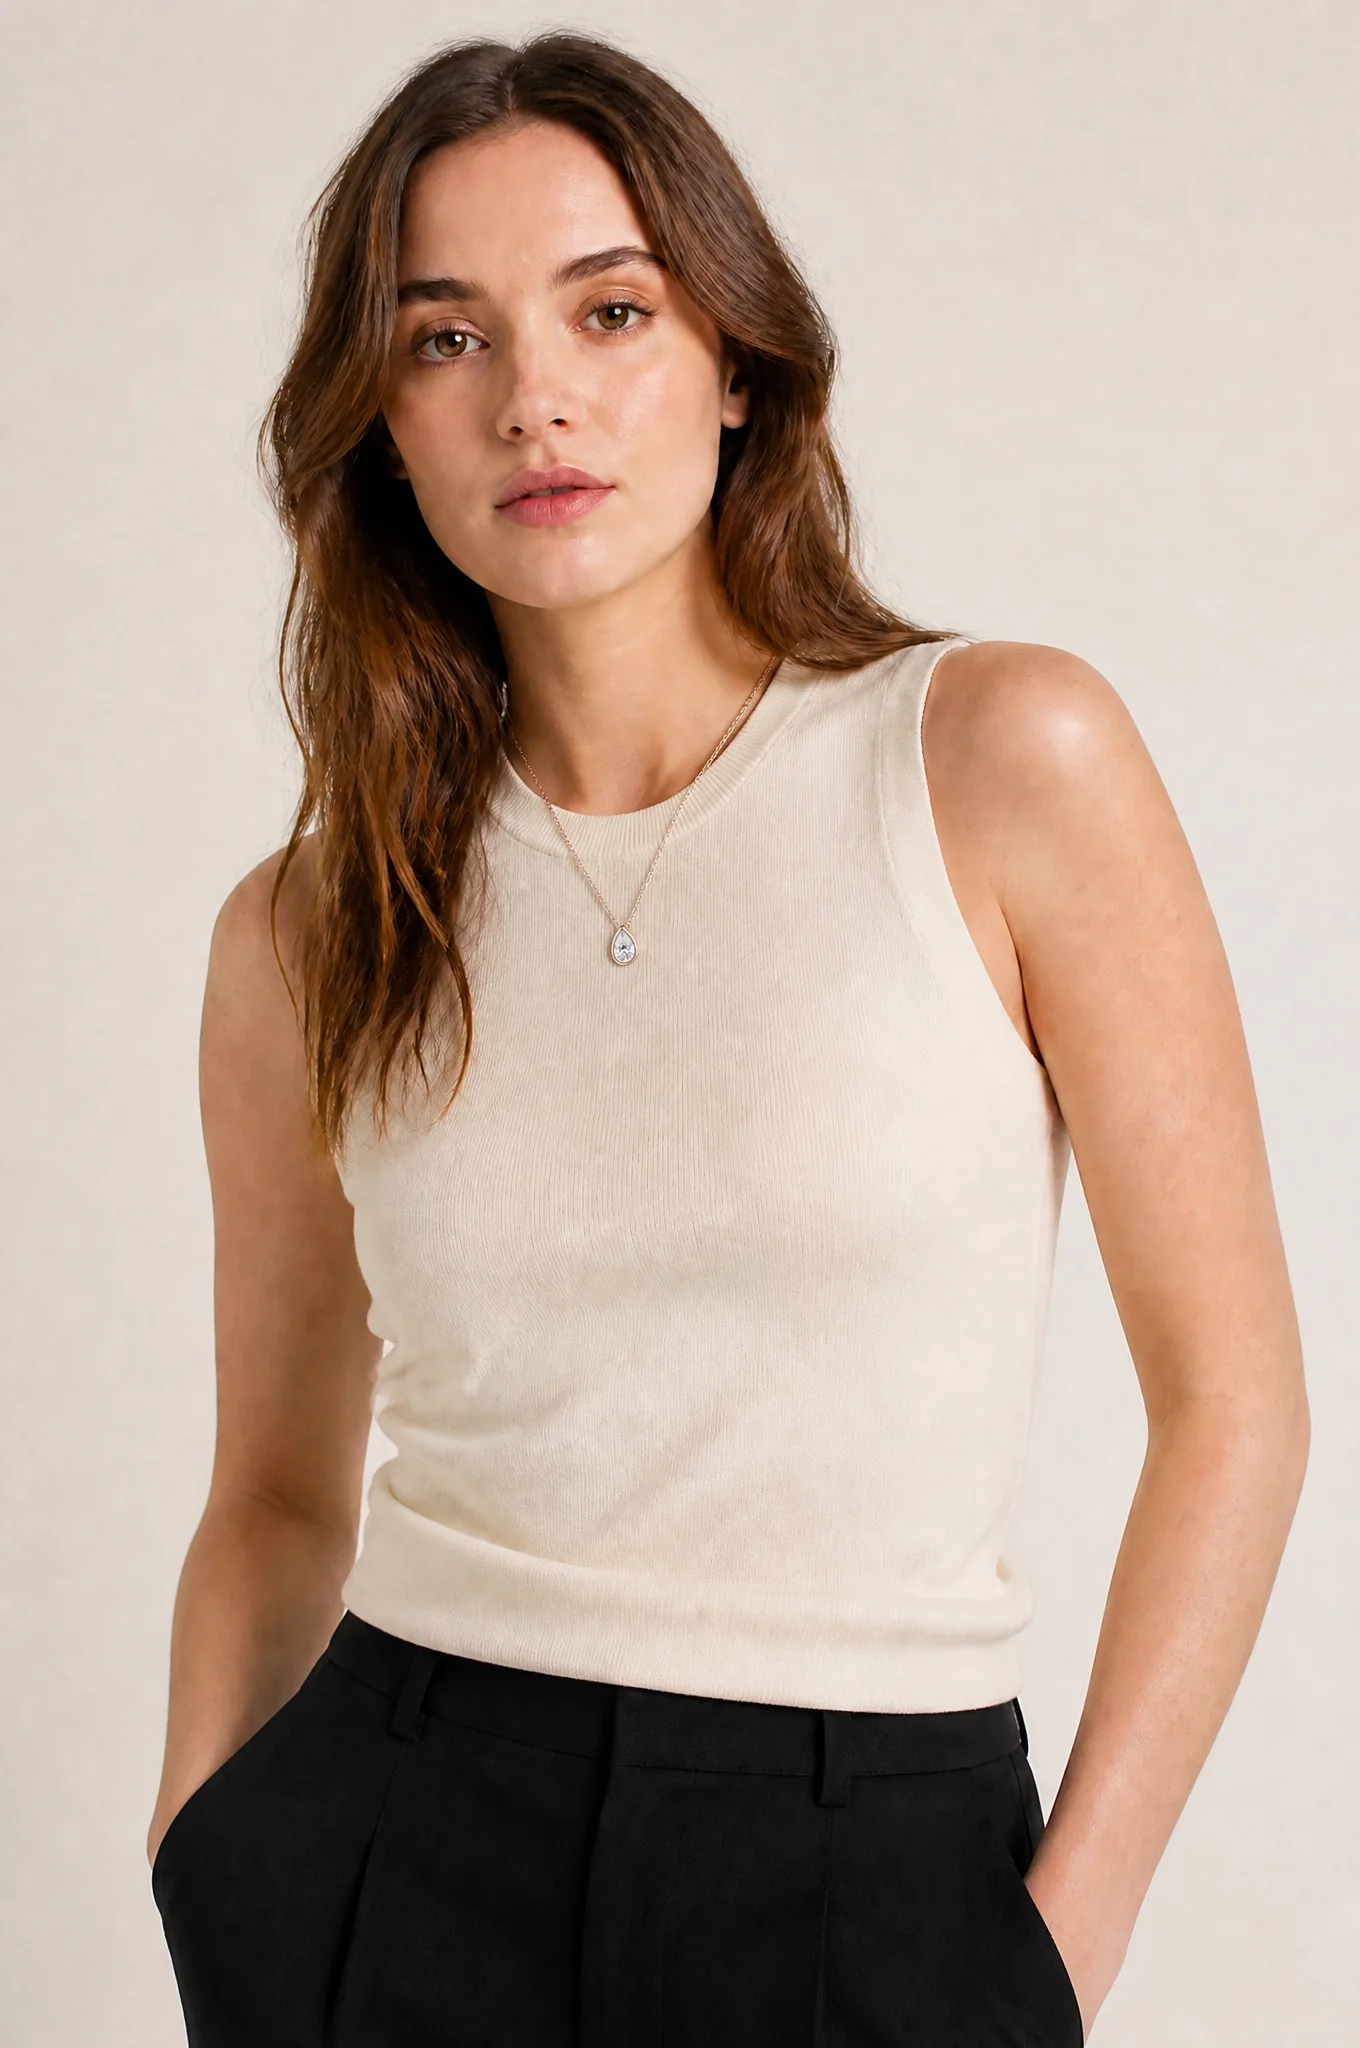
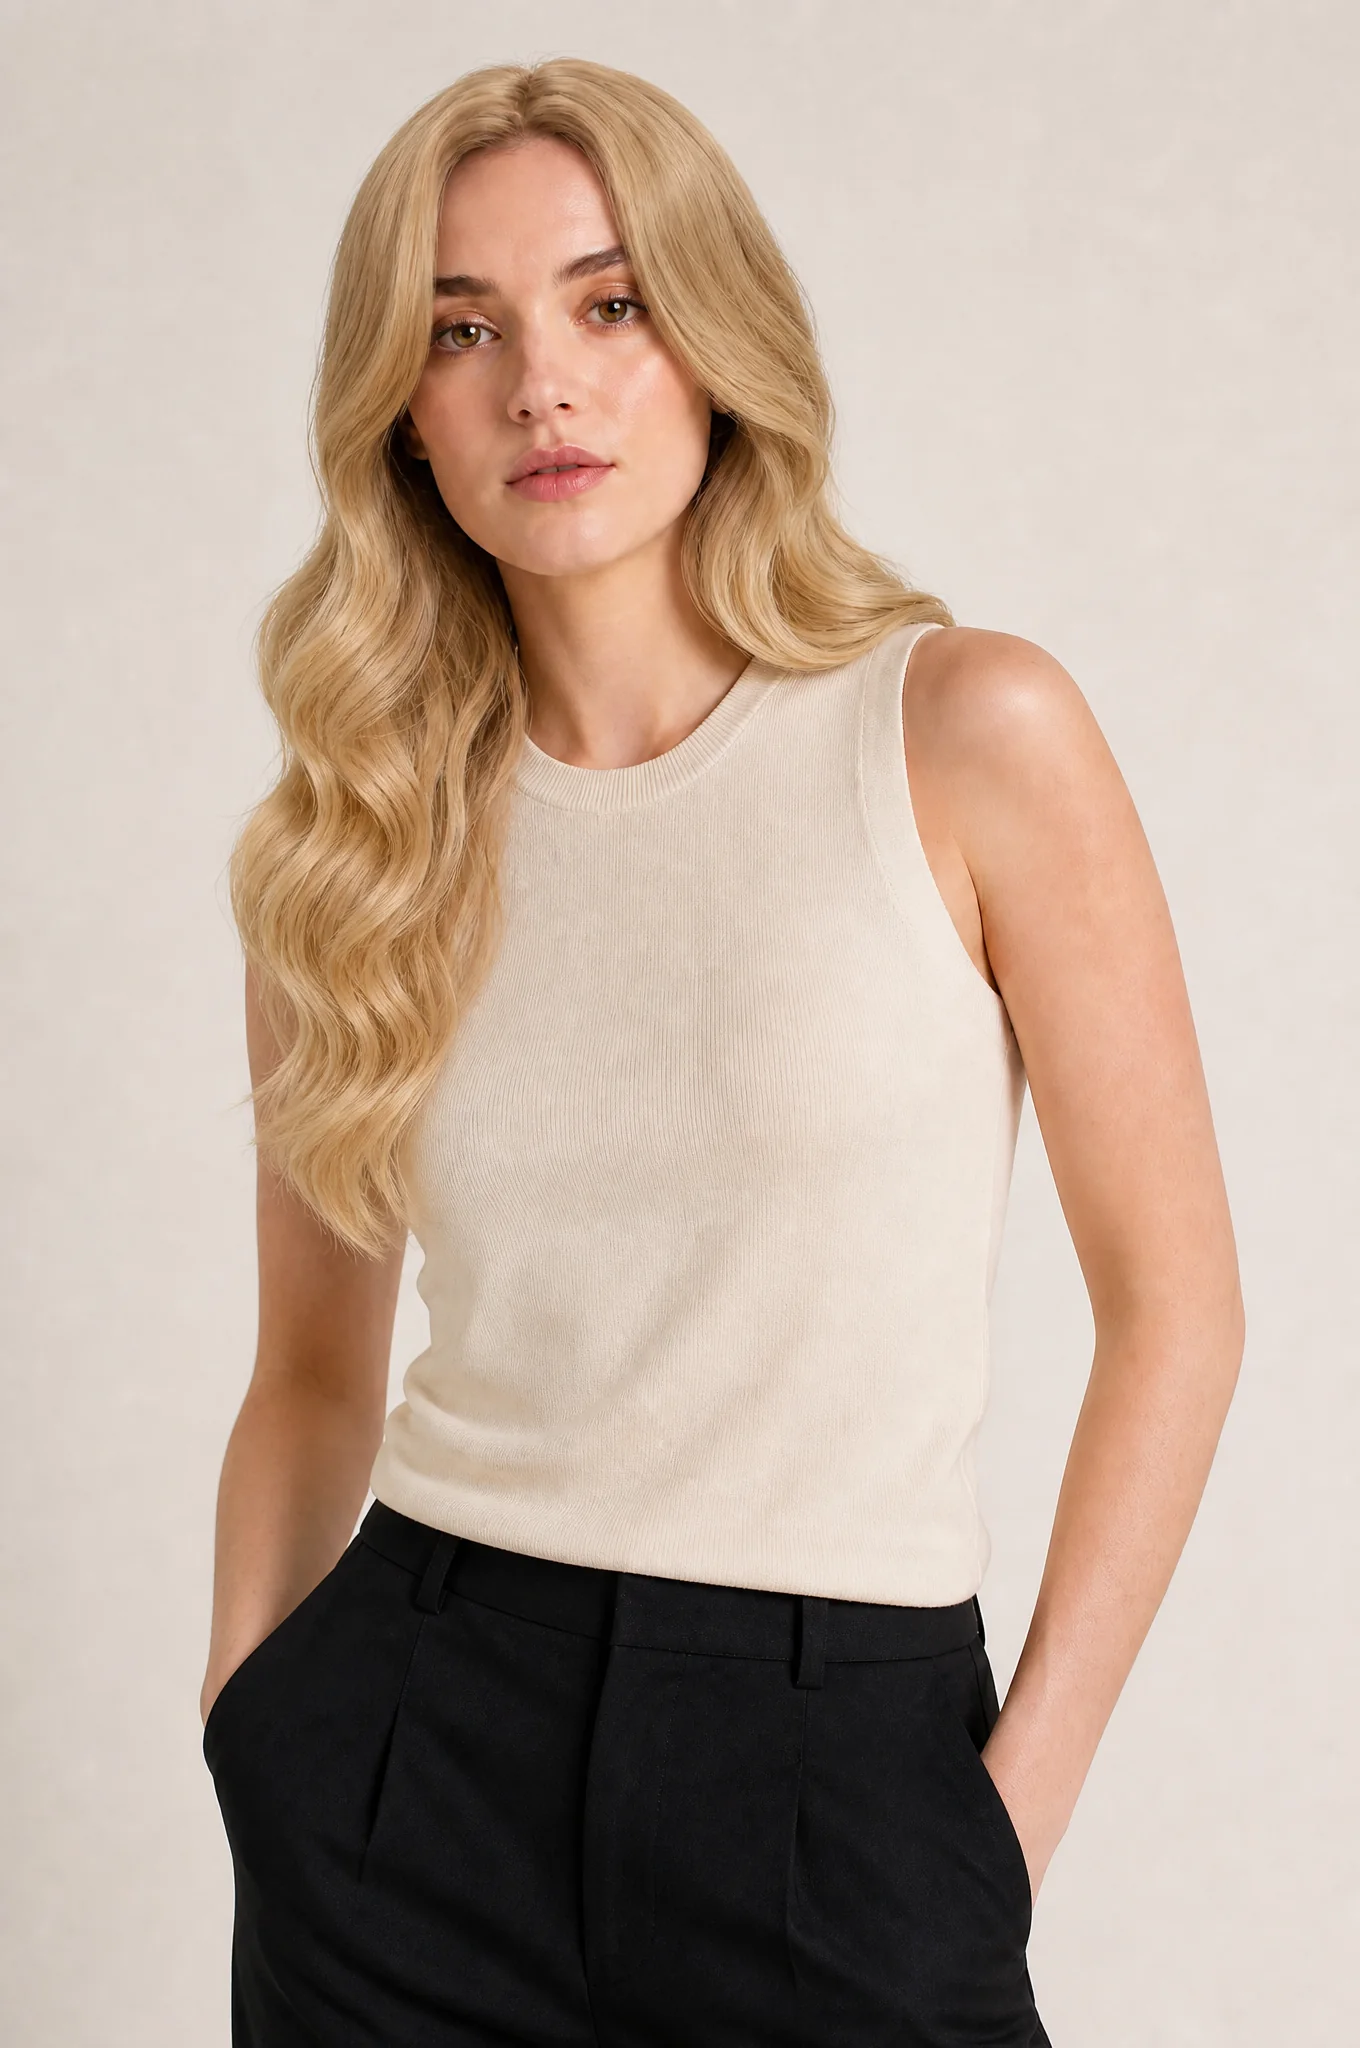
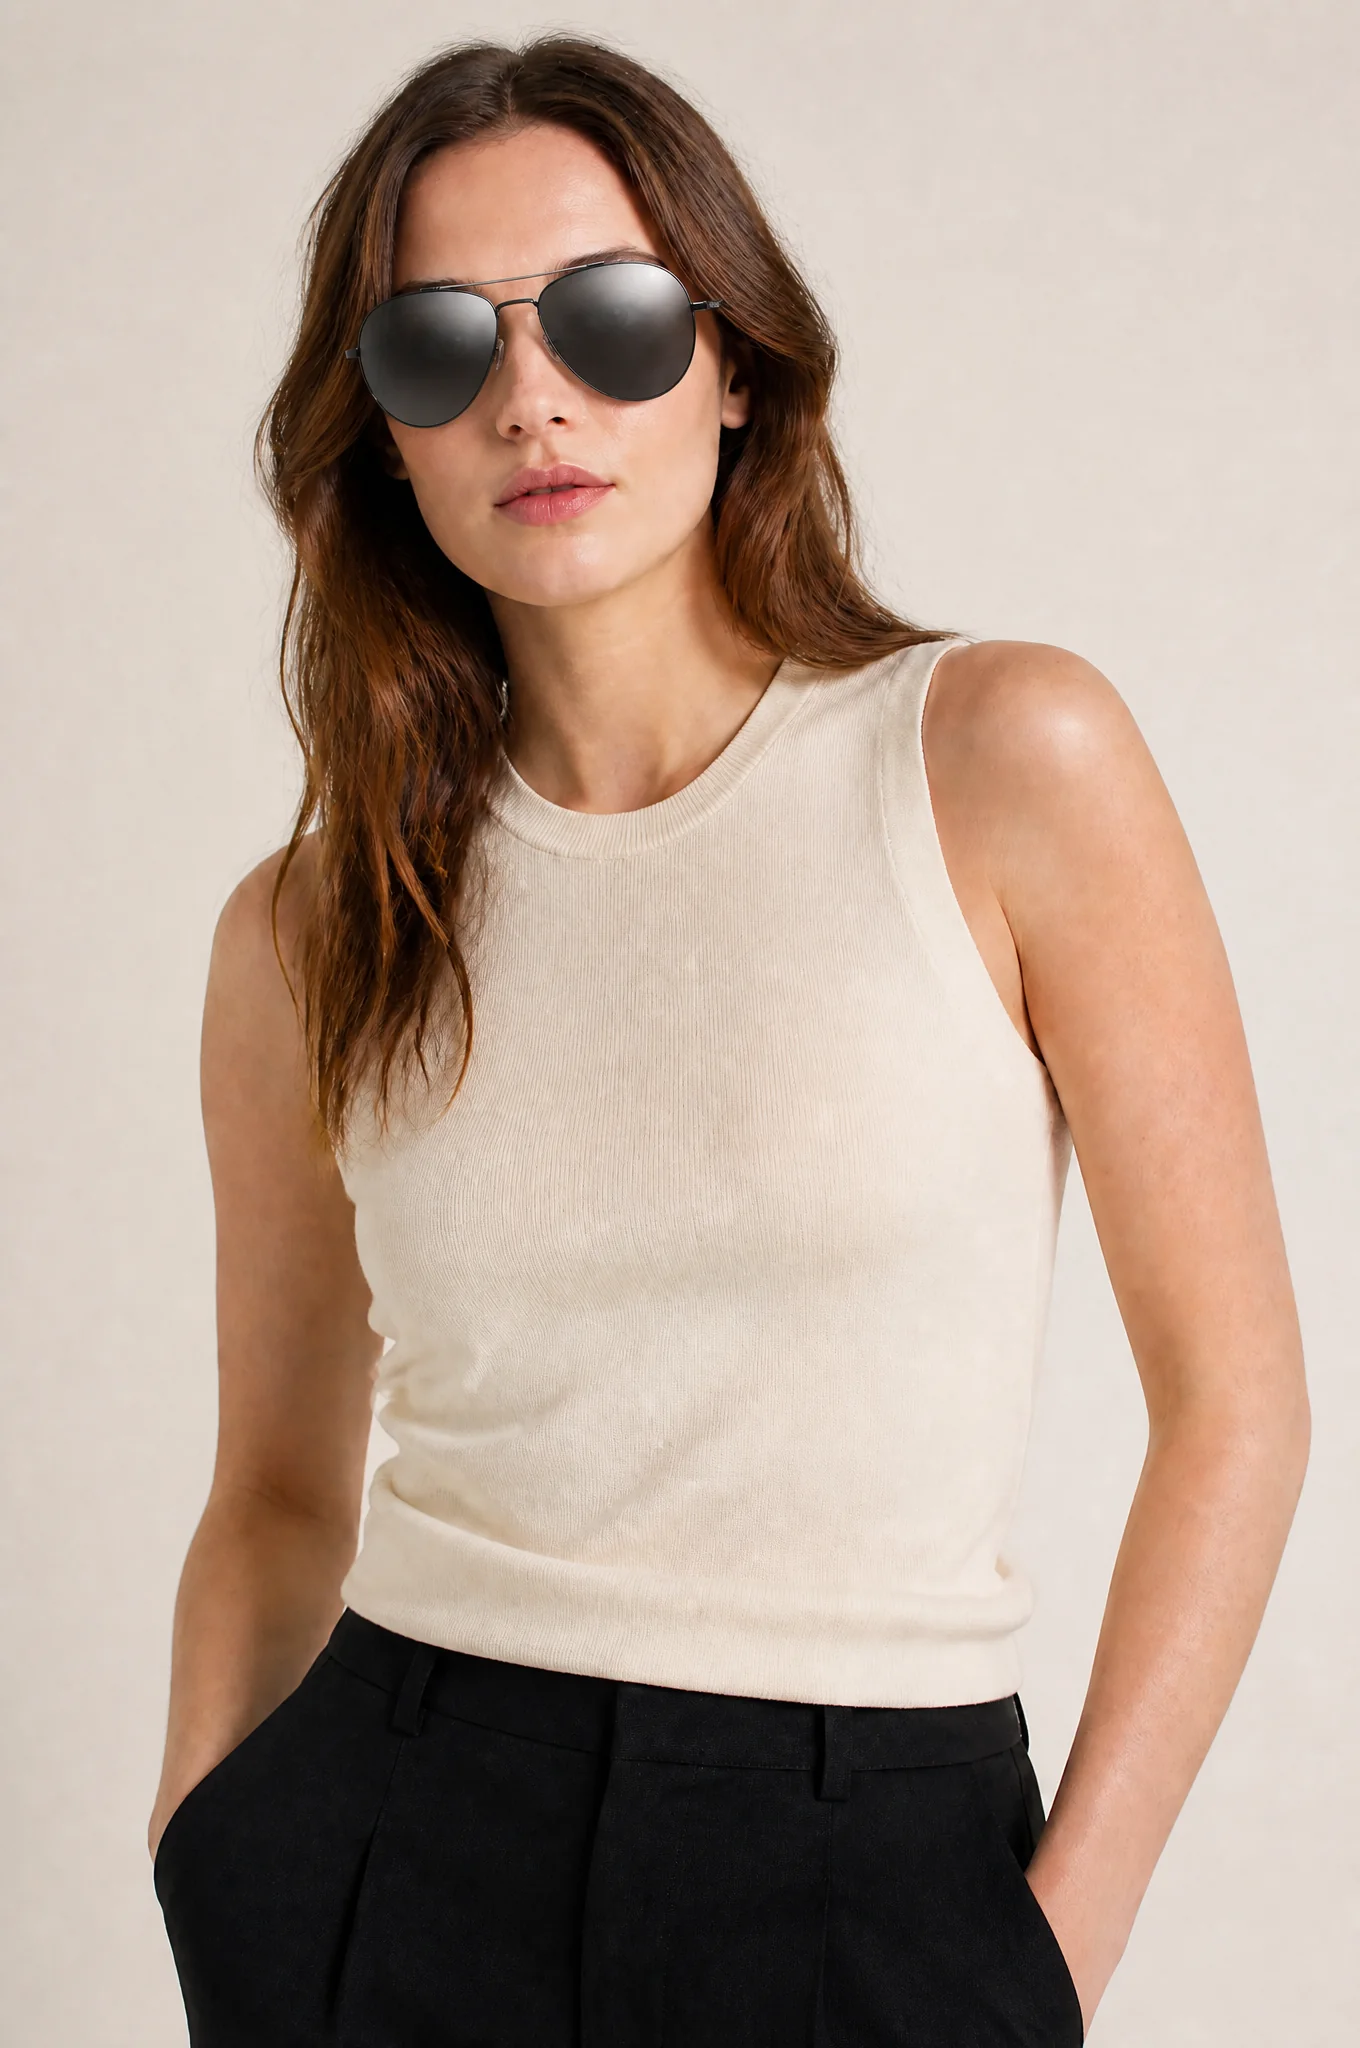
The clothing example applies a pink dress to the target model. The category overview then shows shoes, jewelry, a wig, and sunglasses on model images. These outputs belong to a separate try-on workflow; they should not appear as stages in the hair dryer case.
Try-on images support presentation and creative testing. They do not prove physical fit, sizing, comfort, or how a material behaves in person.
The complete hair dryer workflow
The full case follows this order. The related guide on turning one product photo into a complete ecommerce image set covers image-slot planning in more depth.
- Save the approved product photo and control close-up.
- Use Product Image Editor to add the approved
Renderixlogo in one selected area. - Produce a clean white-background version and a transparent PNG.
- Create one listing support graphic from confirmed specifications.
- Build an A+ sequence from the same facts and included accessories.
- Add one lifestyle scene for context.
- Add one model image when human use improves the product story.
- Review every output together for brand, shape, color, controls, cord, claims, and repetition.
The final set should not include every generated file. Keep the images that answer different buyer questions.
<!-- assembled case strip: 01, 06, 09, 12, 15, 17 -->
Check brand, product facts, and copy before export
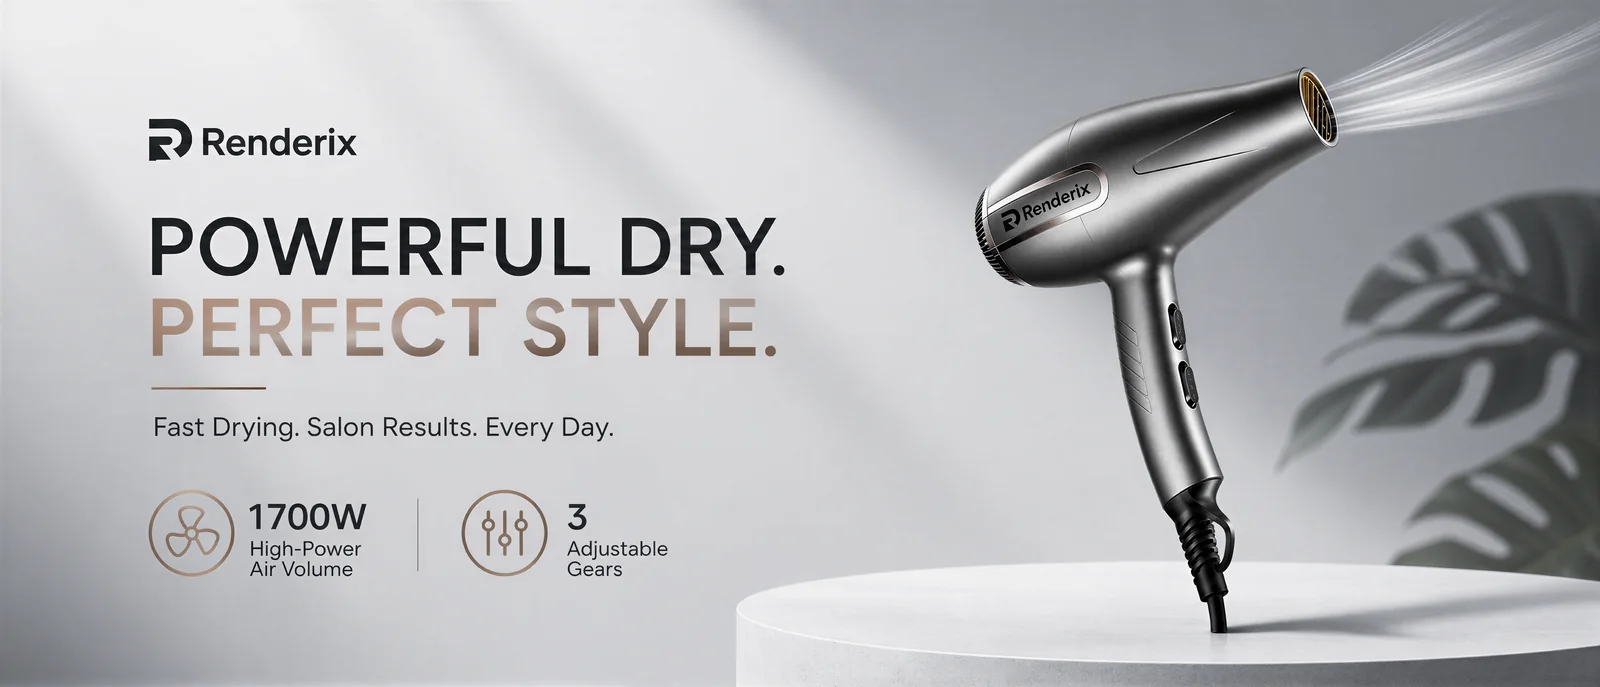
Custom Image produced a useful QA lesson during this project. An early banner invented the brand LARQUS, even though the edited product carried Renderix. Regenerating from the logo-edited source fixed the brand conflict and preserved the confirmed 1700W and three-setting facts.
The replacement still produced two awkward English phrases: High-Power Air Volume and 3 Adjustable Gears. The intended English is High-Power Airflow and 3 Speed Settings. Correct numbers do not make generated sales copy publishable. A native-language review still has to check headlines, labels, units, brand spelling, and claims.
Use this export checklist for every final image:
- same SKU, color, shape, material, controls, vents, cord, and included parts;
- exact brand spelling and approved logo;
- no invented certification, accessory, model number, or performance claim;
- readable text at the intended desktop and mobile size;
- correct aspect ratio and dimensions for the image slot;
- no account details, watermarks, generation controls, or private references;
- descriptive filename and alt text tied to the visible image;
- compressed derivative made from the original download, not from a screenshot.
When to use a better source or a real shoot
Generate no further variants when the source hides a critical surface, printed text must be exact, color tolerance is strict, a regulated claim needs evidence, or an unseen angle must be shown. A new reference photo often costs less than repeated generations that keep guessing at missing information.
Real photography also remains the stronger choice when the image must prove physical fit, material behavior, exact scale, or a safety-critical interaction. LoomaDesign can reduce production work around those facts. It does not create the facts.
Common questions
Which LoomaDesign tool should I use first?
Start with the next image job. Clean or extract a weak source before creating layouts. Use Additional Image for one gallery graphic, A+ Content Image for connected modules, Product Scene Image for context, and model or try-on tools when a person answers a buyer question.
Can one product photo support a complete image set?
One clear photo can anchor several outputs. Add detail, accessory, scene, model, or item references whenever the first photo does not show enough evidence to protect product accuracy.
What is the difference between Product Model Image and Virtual Try-On?
Product Model Image creates an on-model commercial visual from product and model direction. Virtual Try-On applies a specific garment or accessory to a target model with category-specific placement rules.
Can generated text go live as it appears?
No. Check spelling, units, claims, brand names, included items, and natural phrasing. The Custom Image example in this guide preserved the corrected brand and specifications but still needed an English copy edit.
Can every language share the same screenshots?
The four locales can share language-neutral sources and outputs. Each locale still needs its own captions, alt text, headings, examples, FAQs, and operator terminology. A translated paragraph sequence does not provide sufficient localization.
Research notes and sources
The product descriptions in this guide come from the current LoomaDesign interface and the reviewed local assets. The seller confirmed the hair dryer's accessories and specifications before this case study used them.
External material helped check workflow terminology and recurring product-consistency problems. It did not supply or validate the demo SKU's claims.
- LoomaDesign for the current public tool entry points and production workflow.
- Photoroom Web App workflow guide for the common upload, edit, and export pattern used in product-image tools.
- Photoroom Spanish AI product photography guide and Photoroom Japanese AI product photography guide for local ecommerce image terminology.
- DreamPainter research for the product-consistency problem in ecommerce background generation.
- Recent ecommerce workflow discussions on Reddit flag relabeled products, drifting logos, and attractive scenes that no longer match the source SKU. Community research informed the QA sections; it did not supply product claims.