
Upscale vs Enhance Product Photos: Which Fix Should You Use?
Upscaling and enhancing solve different product-image problems. Upscaling increases pixel dimensions. Enhancement improves visible qualities such as noise, edge clarity, exposure, or color. A small clean photo may need upscaling; a large but dull or noisy photo may only need enhancement.
The difficult case is a supplier image that is both small and weak. It may need a careful cleanup followed by one upscale, but only if the original still contains accurate label, shape, color, and material detail. When those details are missing, a sharper file can still be a less truthful product image.
Quick Answer
Use an upscaler when the source is accurate and clean but does not have enough pixels for the intended marketplace or crop. Use an enhancer when the dimensions are sufficient but the image has manageable noise, weak contrast, flat color, or soft edges. Use retouching for dust, background, masking, and localized defects. Return to the original file or reshoot when text, packaging details, product geometry, or texture is missing.
For an image that needs both, start with the best original, correct noise and color conservatively, upscale once, then apply output sharpening at the final size. Compare the result with the real SKU before publishing.
Upscaling Changes Size, Not Product Truth
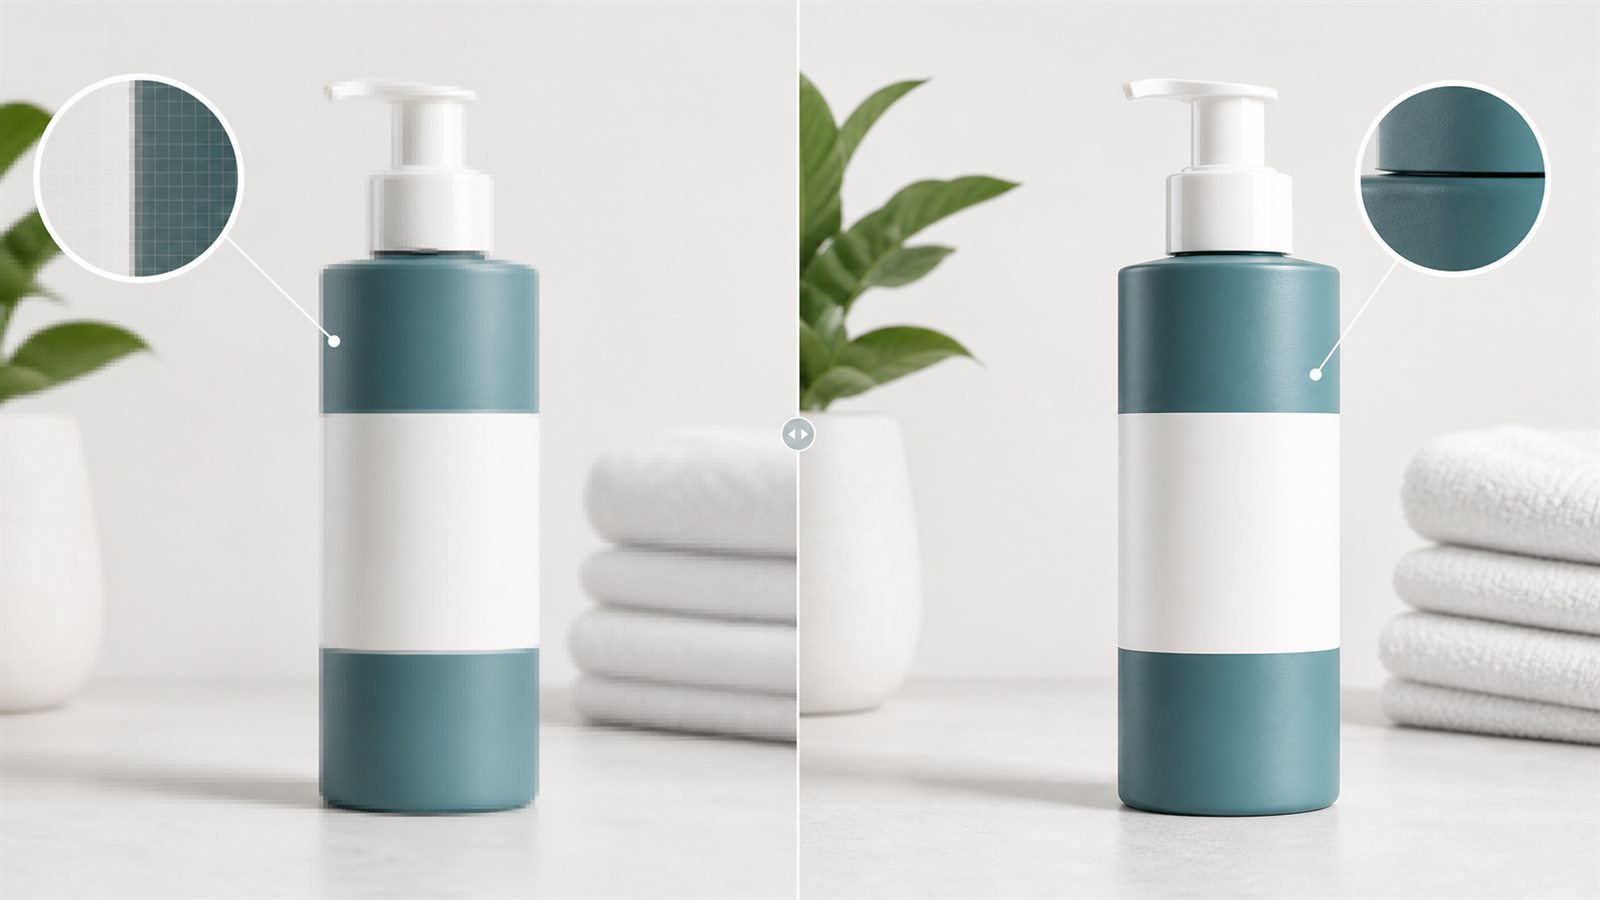
An upscaler creates a file with more pixels. Adobe describes Super Resolution as doubling the image's linear dimensions, which produces four times the pixel count. That extra resolution can help with a tight crop, a larger marketplace image, or a source file that is just below the required output size.
Pixel count does not prove that new detail is accurate. A conventional resize interpolates between existing pixels. An AI upscaler can generate more convincing edges and texture, but it may also make a label character, seam, ingredient line, port, or surface pattern look confidently wrong. Treat an upscale as a production derivative, not a new source of product facts.
Enhancement Changes Appearance, Not Dimensions
Enhancement is a broad label. It can include denoising, white-balance correction, exposure adjustment, color correction, local contrast, deblurring, and sharpening. Adobe separates Raw Details, which improves detail without changing resolution, from Super Resolution, which changes pixel dimensions. That distinction is useful even when another tool places both actions behind one button.
Sharpening works mainly by increasing contrast along edges. It can make a usable product image read more clearly, but excessive sharpening produces halos, brittle texture, and noisy labels. Enhancement should reveal detail that the source supports. It should not redesign packaging, repair missing letters by guessing, or change the apparent material.
Choose the Fix From the Failure
Do not choose a tool from the filename alone. Open the image at 100% and inspect the part of the product that a buyer uses to verify the SKU.
| What you see | Best first action | Stop or escalate when |
|---|---|---|
| clean image, accurate detail, too few pixels | upscale once from the original | labels or textures change |
| enough pixels, dull color or manageable noise | enhance conservatively | color no longer matches the SKU |
| small image with noise but intact product detail | denoise and correct color, then upscale once | details were already missing before processing |
| dust, uneven background, rough mask, small localized defect | retouch the affected area | the edit changes product shape or included parts |
| unreadable label, missing edge, wrong variant, severe motion blur | find the original or reshoot | there is no reliable reference for repair |
This decision also prevents unnecessary processing. A 2000 x 2000 pixel product image that looks flat does not need more pixels. A crisp 700 x 700 supplier image may need size, but global enhancement could alter color that was already correct.
A Safe Order When You Need Both
Start with the largest original capture or export. Avoid screenshots, chat-app downloads, marketplace thumbnails, and files that have already been saved through several editors. Every derivative makes it harder to tell whether a defect came from the product photo or the processing chain.
Then use this order:
- Confirm the SKU, variant, packaging, and source-file dimensions.
- Correct white balance, exposure, and obvious noise without hiding material texture.
- Upscale once to the required working size.
- Retouch only specific dust, masking, or background problems.
- Apply light output sharpening at the final dimensions.
- Export once from the master and run product QA.
The order is less important than preserving a clean master and avoiding repeated resize-export cycles. Keep the untouched original beside the final file so reviewers can detect invented details.
Check Marketplace Size Before Processing
The target output should come from the channel, not from a generic "4x" setting. Google Merchant Center currently recommends product images around 1500 x 1500 pixels or larger and advises merchants to submit the largest, highest-resolution source rather than a thumbnail or an artificially scaled-up image. Google has also announced that a 500 x 500 minimum will begin enforcement on January 31, 2027, with warnings starting in July 2026.
Amazon's seller guidance asks for sharp, clear, high-resolution images, and its product-photography guidance prefers images above 1000 pixels on each side to support zoom. Those numbers are output checks, not permission to fabricate detail. If the source cannot support the required presentation, replacing the source is safer than forcing a large export.
Run SKU QA at Three Viewing Sizes
First inspect the final image at 100%. Compare label characters, measurement marks, seams, ports, cap shape, bundle contents, texture, and color against the original product. Look for sharpening halos and repeated texture. These defects often hide at normal page size but become obvious in zoom.
Next review the thumbnail and mobile presentation. A file can pass pixel-level inspection and still fail commercially because the product occupies too little of the frame or the important feature disappears on a phone. Google recommends that the product cover roughly 75% to 90% of the image area for Shopping images, which is a useful framing check even when preparing assets for another channel.
Finally, compare variants together. Enhancement settings that look acceptable on one white bottle can shift the color of a second variant or erase the texture difference between matte and gloss packaging. Batch speed is useful only after the first SKU establishes a verified reference.
Where LoomaDesign Fits
Use LoomaDesign's AI Product Image Enhancer when the photo is fundamentally accurate but needs a cleaner, larger, or more consistent ecommerce output. Keep the original open during review and stop if a label, product edge, or material detail changes.
Use AI Product Photo Retouching for localized cleanup and background work. If the source is severely pixelated, read How to Fix Pixelated Product Photos before deciding whether the image still contains enough real detail to process.
FAQ
Is image enhancement the same as upscaling? No. Upscaling increases pixel dimensions. Enhancement changes qualities such as noise, color, contrast, or edge clarity. Some tools bundle both operations under one product name.
Should I enhance before or after upscaling? For a noisy but usable source, correct noise and color conservatively before one upscale, then sharpen for the final output size. Always compare the result with the original SKU.
Can an AI upscaler fix an unreadable product label? It can make the label look sharper, but it cannot reliably recover characters that are absent from the source. Use the original packaging artwork, a better photo, or a reshoot.
How much should I upscale a product photo? Upscale only enough to meet the planned crop and channel output. A larger multiplier creates more generated pixels and a larger QA burden.
When should I reshoot instead of enhance? Reshoot or obtain a better original when product text, geometry, variant color, included parts, or important material detail cannot be verified in the source.