
AI Virtual Try-On for Clothes: Seller Workflow
AI virtual try-on for clothes works best when sellers treat it as a controlled product-image workflow, not a costume swap. Start with a clean garment input, generate model images for a specific use case, then check color, fabric, print alignment, fit cues, and SKU details before using the image.
This guide is for clothing sellers who already have a product photo, flat lay, or supplier image but need model-style visuals for a product page. It explains how we would prepare the garment input, decide which model image jobs are worth generating, review the output against the real SKU, and decide when a real model shoot is still the better option. The point is not to make every garment look more premium. The point is to make a buyer understand shape, length, fabric behavior, color, and styling without letting AI change the item. For apparel, that distinction matters: a sleeve length that shifts, a plaid that bends incorrectly, or a black fabric that turns into glossy leather can create the wrong expectation. Use AI for production speed, but keep product truth as the approval standard.
What AI Virtual Try-On for Clothes Should Solve
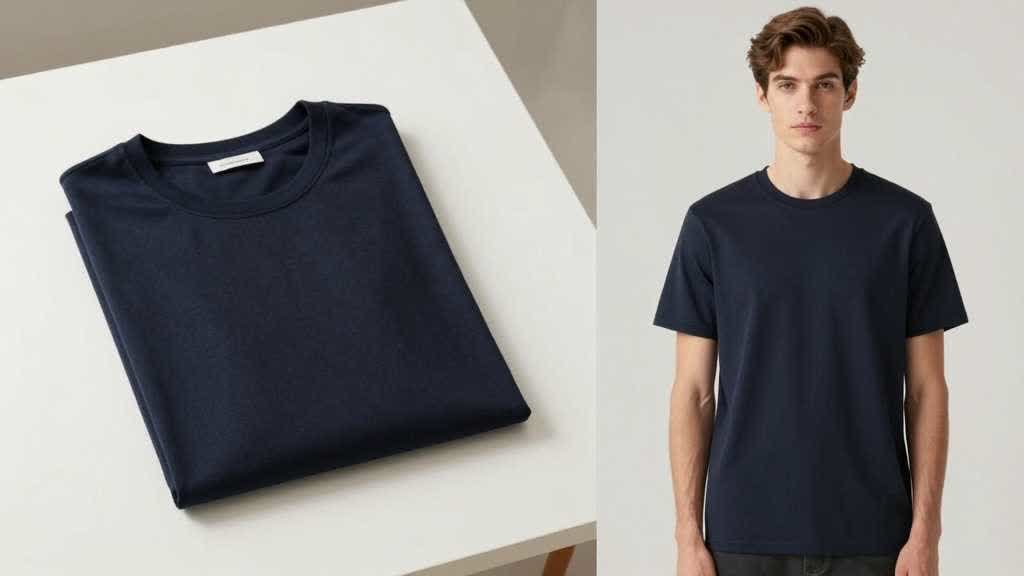
AI virtual try-on for clothes should solve the model-image bottleneck for repeatable apparel assets, not replace every real shoot. A clothing seller usually needs a main garment photo, a fit-context image, a fabric close-up, a back view, a size or length cue, and sometimes a styling image. Real shoots are strongest when fit, drape, and body interaction must be exact. AI try-on is strongest when the seller already has reliable product information and needs more model-context images from the same SKU.
AI virtual try-on is a workflow where a garment image and a model target are combined to create a product image showing that garment on a person. In ecommerce, the output is useful only if it preserves the actual garment. That includes color, length, neckline, hem, sleeve shape, pocket placement, button count, print scale, seam position, and fabric texture.
We do not start by asking for a beautiful fashion image. We start by asking what the buyer cannot understand from the current product page:
- Does the garment length make sense on a body?
- Is the fit loose, straight, cropped, oversized, or slim?
- Does the fabric look thick, sheer, ribbed, smooth, matte, or shiny?
- Is the print centered and scaled correctly?
- Does the color match the variant the shopper is choosing?
- Does the image create a claim the product cannot support?
Those questions decide whether a virtual try-on image belongs in the listing.
Start With a Flat Lay That Can Survive Generation
A flat lay to model photo workflow starts with a garment image that contains enough product truth for AI to preserve. A wrinkled supplier photo can still work for a simple T-shirt, but it is a weak input for a plaid shirt, ribbed knit, lace fabric, or jacket with hardware.
For clothing, the input is more important than the model. If the flat lay hides the hem, folds over a sleeve, or washes out the label color, the model image may look convincing while quietly changing the SKU. That is the most expensive failure mode because the image can pass a quick visual review and still mislead a shopper.
Use this input check before generating:
| Input condition | Why it matters | Use AI try-on? |
|---|---|---|
| Clean front view, full garment visible | The system can read silhouette, sleeve, hem, and neckline | Yes |
| Back view available | Helps create back or side model images without guessing | Yes |
| Fabric texture visible | Needed for knits, denim, linen, ribbing, lace, and fleece | Yes, with close-up QA |
| Print or stripe visible at full scale | Needed for alignment checks after try-on | Yes, but review carefully |
| Main image is blurry or compressed | Detail may be invented rather than recovered | Enhance or reshoot first |
| Garment folded over itself | Shape and length are hidden | Use only for simple items |
| Transparent or sheer fabric | Body interaction changes the garment appearance | Use real shoot for final proof |
If the source is messy, prepare it first. A clean white-background product image is still useful for apparel because it gives the AI a stable garment reference before the model context is created. For that step, the Product Retouching and White Background Tool can be part of the input-prep stage.
Use the Model Image Workflow as a Production Line
The strongest virtual try on for ecommerce workflow has separate jobs, not one large prompt. A seller should generate one image role at a time, review it, then build the next image from the approved output or the original garment reference.
A practical sequence looks like this:
- Prepare the garment reference: front view, back view, color variant, and fabric close-up.
- Generate one model image for the main use case: front-facing, neutral pose, full garment visible.
- Generate a second model image for a buying question: length, styling, sleeve, back, or movement.
- Compare each output against the source SKU before creating more variations.
- Use approved images to build the listing order, not the other way around.
For example, if a seller has a flat lay of an olive overshirt, we would not start with "make a premium fashion campaign." We would start with a narrower job:
> Create a front-facing model image for an olive overshirt. Keep the shirt length, chest pocket position, button count, collar shape, sleeve cuff, fabric texture, and color close to the source garment. Do not add pockets, logos, belt loops, accessories, or extra stitching.
That prompt is plain because the job is plain. Clothing images do not improve when AI invents more fashion language. They improve when the task is constrained.
For sellers using LoomaDesign, the AI Product Model Image Generator should sit in the middle of the process: after the garment reference is cleaned, before the final gallery is approved. If you are still comparing model-image tools, our guide to evaluating AI fashion model generators covers the selection criteria that matter for apparel.
Check Clothing Fidelity Before You Approve the Image
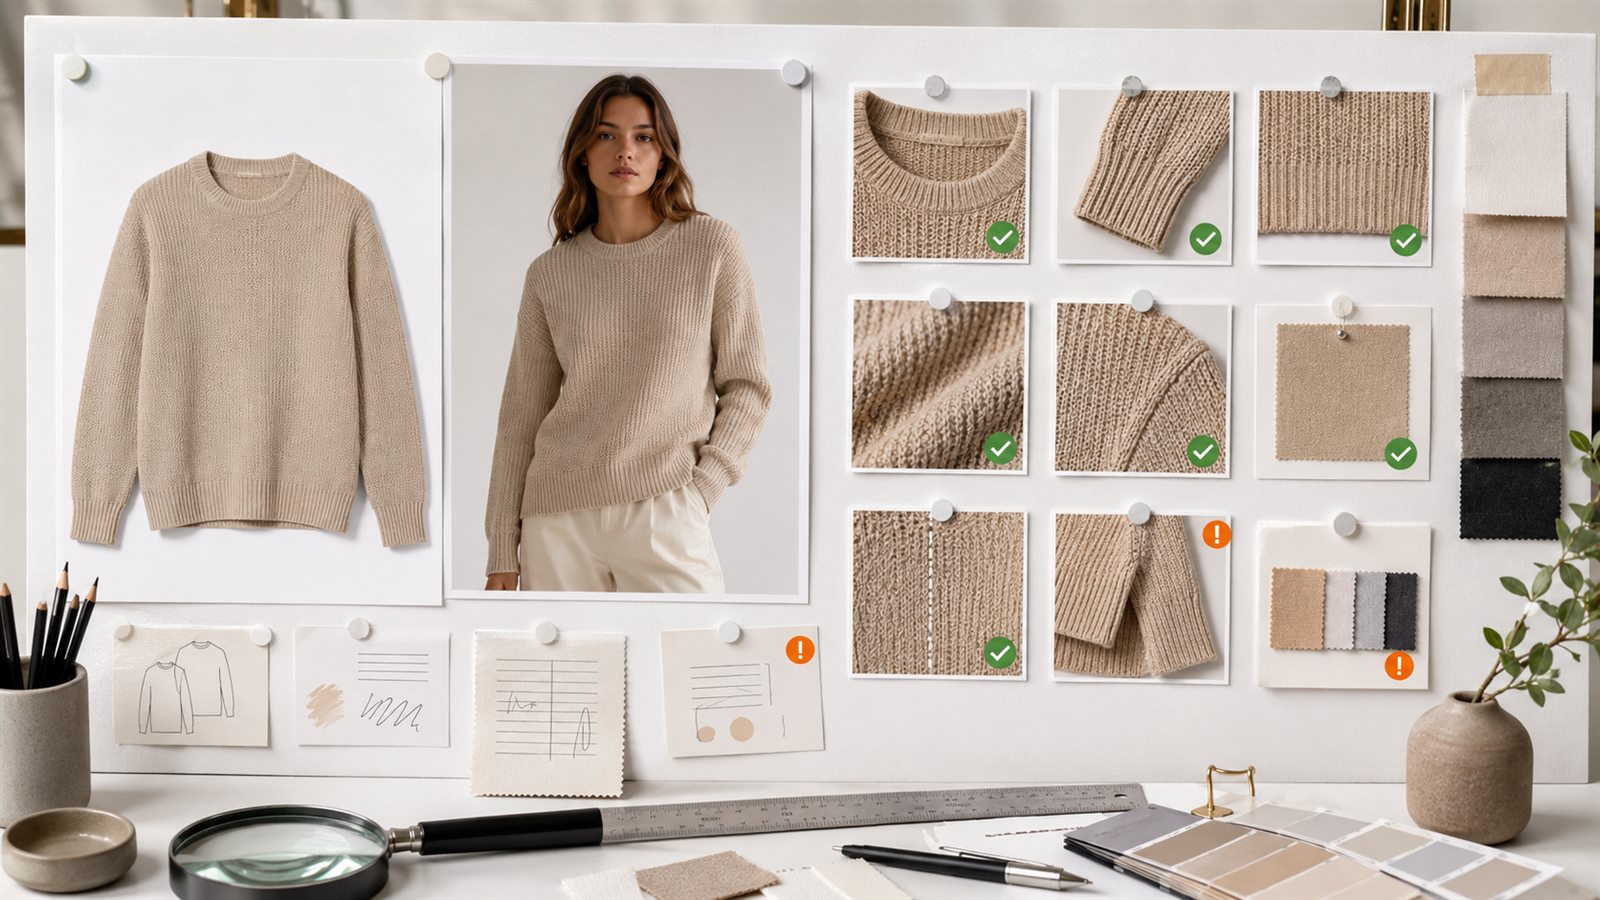
Clothing fidelity is the approval test that decides whether an AI clothing try on image can enter a product page. Research on virtual try-on still treats alignment, occlusion, and fine garment detail preservation as hard problems. That matches what sellers see in production: simple tops are usually easier, while prints, sheer fabric, loose drape, and complex poses need more review. For per-garment fit checks after generation, our flat lay to model photo fit-check guide breaks the review down by garment type in more detail.
Here is the QA matrix we use when judging apparel output:
| Clothing type | Generation difficulty | QA focus before publishing |
|---|---|---|
| Basic T-shirt | Low | Neckline, sleeve length, hem length, color |
| Hoodie or sweatshirt | Medium | Hood shape, drawstrings, rib cuffs, pocket position |
| Knitwear | Medium | Rib texture, thickness, shoulder seam, stretch behavior |
| Woven shirt | Medium | Collar, button count, placket line, cuff structure |
| Plaid or striped shirt | High | Pattern scale, center alignment, sleeve alignment |
| Printed dress | High | Print distortion, hem line, waist placement, fabric drape |
| Dark clothing | Medium | Texture visibility, edge separation, color cast |
| White or cream clothing | Medium | Background separation, fabric transparency, highlight loss |
| Sheer, lace, or mesh | High | Transparency, body interaction, edge detail |
| Highly structured jacket | High | Shoulder shape, lapel, hardware, pocket placement |
The review should happen at two sizes. First, inspect the image at full size to catch texture and seam errors. Then inspect it as a mobile thumbnail because many product pages make the image smaller than the design file. If the model image only works when zoomed in, it is not ready for a listing.
Use AI When the Buyer Needs Context, Not When the Product Needs Proof
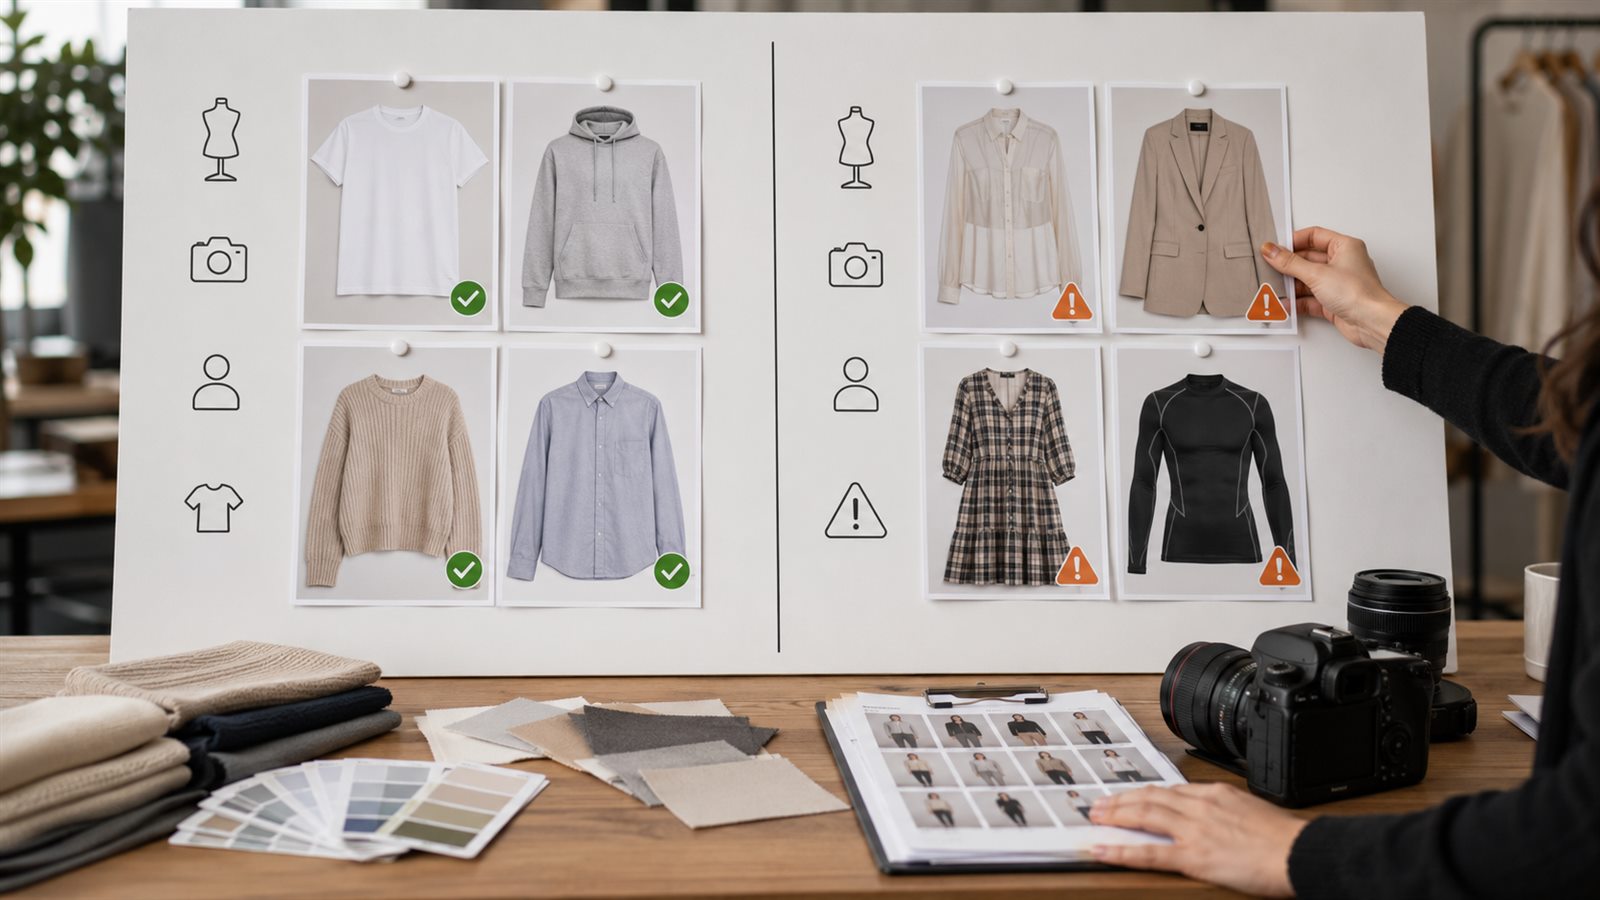
AI virtual try-on is useful when the buyer needs visual context, but a real model shoot is safer when the garment behavior is the product claim. A compression top, wedding dress, tailored blazer, sheer blouse, or technical sportswear often needs real photography because fit and material behavior are part of what the shopper is buying.
Use this decision table before choosing a production route:
| Seller need | AI virtual try-on is usually suitable | Real model shoot is safer |
|---|---|---|
| Show general length on body | Basic tops, simple dresses, loose shirts | Tailored garments where exact fit is the selling point |
| Show styling context | Everyday apparel, casual outfits, colorways | Luxury editorial images where fabric behavior is critical |
| Show fabric texture | Knit, denim, cotton, fleece with visible close-up | Sheer, lace, reflective, or highly textured fabric |
| Show print placement | Small repeat patterns after careful QA | Large graphics, stripes, plaid, embroidery, logo placement |
| Show size confidence | General proportion, model height context | Fit claims, compression, shapewear, performance gear |
| Launch more variants | Color variants with same construction | Variants with different fabric, cut, or hardware |
The safest rule is simple: use AI to extend image coverage, not to prove something the source file cannot prove. If the garment claim matters for sizing, compliance, safety, or comfort, get a real reference.
Build the Listing Gallery Around Buyer Questions
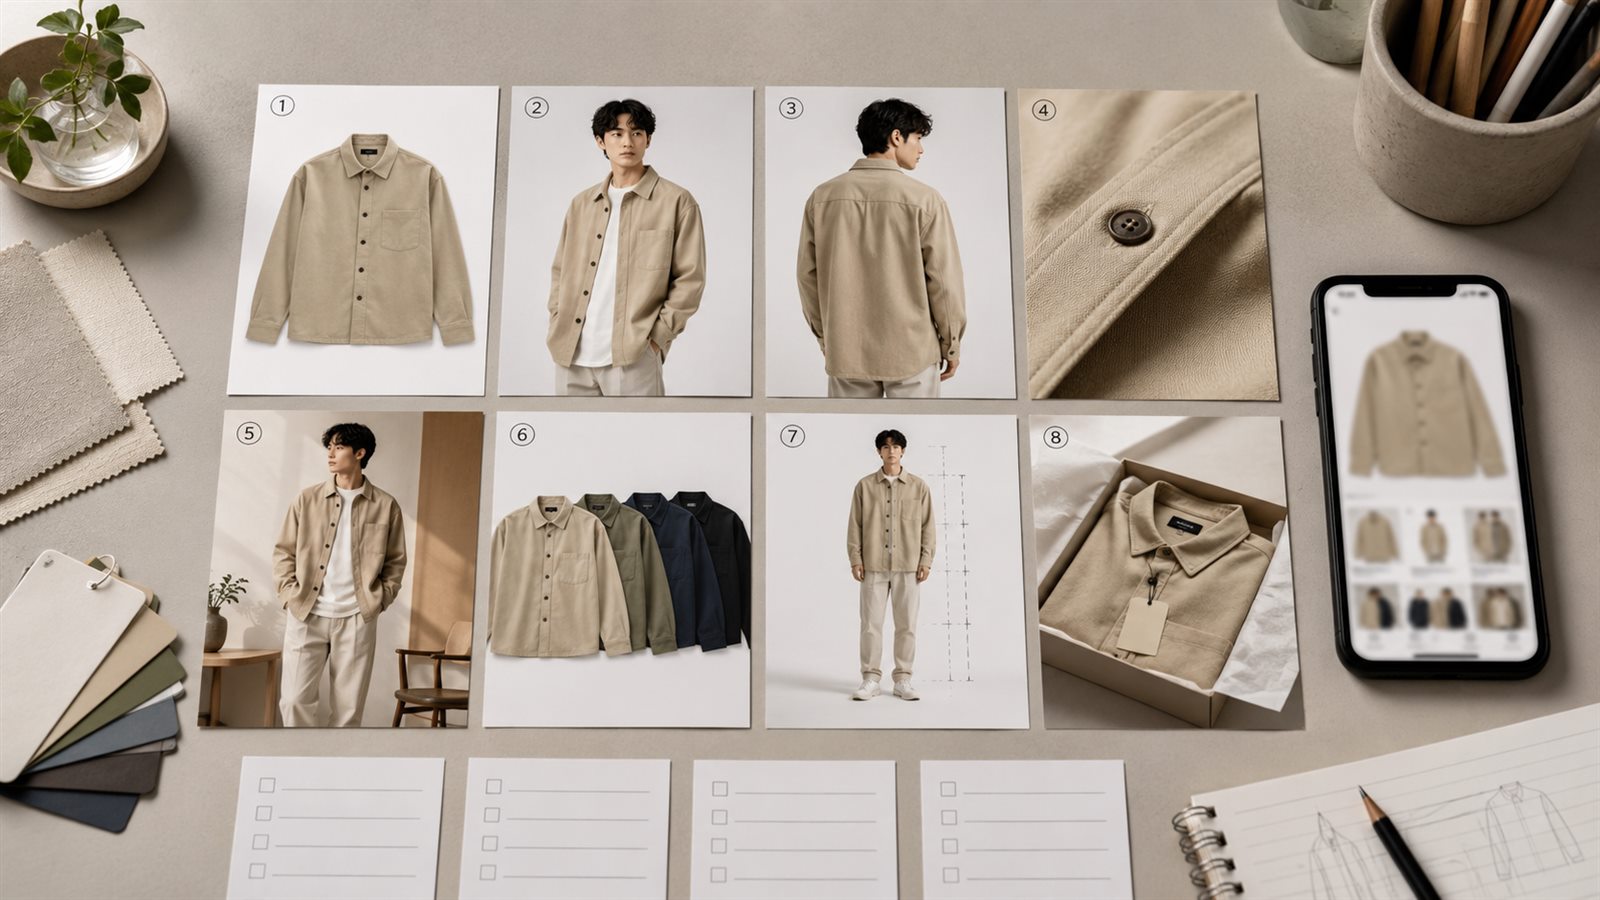
An apparel gallery should be ordered by buyer doubt, not by whatever image looks most polished. Amazon's product photography guidance emphasizes accurate and realistic product imagery, white-background basics, and image types such as lifestyle, scale, detail, and packaging. Google Merchant Center also expects product images to represent the actual item, the correct variant, and sufficient quality. As of July 2026, Google also calls out metadata requirements for generative AI images in Merchant Center image guidance.
For clothing sellers, that means the AI output needs a role inside the gallery:
| Gallery slot | Image role | What the shopper should learn |
|---|---|---|
| 1 | Clean garment or approved model main image | What product is being sold |
| 2 | Front model image | Fit, length, and overall silhouette |
| 3 | Back or side model image | Shape from another angle |
| 4 | Fabric or construction detail | Texture, seams, buttons, print, or hardware |
| 5 | Styling or lifestyle image | How the piece is worn |
| 6 | Variant image | Correct color or pattern |
| 7 | Size or measurement cue | Length, inseam, sleeve, waist, or scale |
| 8 | Care or included parts if relevant | Packaging, set contents, detachable parts |
Do not let a model image carry all the information. A good apparel listing still needs detail images. For many products, the safest stack is: clean source photo, model context, close-up proof, variant proof, and mobile preview.
Common AI Try-On Mistakes We Reject
The most common AI try-on mistakes are not dramatic failures. They are small changes that make the product more attractive but less accurate.
Reject the output when:
- the neckline changes from crew neck to scoop neck
- sleeve length moves from wrist to forearm
- hem length becomes cropped or elongated
- buttons, pockets, drawstrings, labels, or zippers appear or disappear
- a matte fabric becomes glossy
- a ribbed knit becomes smooth
- plaid, stripes, logos, or embroidery drift across seams
- a color variant becomes warmer or cooler than the actual SKU
- the model pose hides the part buyers most need to inspect
- the image suggests stretch, compression, warmth, or water resistance that the product copy does not support
A useful review question is: would a buyer complain if the delivered garment matched the source file but not the AI image? If yes, the image is not safe enough for the product page.
Where AI Model Images Fit in a Seller Workflow
AI model images fit best after product facts are locked and before final listing design. If the product name, variant, size chart, material, and key selling points are still changing, virtual try-on generation becomes rework.
For a small apparel catalog, the workflow can stay practical:
- Pick one SKU with clean source images.
- Create a model image only for the most important buyer question.
- Review fidelity before generating the rest of the gallery.
- Save approved prompts and QA notes by SKU.
- Repeat only after the image role is clear.
That last step matters. The goal is not to generate twenty attractive model images. The goal is to produce the few images that reduce uncertainty without changing the garment.
FAQ
Can AI virtual try-on images be used directly for a clothing listing?
They can be used when the output preserves the actual garment and follows the marketplace or ad-channel image rules that apply to that listing. Always review color, shape, print, texture, variant, and unsupported claims before publishing.
Will AI virtual try-on misalign prints or stripes?
It can. Prints, stripes, plaid, embroidery, and logos are higher-risk because they need to stay aligned across body curves, seams, and poses. Use a real shoot or a stricter QA pass when pattern placement is a product promise.
Is color accurate in AI clothing model images?
Color can drift, especially with dark fabric, white fabric, glossy materials, and warm lifestyle lighting. Compare the output against the source SKU, keep a neutral reference image in the gallery, and avoid using a model image as the only color proof.
Which apparel categories are not ideal for AI try-on?
Sheer clothing, lace, compression gear, tailored formalwear, complex plaid, large printed graphics, and fit-critical performance garments need extra caution. For these categories, AI can support the gallery, but a real model shoot is often safer for final proof.
What is the best starting image for flat lay to model photo generation?
Use a clean, full garment image with front view, back view if possible, visible edges, accurate color, and enough texture detail. If the source photo is soft, compressed, cropped, or partly hidden, fix the reference before generating a model image.